lesson 8: Photo As Background
ドリーミン (Dreamin') Tutorial

now playing NCT127 - Limitless


LESSON 8: PHOTO AS BACKGROUND
Hi everyone!! Finally I'm back. I'm busy lately haha. So today I'll do how to make photo as the background for your layout. As example, the foreword of this thread. I'll show you the two examples. One same as the foreword and the other one without semi-transparent text box.
VERSION 1
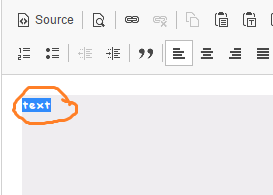
1. First is go to Source. Copy and paste the code.
< div style="background-color:#dde2fc;width:800px;height:615px;float:left;" >text< /div > (remove all the spaces)

Hi everyone!! Finally I'm back. I'm busy lately haha. So today I'll do how to make photo as the background for your layout. As example, the foreword of this thread. I'll show you the two examples. One same as the foreword and the other one without semi-transparent text box.
VERSION 1
1. First is go to Source. Copy and paste the code.
< div style="background-color:#dde2fc;width:800px;height:615px;float:left;" >text< /div > (remove all the spaces)
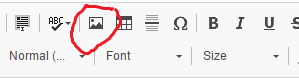
2. Click on source again and you will get a big text box. Select the word 'text'. Click on the Image.
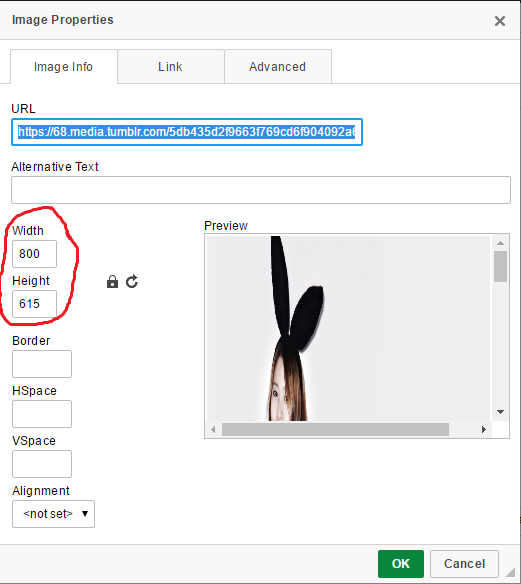
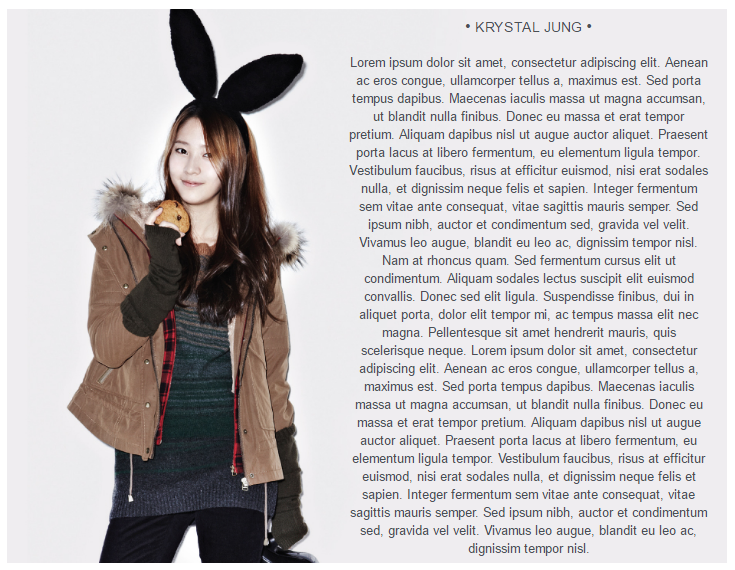
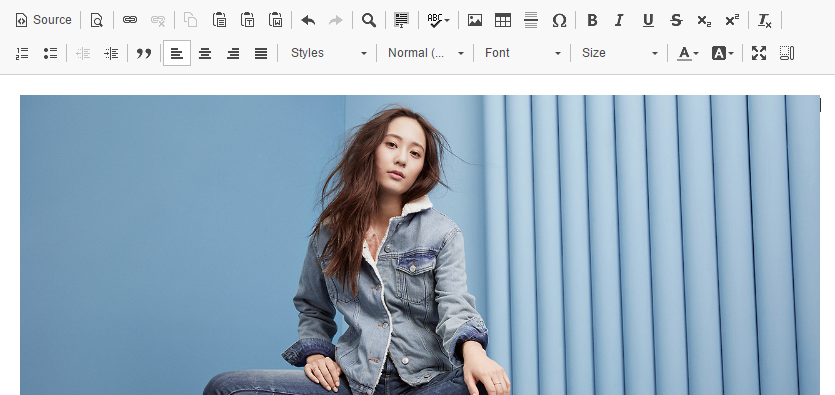
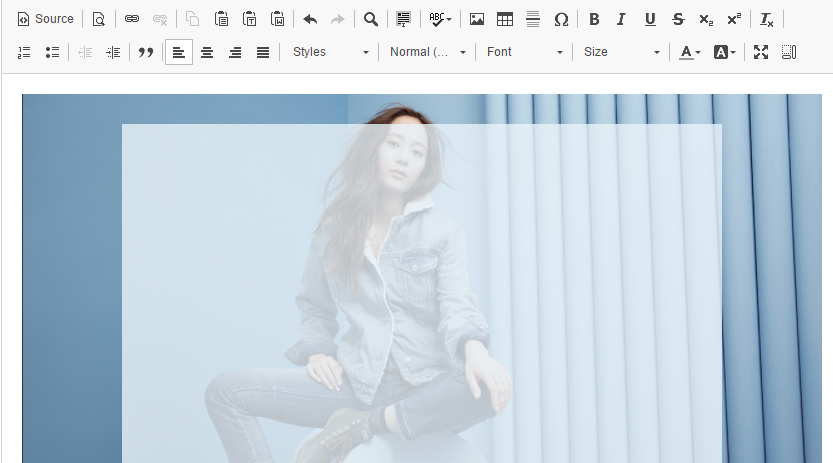
3. A new window will pop-up. Paste the url link of Krystal's photo. Adjust the size to same as mine. Then click on Okay. Link below
https://68.media.tumblr.com/5db435d2f9663f769cd6f904092a692f/tumblr_omp2qvmPSU1w3lwi2o1_1280.jpg
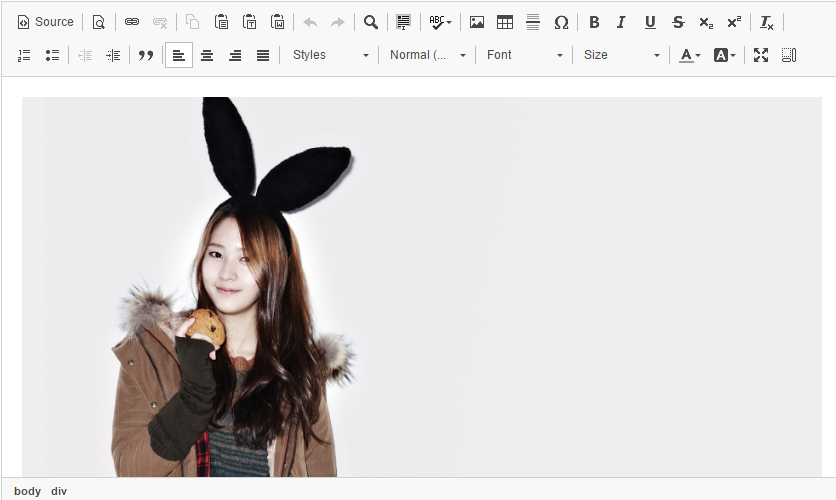
4. You will get something like this.
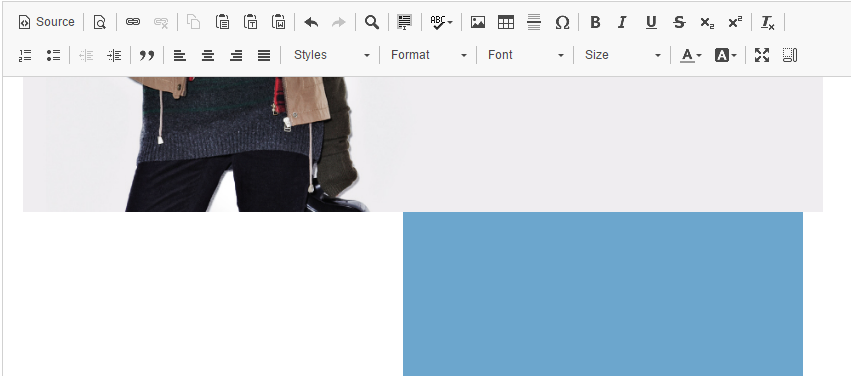
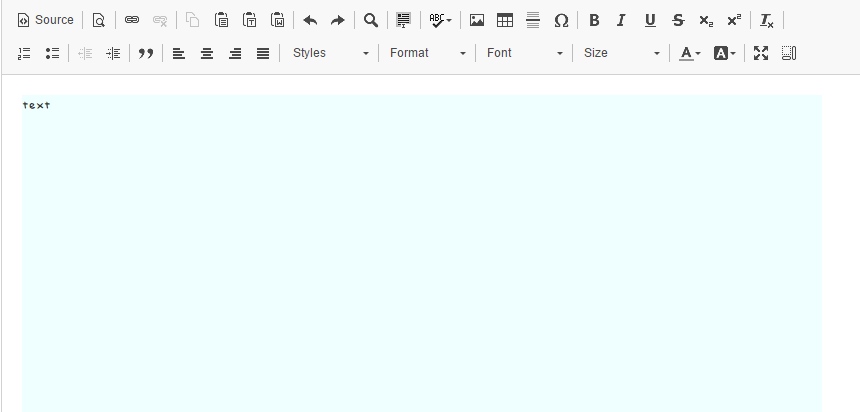
5. Now click on Source. Copy and paste this code.
< div style="background-color:#6ca6cd;width:400px;height:595px;margin-left:380px;float:left;" >text < /div> (remove all the spaces) i change the nbsp to text.

6. Click on Source again and you get like this.
7. Back to Source. Find the code you add just now. After the "float:left;" add "margin-top:-605px;". Sorry I forget to screenshot that one T0T.
< div style="background-color:#6ca6cd;width:400px;height:595px;margin-left:380px;float:left;margin-top:-605px;" >text < /div>
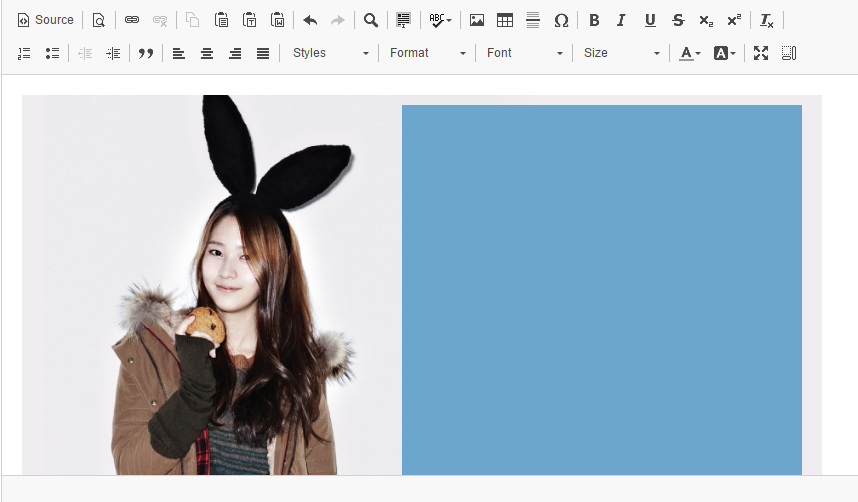
8. Click on Source and you will get like this.
9. Now add any text you want in the text box. This one is limited only. If your text is longer than the box, you must add overflow code. For more information and how the code is work go to lesson 7.
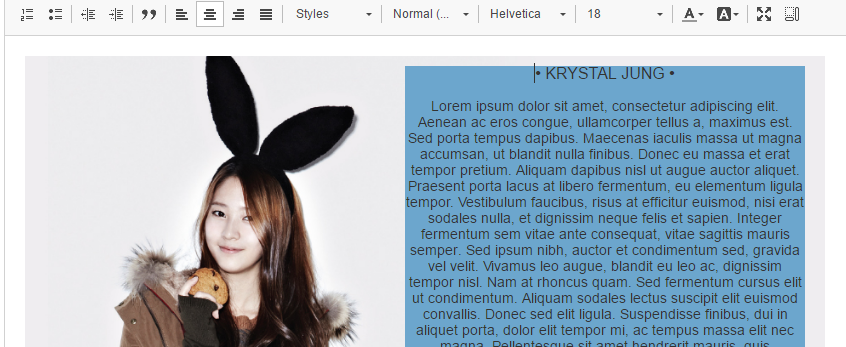
10. Now go to Source.

11. Your final result will look like this.
VERSION 2
1. Click on Source and paste this code.
< div style="background-color:#efffff;width:800px;height:530px;float:left;" >text< /div> (remove all the spaces)

2. Click on Source and you get like this.
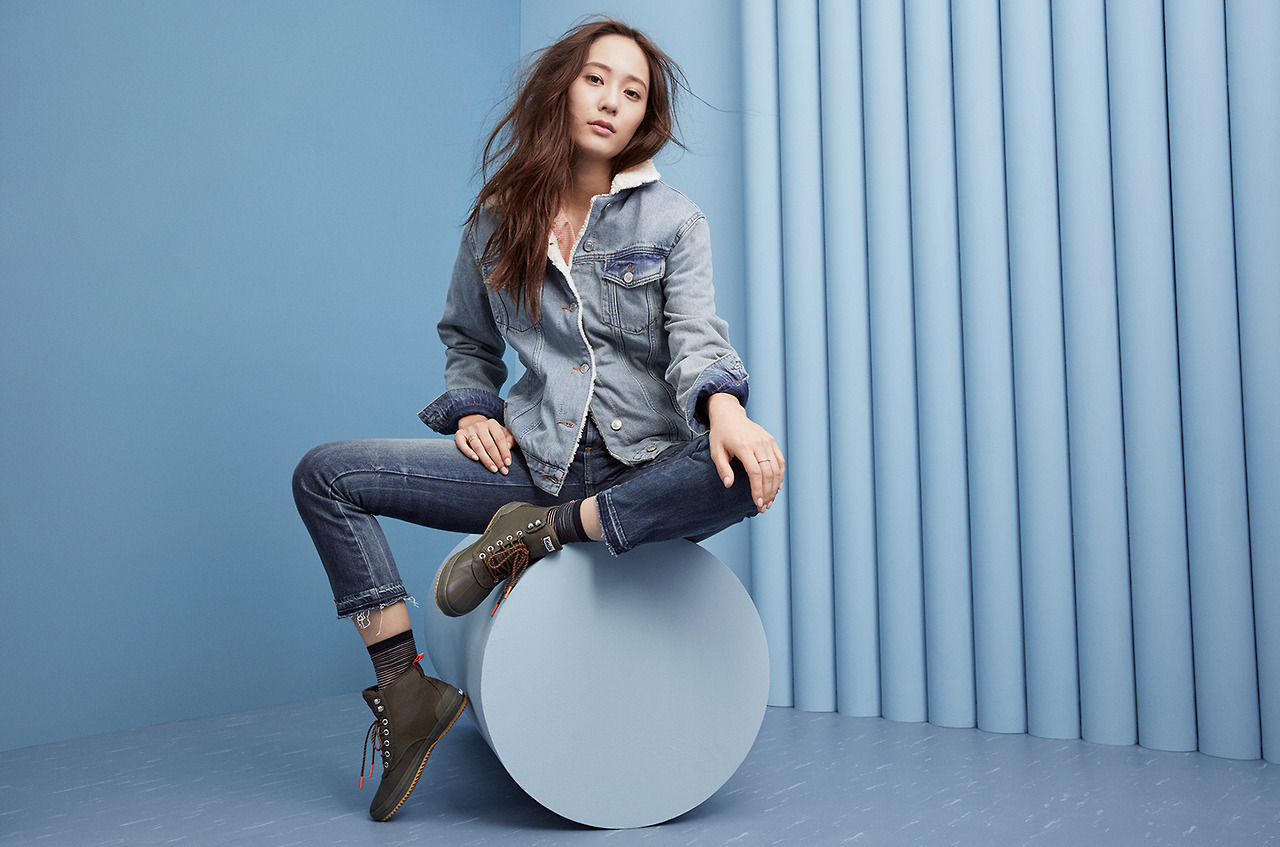
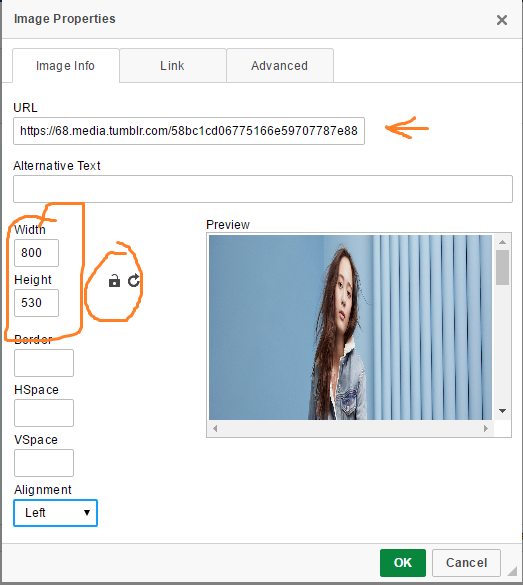
3. Now select the word 'text' and click on Image. Add Krystal's photo, link below. Adjust the width, height. Don't forget to unlock the auto adjusting size too. The alignment is optional.
https://68.media.tumblr.com/58bc1cd06775166e59707787e8813b2d/tumblr_ooni119a6l1w3lwi2o1_1280.jpg
4. You will get something look like this.
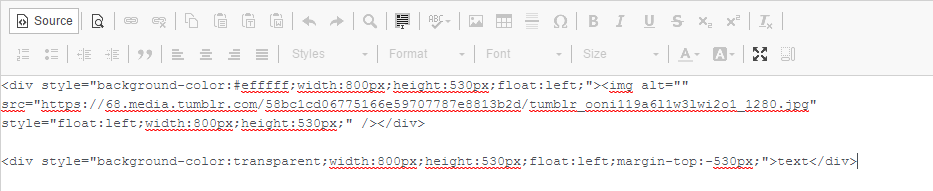
5. Click on Source and paste this code.
< div style="background-color:transparent;width:800px;height:530px;float:left;margin-top:-530px;"> text< /div> (remove all the spaces)
 .
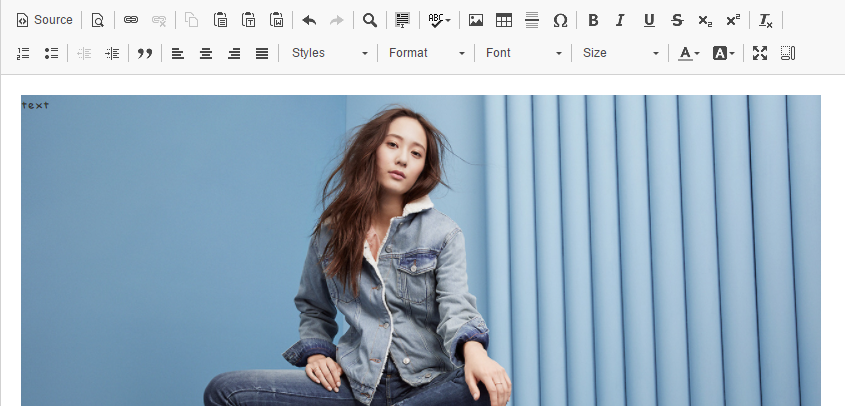
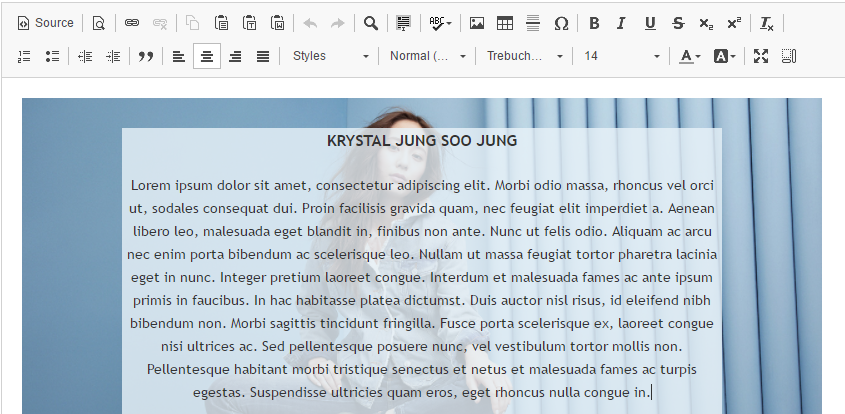
.6. You will get like this. The text box is transparent but you know that you have it as you see the word 'text' on left top of the Krystal's photo.
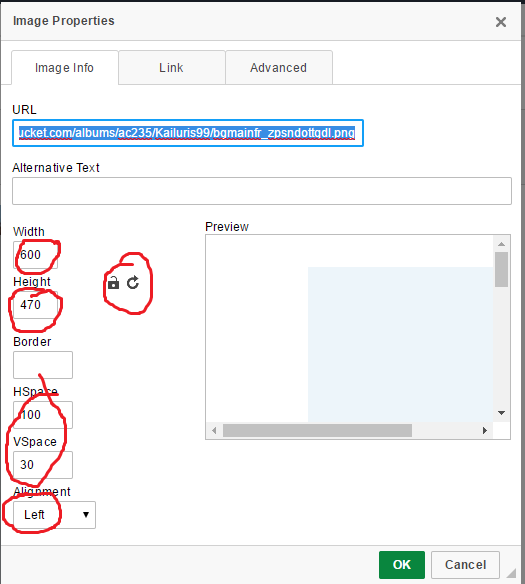
7. Select the word 'text' and click on image. Paste the url link of the semi-transparent photo. Change the width, height, HSpace, VSpace and Alignment same as in the photo below. Make sure you unlock the auto adjusting size too. Link below.
http://i903.photobucket.com/albums/ac235/Kailuris99/bgmainfr_zpsndottqdl.png
8. Click on Okay and you will get something like this. You can adjust the size of the semi-transparent photo to your liking. But if you do that, don't forget to adjust the HSpace and Vspace too.
19. Add your text and you are done!!!. The text is limited too. If your text is longer you to add overflow code. Go to lesson 7 for more.
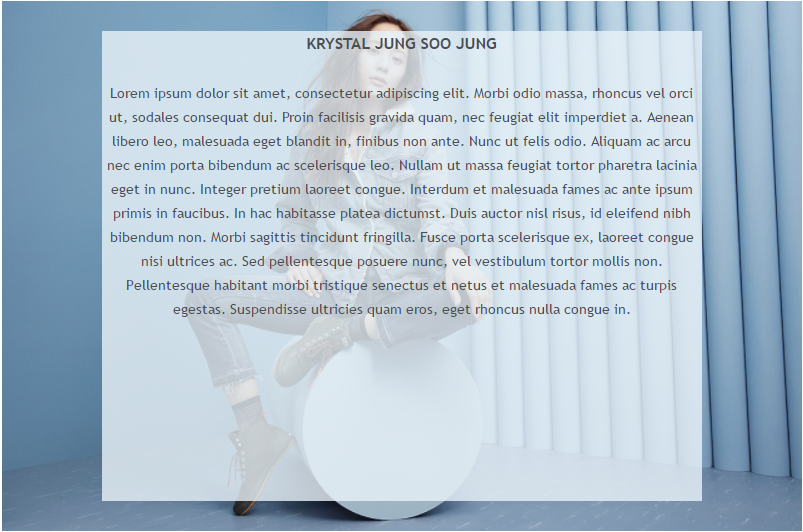
20. Final result.
Yayyyy finally I'm done. So guys comment for next tutorial!!! It can be either layout lesson or graphic tutorial. I'm sorry for not updating for two months TnT...First I busy in facebook as rp xp. Second my father always borrow my laptop when he's outstation. I copied the file that contain all the screenshots for my lesson but I lost the pendrive T-T. I forgot to upload on tumblr before give my laptop to my father. If not I could done this lesson in April. So sorry guys ;A;. About render...since I lost the pendrive so still not done. Btw if you guys have any problem with my lesson or your layout comment below, I'll help you. I'll reply ASAP. I still have free time. I will be on hiatus in June maybe, at that month I'll start with college/ university life haha. So guys, comment down for any tutorial or lesson!!!
Layout by minocha99 | 2017

To all subbies~~ Finally i'm back! My semester break has start since last two weeks but i was busy and just got my free time. I'm not sure how many updates i can make. But I try my best to update as many as i can. I haven't finish my render too. I just try to finish it as soon as i can.
Comments