lesson 5: Hyperlink, Margins
ドリーミン (Dreamin') Tutorial

now playing NCT127 - Limitless


LESSON 5: HYPERLINK, MARGINS
I'm back with layout lesson. I will teach you about hyperlink and margin.
1. Hyperlink
Some people don't know on how to add hyperlink in text or photo. We can add hyperlink directly, as example.
Some might only add like this but you can't click on it. You have to copy the link and paste it in url link in your browser.
ADD HYPERLINK
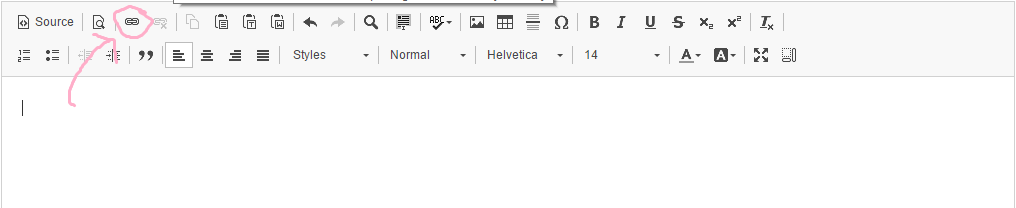
1. Click on link.
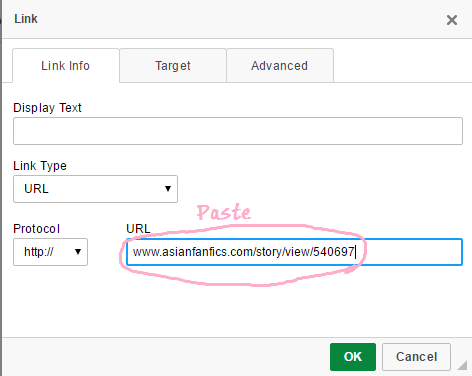
2. Paste the url link. Then click Ok.
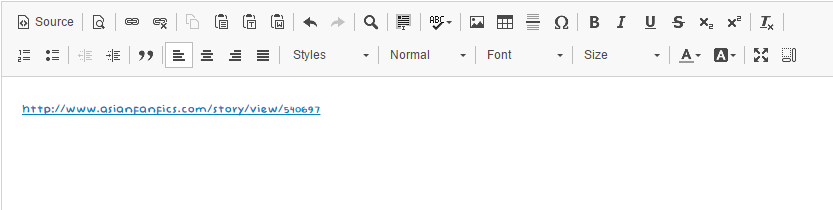
3. You will get it like this. If it become like this. When you click on the link, you will be redirected to the link.
ADD HYPERLINK IN TEXT
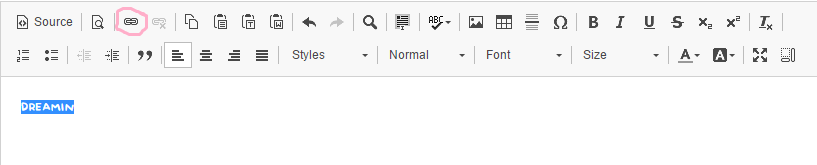
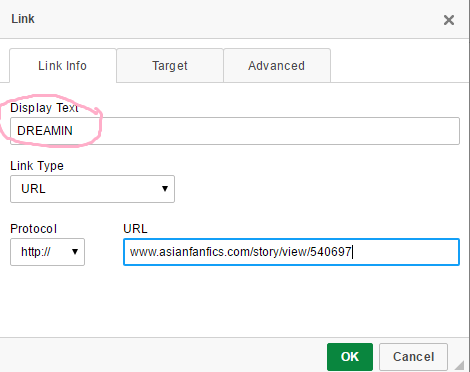
1. Type the text. Click on link.
2. Paste the link. As you see in the display text it is written DREAMIN, the same text I wrote in step 1.
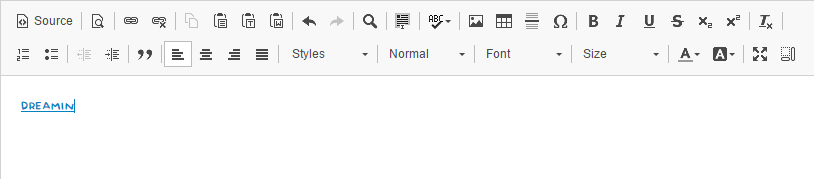
3. Click ok and you will get like this. The blue underline under the text shows you that the the hyperlink is available. If you want to change the text colour just select the text and click on TEXT COLOR. Change the color to your liking.
4. EXTRAAA!! The alternative way to add your hyperlink.
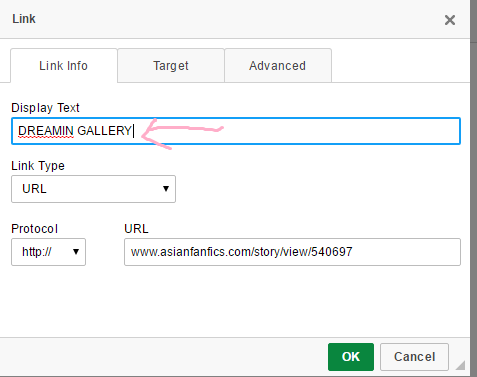
a) Click on link.
b) Paste the link. Then go to Display text and type the text that you want to be displayed.
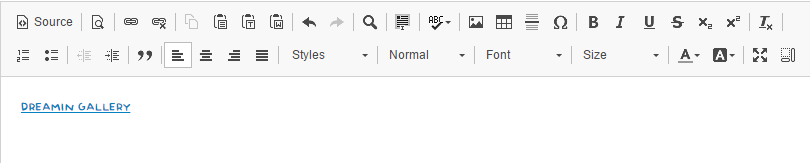
c) It will automatically come like this after you click on Ok.
ADD HYPERLINK IN PHOTO
1. Add the your image first. Select your image and click on link.
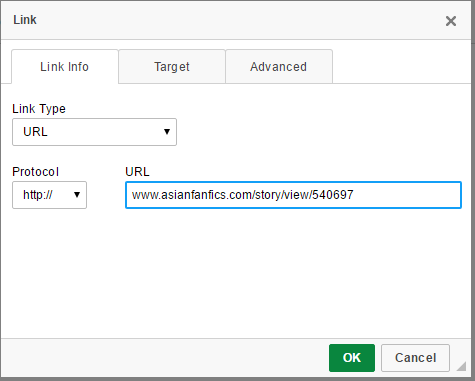
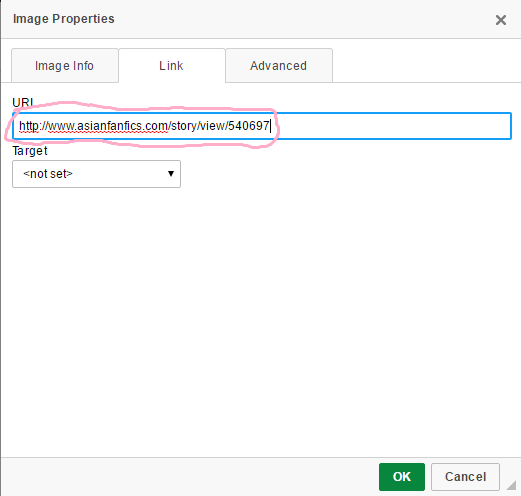
2. Paste the link. Click on Ok.
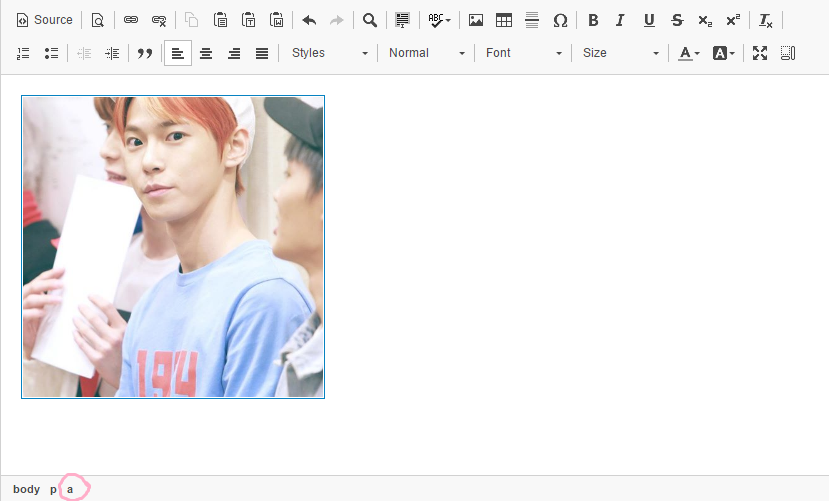
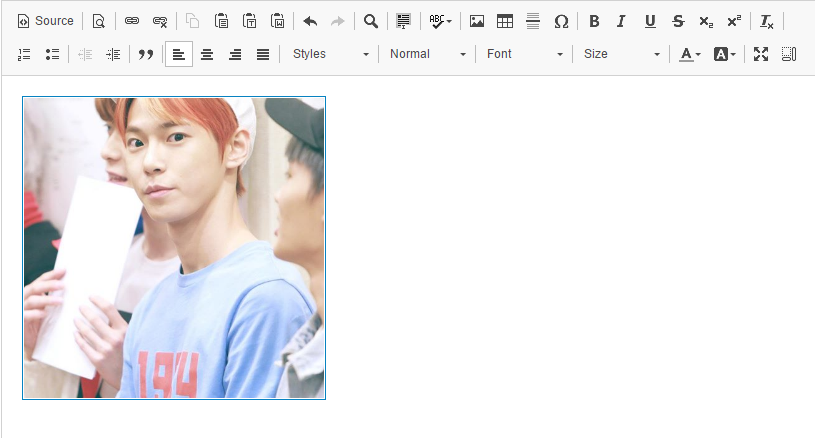
3. To know that the hyperlink has been added. Look at the square around the photo. It's blue, right? That's mean the hyperlink has been added. The other way is look at the element. I circled the one written a. That's shows you the link is there.
4. EXTRAAA!!! Alternative way to add hyperlink to your photo.
a) After add image url, click on Link.
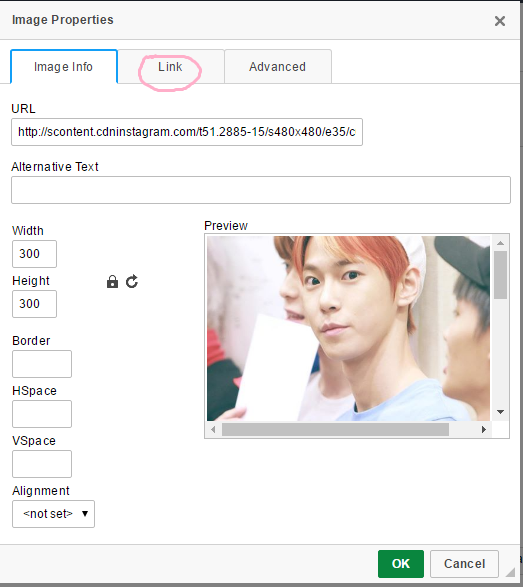
b) Add the url link.
c) Click on Ok and you're done.
2. MARGIN
Now I'll teach about margin. Btw I'll be using a background colour (text box) so that you will understand on how do the margin works.
Margin is the space outside something. As example a space outside a text box.
WITHOUT MARGIN

WITH MARGIN

Margin can be used for text box and photo.
1. So in margin there 4 types of margins. LEFT, RIGHT, TOP and BOTTOM. There are two different types of codes for margin, 'margin: 0px 0px 0px 0px;' and 'margin-(put the side): 0px;'.
For 'margin: 0px 0px 0px 0px;'...the first 0px is for margin-top, second 0px is for margin-right, third 0px is for margin-bottom, the last 0px is for margin-left. So the flow is from top ►right ►bottom ►left.
For 'margin-(put the side):0px;'...you only have to put the side as example margin-left: 10px;...Your text box/photo will have some spaces at its left. Only one side. If you want to add space above it then you have to add margin-top.
2. Here I'll show you how to add margin to your photo. (I'll use background so that easier for you to understand).
a) First add your photo. (I'll be using Doyoung). Then click on source.
b) In your layout you will only have the code for photo. Mine because of the text box. So in the code (photo) find height:188px (the number in yours may be different if you use other photo). We will add the margin code after height.

c) Now add ' margin-left:30px; '. Then click on source again.

d) Tadaa there are some space at the left side of the photo.
e) You can use 'margin: 0px 0px 0px 0px;' too but you have to change 0 to 30 add the last 0px.
3. For text box, the same step will be used. You will add the same code but the code must be add in the same code for text box.
< div style= background-color: #ff33ee; width: 100px; height: 100px; margin-left: 30px;" > < /div >
I'll teach in detail in layout lesson for text box.
4. I'll give you examples. (Full of Doyoung haha)

margin-left:30px;
margin-top:30px;
 margin-right: 30px;
(i put the photo float on right then I add the margin-right)

margin-bottom:30px;
(I add it in the first photo)

I'm back with layout lesson. I will teach you about hyperlink and margin.
1. Hyperlink
Some people don't know on how to add hyperlink in text or photo. We can add hyperlink directly, as example.
Some might only add like this but you can't click on it. You have to copy the link and paste it in url link in your browser.
VISIT MY GALLERY:
http://www.asianfanfics.com/story/view/540697
But in this lesson I will teach you on how to add hyperlink to your text and photo.http://www.asianfanfics.com/story/view/540697
ADD HYPERLINK
1. Click on link.
2. Paste the url link. Then click Ok.
3. You will get it like this. If it become like this. When you click on the link, you will be redirected to the link.
ADD HYPERLINK IN TEXT
1. Type the text. Click on link.
2. Paste the link. As you see in the display text it is written DREAMIN, the same text I wrote in step 1.
3. Click ok and you will get like this. The blue underline under the text shows you that the the hyperlink is available. If you want to change the text colour just select the text and click on TEXT COLOR. Change the color to your liking.
4. EXTRAAA!! The alternative way to add your hyperlink.
a) Click on link.
b) Paste the link. Then go to Display text and type the text that you want to be displayed.
c) It will automatically come like this after you click on Ok.
ADD HYPERLINK IN PHOTO
1. Add the your image first. Select your image and click on link.
2. Paste the link. Click on Ok.
3. To know that the hyperlink has been added. Look at the square around the photo. It's blue, right? That's mean the hyperlink has been added. The other way is look at the element. I circled the one written a. That's shows you the link is there.
4. EXTRAAA!!! Alternative way to add hyperlink to your photo.
a) After add image url, click on Link.
b) Add the url link.
c) Click on Ok and you're done.
2. MARGIN
Now I'll teach about margin. Btw I'll be using a background colour (text box) so that you will understand on how do the margin works.
Margin is the space outside something. As example a space outside a text box.
WITHOUT MARGIN
WITH MARGIN
Margin can be used for text box and photo.
1. So in margin there 4 types of margins. LEFT, RIGHT, TOP and BOTTOM. There are two different types of codes for margin, 'margin: 0px 0px 0px 0px;' and 'margin-(put the side): 0px;'.
For 'margin: 0px 0px 0px 0px;'...the first 0px is for margin-top, second 0px is for margin-right, third 0px is for margin-bottom, the last 0px is for margin-left. So the flow is from top ►right ►bottom ►left.
For 'margin-(put the side):0px;'...you only have to put the side as example margin-left: 10px;...Your text box/photo will have some spaces at its left. Only one side. If you want to add space above it then you have to add margin-top.
2. Here I'll show you how to add margin to your photo. (I'll use background so that easier for you to understand).
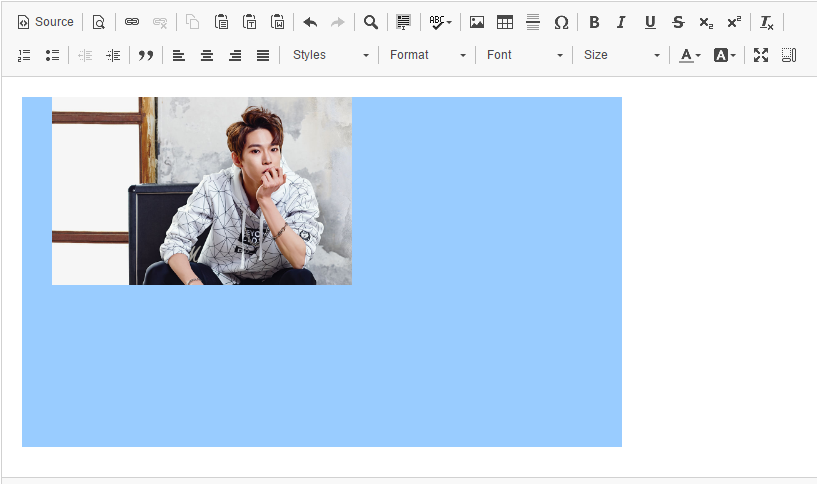
a) First add your photo. (I'll be using Doyoung). Then click on source.
b) In your layout you will only have the code for photo. Mine because of the text box. So in the code (photo) find height:188px (the number in yours may be different if you use other photo). We will add the margin code after height.
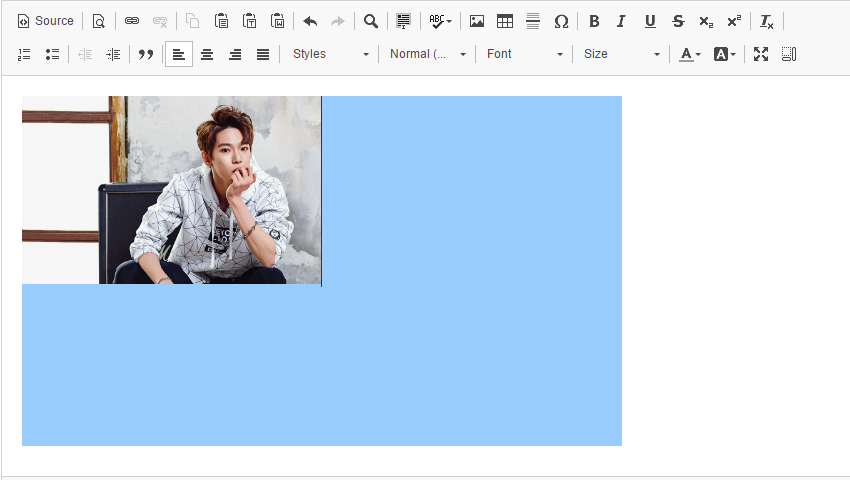
c) Now add ' margin-left:30px; '. Then click on source again.
d) Tadaa there are some space at the left side of the photo.
e) You can use 'margin: 0px 0px 0px 0px;' too but you have to change 0 to 30 add the last 0px.
3. For text box, the same step will be used. You will add the same code but the code must be add in the same code for text box.
< div style= background-color: #ff33ee; width: 100px; height: 100px; margin-left: 30px;" > < /div >
I'll teach in detail in layout lesson for text box.
4. I'll give you examples. (Full of Doyoung haha)
margin-left:30px;
margin-top:30px;
margin-right: 30px;(i put the photo float on right then I add the margin-right)
margin-bottom:30px;
(I add it in the first photo)
Few things that you can do with margins.
NCT Doyoung.
Real name is Kim Dongyoung.
Real name is Kim Dongyoung.
DOYOUNG
DOYOUNG
Done tutorial for today. I have made lists for tutorial to do. I'm not sure in next chapter I will do layout lesson or graphic tutorial. If graphic tutorial I'm thinking to make either cutting using lasso or simple poster. I can post the chapter on Wednesday because tomorrow I have QTI for driving. Haha it just a pre-test but I'm nervous. wish me luck! I use Doyoung for today's lesson. He's my 4th fav member in NCT (including all units). He just celebrate his birthday last Wednesday. this cutie bunny x3.
Layout by minocha99 | 2017

To all subbies~~ Finally i'm back! My semester break has start since last two weeks but i was busy and just got my free time. I'm not sure how many updates i can make. But I try my best to update as many as i can. I haven't finish my render too. I just try to finish it as soon as i can.
Comments