tutorial 3: Save Graphics And Choose Photo For Graphics
ドリーミン (Dreamin') Tutorial

now playing NCT127 - Limitless


TUTORIAL 3: SAVE GRAPHICS AND CHOOSE PHOTO FOR GRAPHICS
Yohoo I have new tutorial. So today I will teach you two things, first I teach you on how to save your graphics in png format. Then I teach you on choosing photo for your graphics. I think you guys can choose photo without my help but yeah I'll teach you, haha.
1. SAVE GRAPHICS.
When you edit or make a poster. If you click on save. Your file will be save in xcf file format. This file format is for gimp file format. Not all site accept this file format. So we have to put our poster/edit in other file format that accepted by most websites.
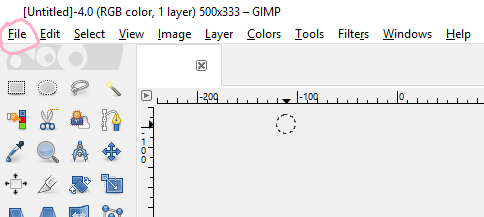
1. After finish with your edits/posters click on file.
2. Look for Export (if you start with a new page or poster). Click on Export.
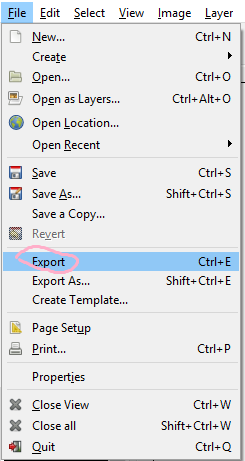
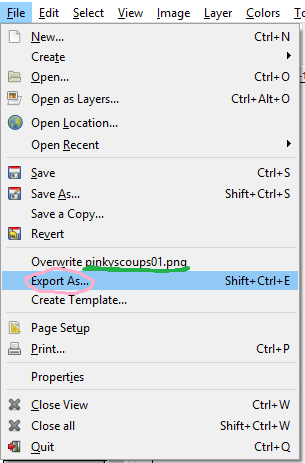
If you made an edit (you edit from original photo) on Export it will written Overwrite (name of original file). So you have to choose Export As.
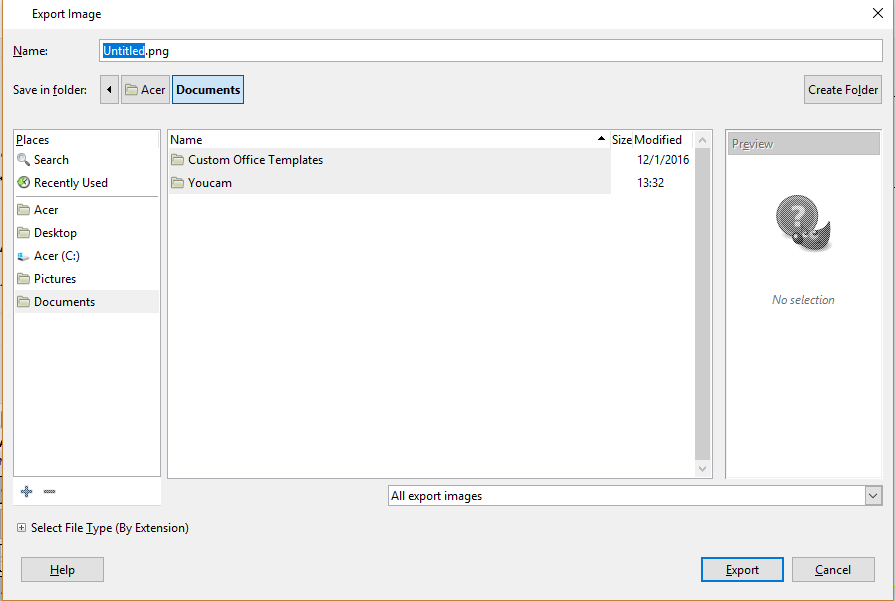
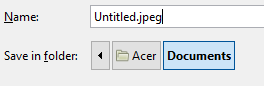
3. A new window will pop-up. Rename the file first. Also go to the folder that you want to save your poster/ edits in.
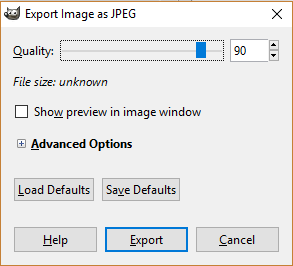
4. Now it will depends on your file format. If you put the format jpeg or jpg, this window will pop-up. I usually adjust the quality to 100.
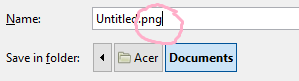
5. If you put the file format as png, this window will pop-up. I adjusted exactly same as below. I prefer to use png than jpg.
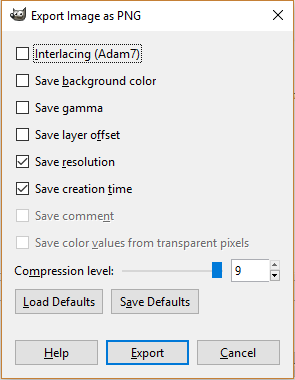
6.After done saving your poster/edits the name at top left will be change to the same name as you saved just now. Example below.

2. CHOOSING PHOTOS
Today I'll tell you on how to choose photo. I think you guys know on how to choose the photo to make your poster looks good. Maybe you guys can learn something too.
1. High Quality Photo.
You can find low quality and high quality photo. High quality is better to make poster. I'll give example photos for high quality and low quality. You see how can a high quality and low quality photo can affect your poster? If you want to find high quality photo is google images, find a photo with large size like more than 400x500 or 500x400. Your photo will become big when opened in GIMP, but you can resize it smaller and fit the poster well. If you choose low quality photo (small size photo like 50x100), you have to resize it bigger. It can make your photo look ugly and blur, which will turn out your poster to look ugly.
Low quality. (I resize them but these photos still low in quality when in its original size)


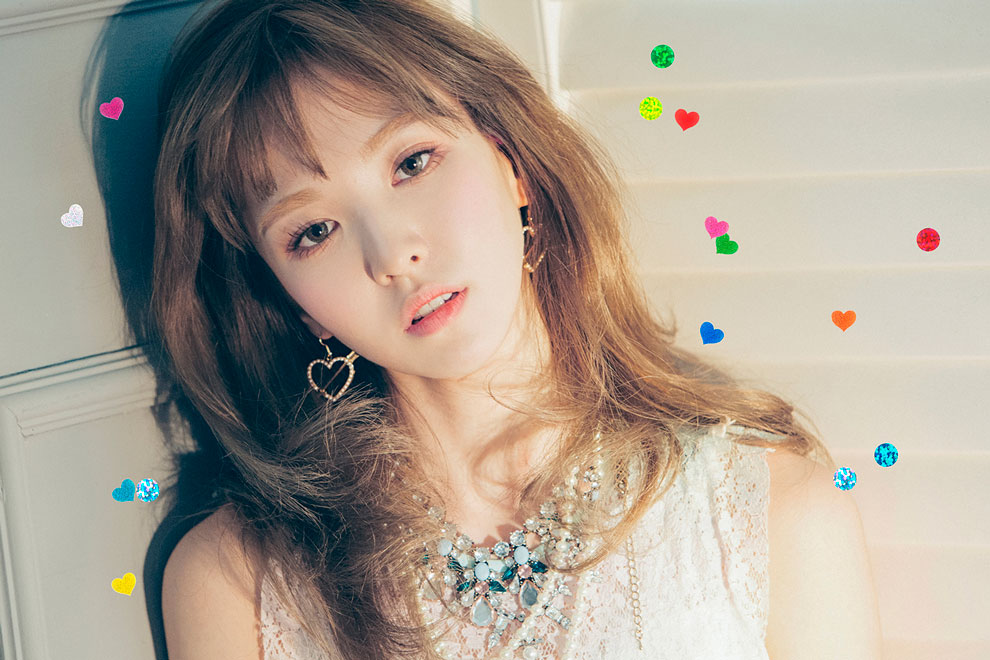
High Quality (I resize it so that I can fit them here).


!!!!!!!!!!
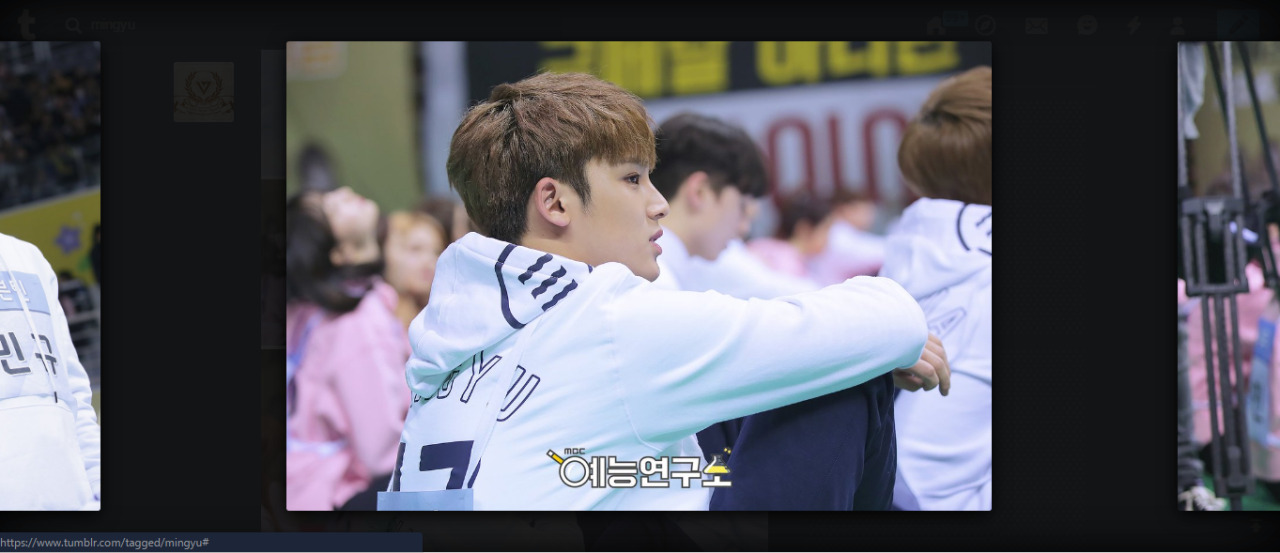
In tumblr do not directly save your image like this. (Directly right click and save the image). I'll show you my example. When I directly right click and save the image the size will be read (circled) 400 (not sure it is size or not). It's already big enough. But...
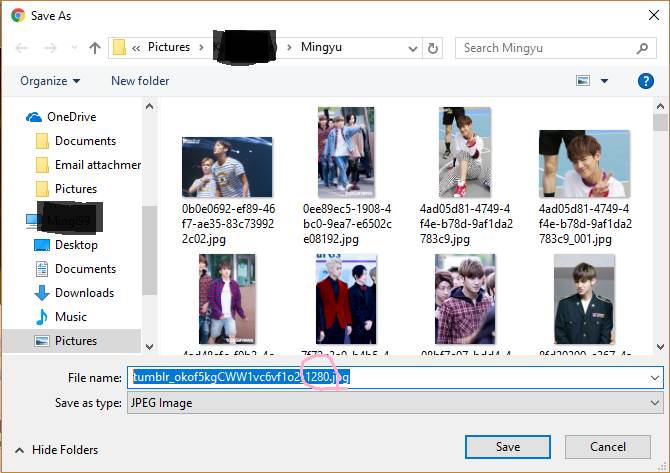
If you click on it first, you will view the photo in its actual size. Then right click and save it. You see the number is bigger.
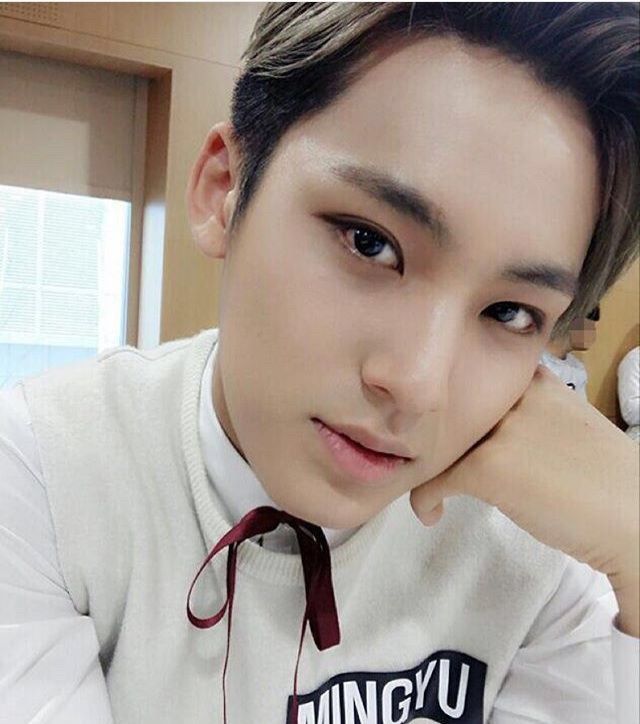
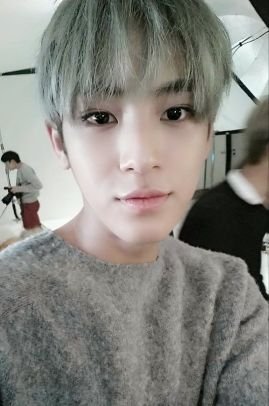
2. Selca.
Selca is totally not recommend to be used in poster except for certain condition. Selca, selfie is not recommend because they are low quality, blurred and not all body parts are in the photo.

3. Screencap.
If you use a screencap photo you have to be very careful. The photo might be blurred in certain part, the artist/ idols face might be weird, easy to say derp. That will be so ugly for your photo. A scan photo also not really recommend because some are also blurred.
I resize to smaller size. If you view it in its actual size, the photo is not that good quality.


4. Suit with theme.
This is a must. You have to be very careful when choosing photo. You guys already know what I want to say but this is just a reminder. Sad, angst poster of course must be used a sad photo. Romcom, fluff should be use a happy, smiling face photo.
For sad and angst theme.

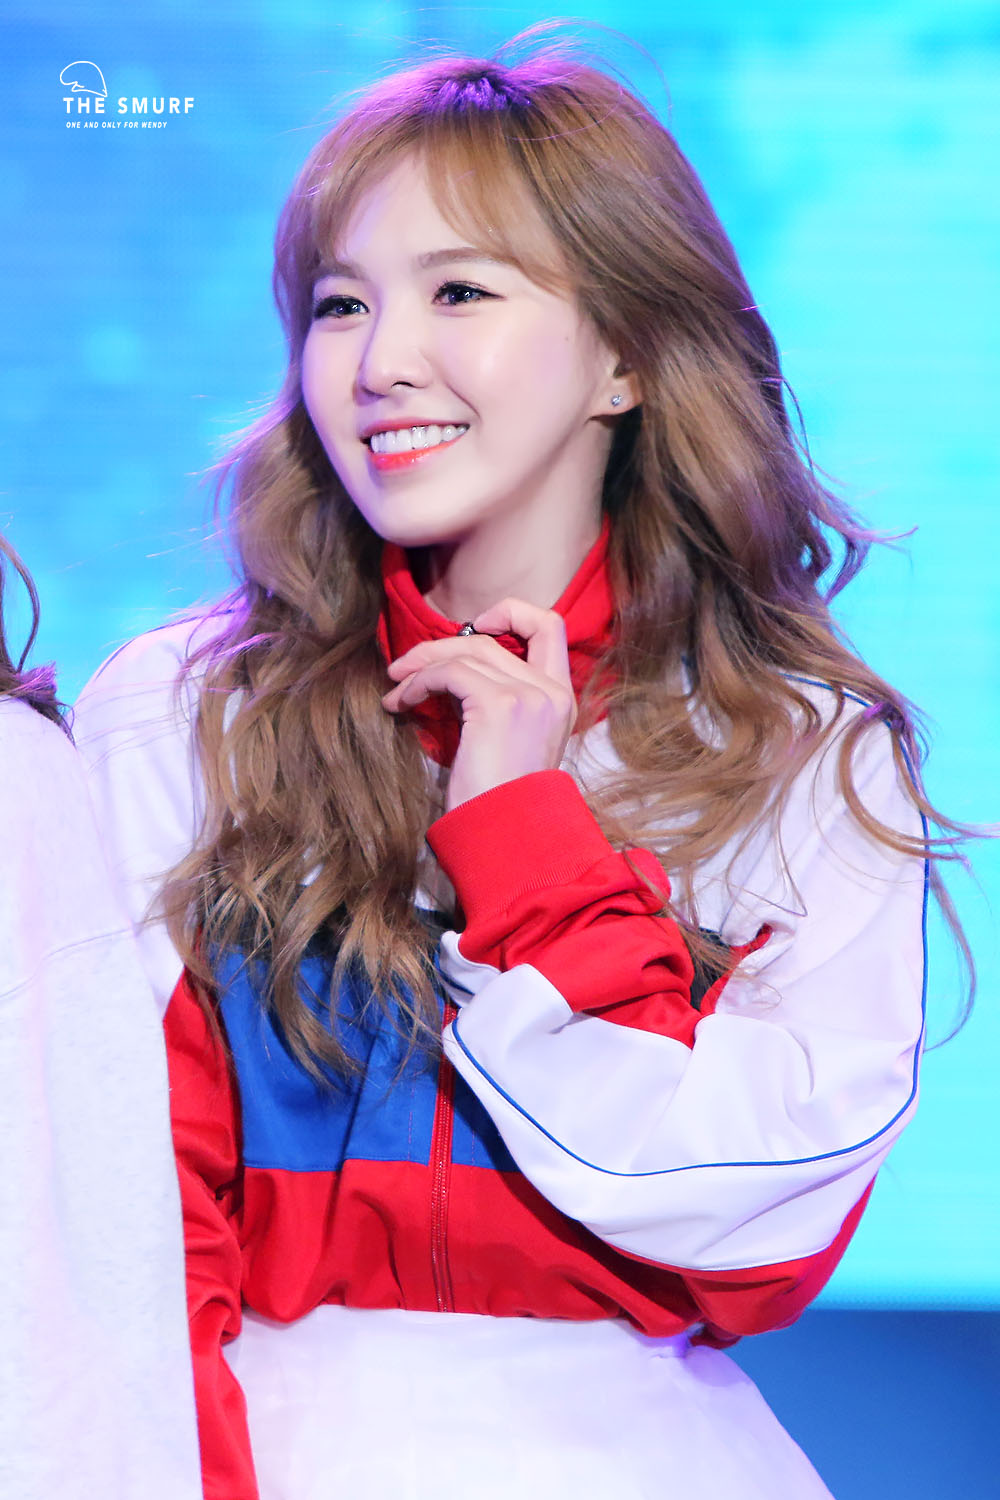
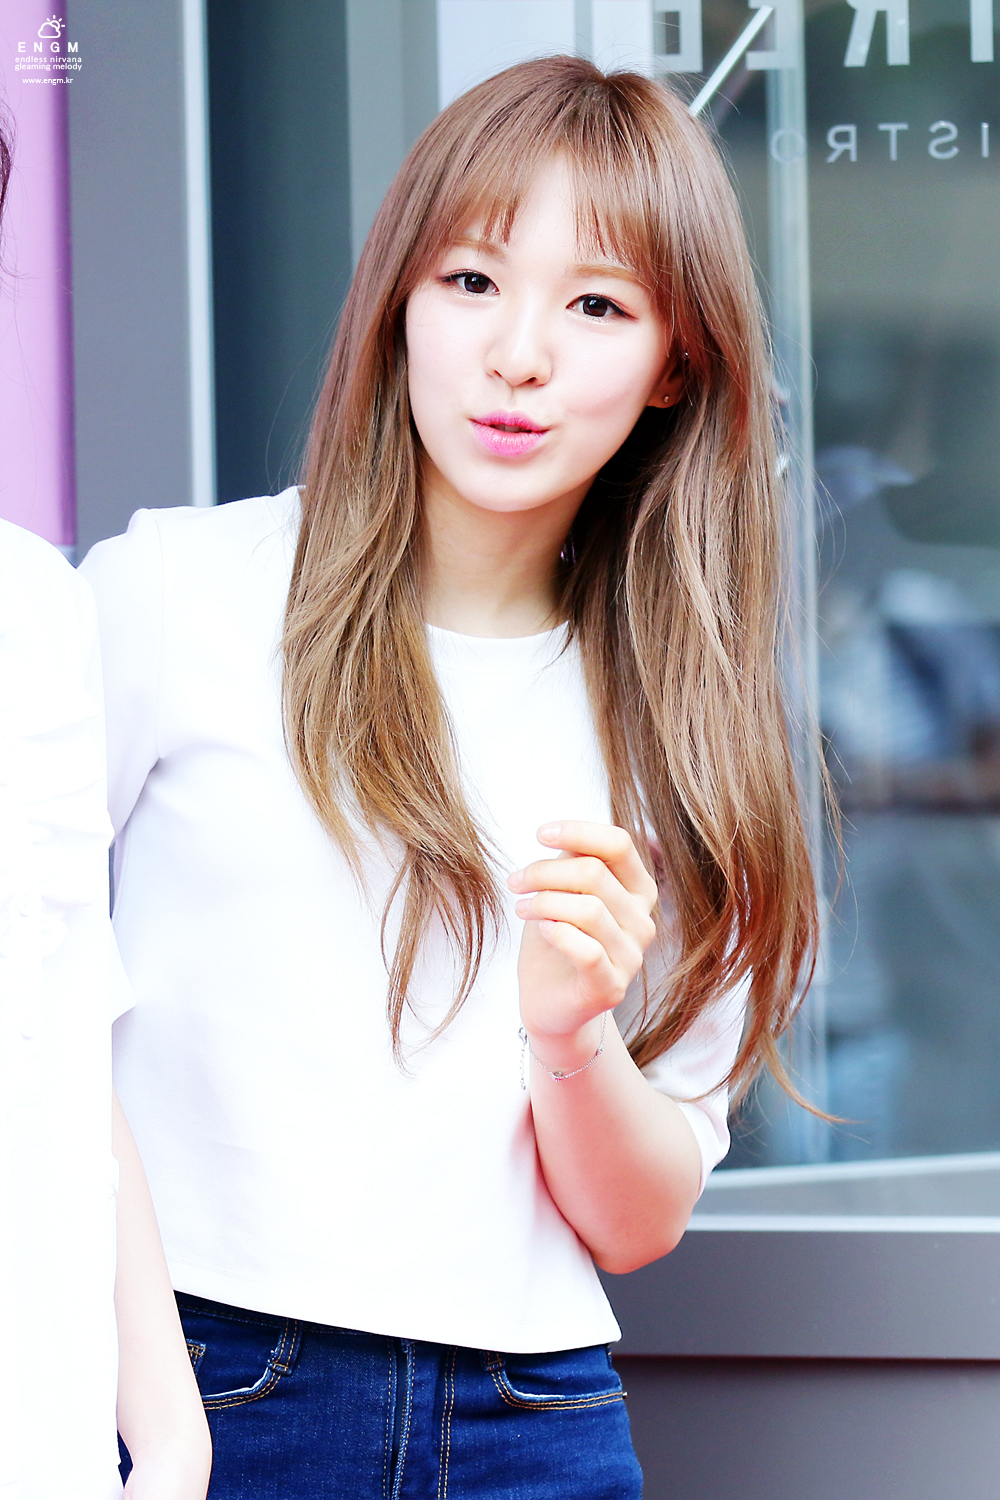
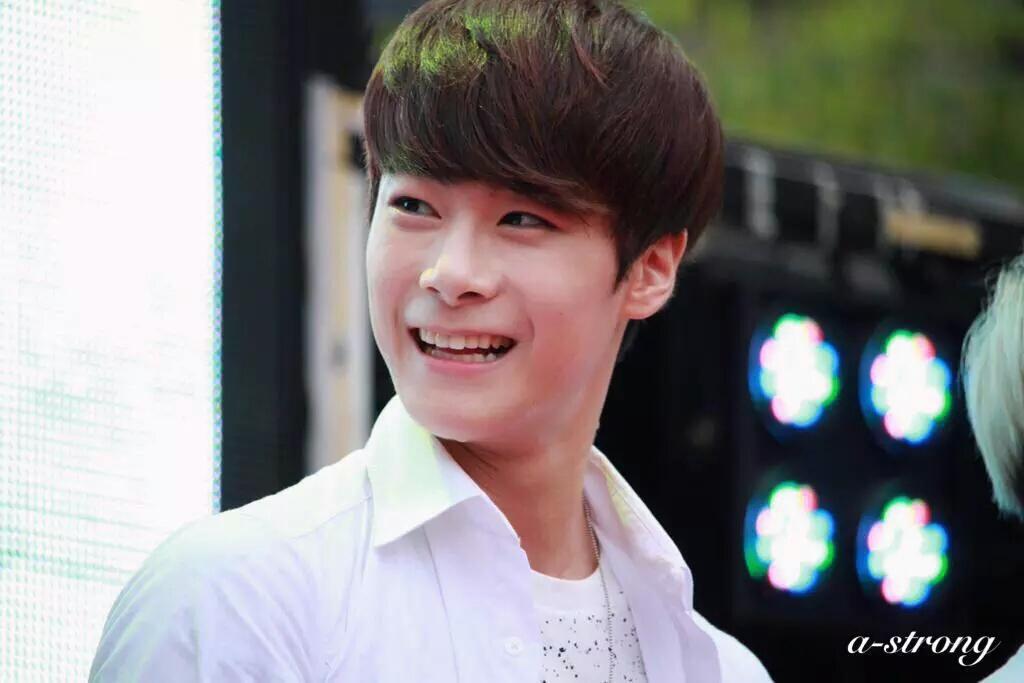
For happy theme.

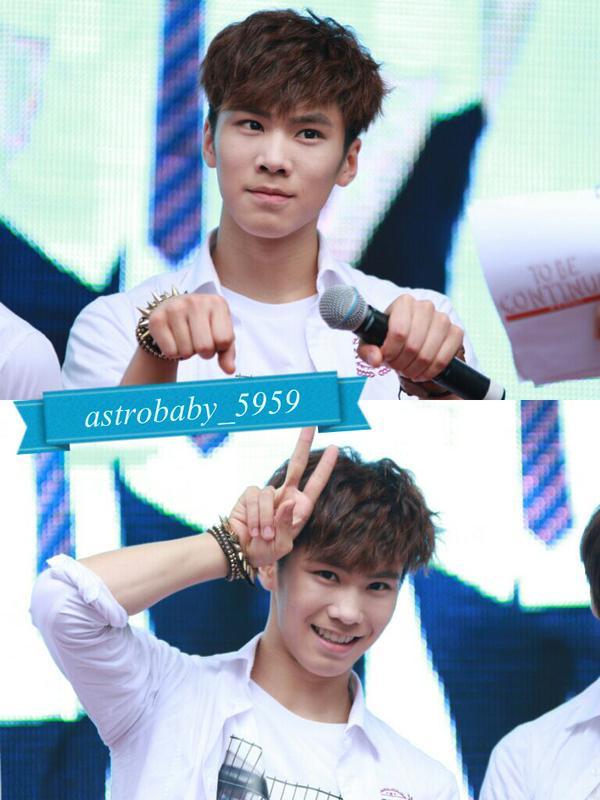
5. Fantaken.
Mostly fantaken cannot be used, they usually mentioned that do not edit. So don't use them if already mentioned like that. Some kind fans allow for their photos to be used for editing but they usually asked for you not to remove the credit. It's up to you wether want to use them or not. Some fantaken also not good to be use for poster.
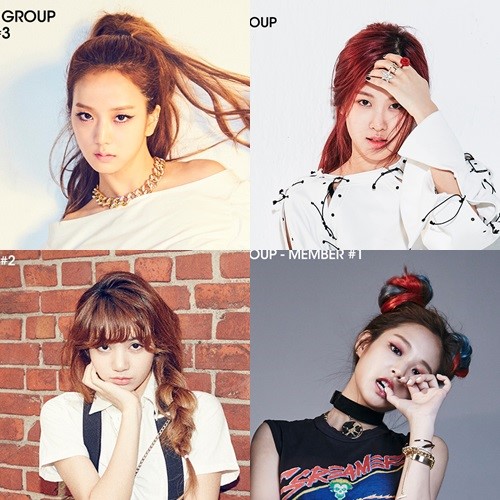
6. Collage.
Avoid using collage. Even if the photo is big but if it is a collage (more than 1 photo in a collage). The result of your cutting might end up the photo to be smaller. Photo in below is 500x500. If you cut them, then the individual photo each will be 250x250.
Finally new chapter. This is pretty long haha. If you guys dont understand anything tell to me, comment below I'll reply to you ASAP. For next graphic tutorial, I can start with cutting or simple poster. By the way after this I will use other artist/ idols for my tutorial. As you see in this chapter, I use Mingyu, Wendy and Blackpink for my tutorial.
Yohoo I have new tutorial. So today I will teach you two things, first I teach you on how to save your graphics in png format. Then I teach you on choosing photo for your graphics. I think you guys can choose photo without my help but yeah I'll teach you, haha.
1. SAVE GRAPHICS.
When you edit or make a poster. If you click on save. Your file will be save in xcf file format. This file format is for gimp file format. Not all site accept this file format. So we have to put our poster/edit in other file format that accepted by most websites.
1. After finish with your edits/posters click on file.
2. Look for Export (if you start with a new page or poster). Click on Export.
If you made an edit (you edit from original photo) on Export it will written Overwrite (name of original file). So you have to choose Export As.
3. A new window will pop-up. Rename the file first. Also go to the folder that you want to save your poster/ edits in.
4. Now it will depends on your file format. If you put the format jpeg or jpg, this window will pop-up. I usually adjust the quality to 100.
5. If you put the file format as png, this window will pop-up. I adjusted exactly same as below. I prefer to use png than jpg.
6.After done saving your poster/edits the name at top left will be change to the same name as you saved just now. Example below.
2. CHOOSING PHOTOS
Today I'll tell you on how to choose photo. I think you guys know on how to choose the photo to make your poster looks good. Maybe you guys can learn something too.
1. High Quality Photo.
You can find low quality and high quality photo. High quality is better to make poster. I'll give example photos for high quality and low quality. You see how can a high quality and low quality photo can affect your poster? If you want to find high quality photo is google images, find a photo with large size like more than 400x500 or 500x400. Your photo will become big when opened in GIMP, but you can resize it smaller and fit the poster well. If you choose low quality photo (small size photo like 50x100), you have to resize it bigger. It can make your photo look ugly and blur, which will turn out your poster to look ugly.
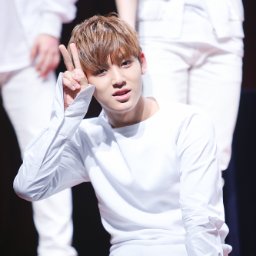
Low quality. (I resize them but these photos still low in quality when in its original size)
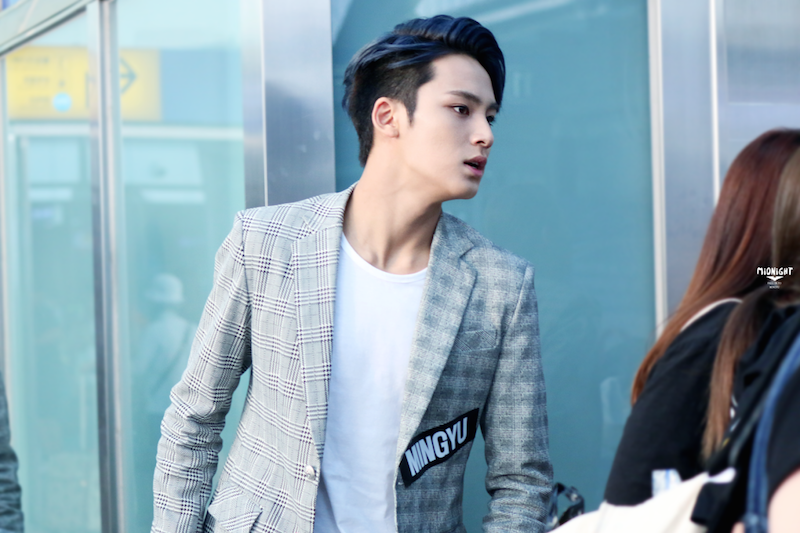
High Quality (I resize it so that I can fit them here).
!!!!!!!!!!
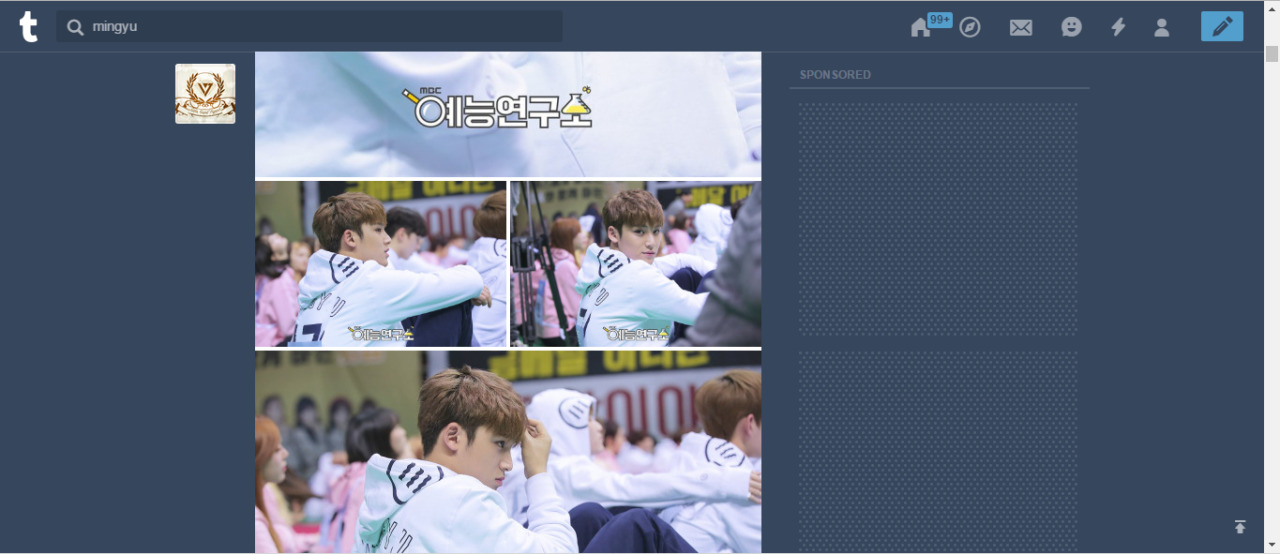
In tumblr do not directly save your image like this. (Directly right click and save the image). I'll show you my example. When I directly right click and save the image the size will be read (circled) 400 (not sure it is size or not). It's already big enough. But...
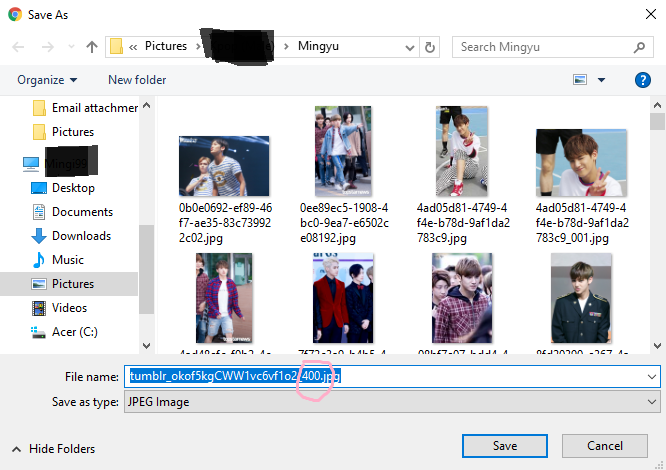
If you click on it first, you will view the photo in its actual size. Then right click and save it. You see the number is bigger.
2. Selca.
Selca is totally not recommend to be used in poster except for certain condition. Selca, selfie is not recommend because they are low quality, blurred and not all body parts are in the photo.
3. Screencap.
If you use a screencap photo you have to be very careful. The photo might be blurred in certain part, the artist/ idols face might be weird, easy to say derp. That will be so ugly for your photo. A scan photo also not really recommend because some are also blurred.
I resize to smaller size. If you view it in its actual size, the photo is not that good quality.
4. Suit with theme.
This is a must. You have to be very careful when choosing photo. You guys already know what I want to say but this is just a reminder. Sad, angst poster of course must be used a sad photo. Romcom, fluff should be use a happy, smiling face photo.
For sad and angst theme.
For happy theme.
5. Fantaken.
Mostly fantaken cannot be used, they usually mentioned that do not edit. So don't use them if already mentioned like that. Some kind fans allow for their photos to be used for editing but they usually asked for you not to remove the credit. It's up to you wether want to use them or not. Some fantaken also not good to be use for poster.
6. Collage.
Avoid using collage. Even if the photo is big but if it is a collage (more than 1 photo in a collage). The result of your cutting might end up the photo to be smaller. Photo in below is 500x500. If you cut them, then the individual photo each will be 250x250.
Finally new chapter. This is pretty long haha. If you guys dont understand anything tell to me, comment below I'll reply to you ASAP. For next graphic tutorial, I can start with cutting or simple poster. By the way after this I will use other artist/ idols for my tutorial. As you see in this chapter, I use Mingyu, Wendy and Blackpink for my tutorial.
Layout by minocha99 | 2017

To all subbies~~ Finally i'm back! My semester break has start since last two weeks but i was busy and just got my free time. I'm not sure how many updates i can make. But I try my best to update as many as i can. I haven't finish my render too. I just try to finish it as soon as i can.
Comments