tutorial 5: Simple Poster (ChangHee)
ドリーミン (Dreamin') Tutorial

now playing NCT127 - Limitless


TUTORIAL 5: SIMPLE POSTER (ChangHee)
Hi everyone!! Finally I can continue my tutorial and lesson in peace (except when 16.3 is near...any 99 liner and malaysian will understand me haha). Sorry for late update too! I had my driving test last Sunday and I pass!!!! Yayyy!! Then yesterday I have an appointment at hospital. I done the screenshot on Monday but only today I have time to type everything here. Okay okay *slap myself* so as I promise in last chapter...today I'll teach you to make a very very very simple poster. You can do this poster in 10-15 minutes when you already good in editing.
Before we start...Download the render first. Changmin TVXQ and Lee yeon Hee. (I love both of them... Changmin is my bias in TVXQ and Lee Yeon Hee is my most fav actress... she's not that popular but if you haven't watch her acting...I recommend you to watch Ghost. I watched the drama about 3 or 4 times already xD...the drama is aired in 2011 if i'm not wrong haha. okay i must stop myself right now ==)

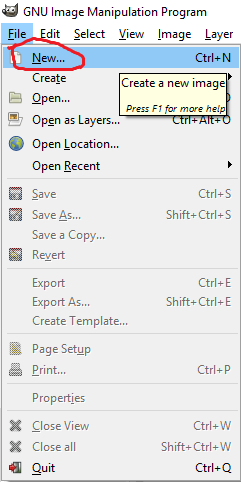
1. First is we have to open a new image. Click on File and New.
Hi everyone!! Finally I can continue my tutorial and lesson in peace (except when 16.3 is near...any 99 liner and malaysian will understand me haha). Sorry for late update too! I had my driving test last Sunday and I pass!!!! Yayyy!! Then yesterday I have an appointment at hospital. I done the screenshot on Monday but only today I have time to type everything here. Okay okay *slap myself* so as I promise in last chapter...today I'll teach you to make a very very very simple poster. You can do this poster in 10-15 minutes when you already good in editing.
Before we start...Download the render first. Changmin TVXQ and Lee yeon Hee. (I love both of them... Changmin is my bias in TVXQ and Lee Yeon Hee is my most fav actress... she's not that popular but if you haven't watch her acting...I recommend you to watch Ghost. I watched the drama about 3 or 4 times already xD...the drama is aired in 2011 if i'm not wrong haha. okay i must stop myself right now ==)
1. First is we have to open a new image. Click on File and New.
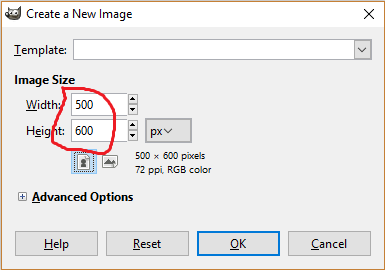
2. When this window pop-up. Change the width to 500 and height 600.
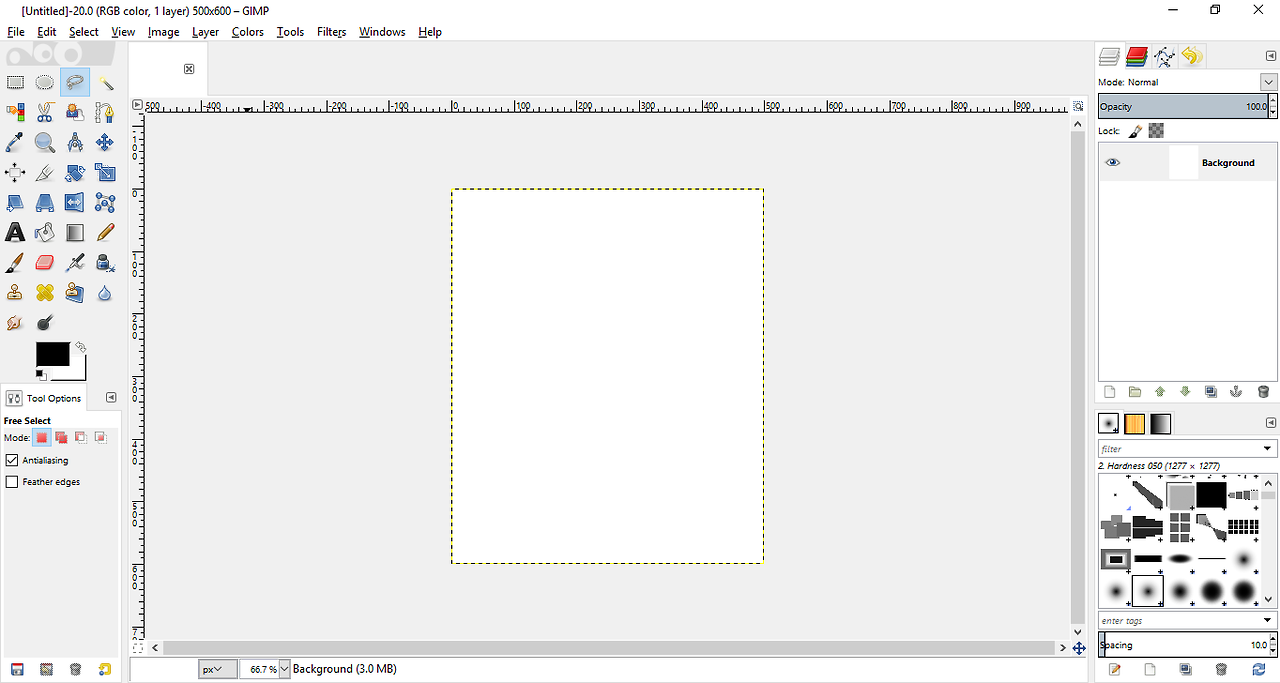
3. it will look like this.
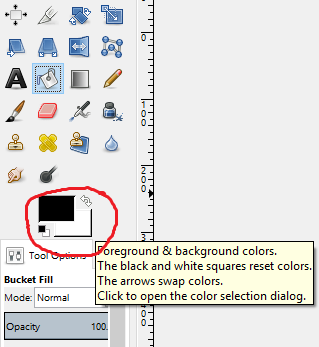
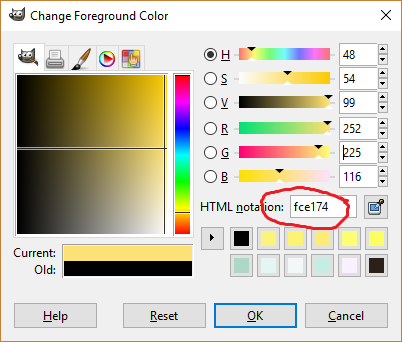
4. Next click on Foreground and Background colour. Click on the black one.
5. Change the colour to the one same as mine. Change the HTML notation same as mine fce174.
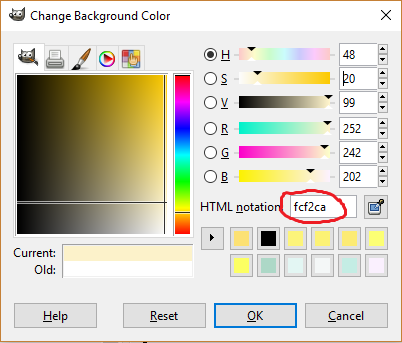
6. Then click on the white one. Change the colour too. Change the HTML notation to fcf2ca.
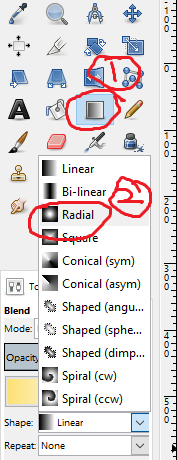
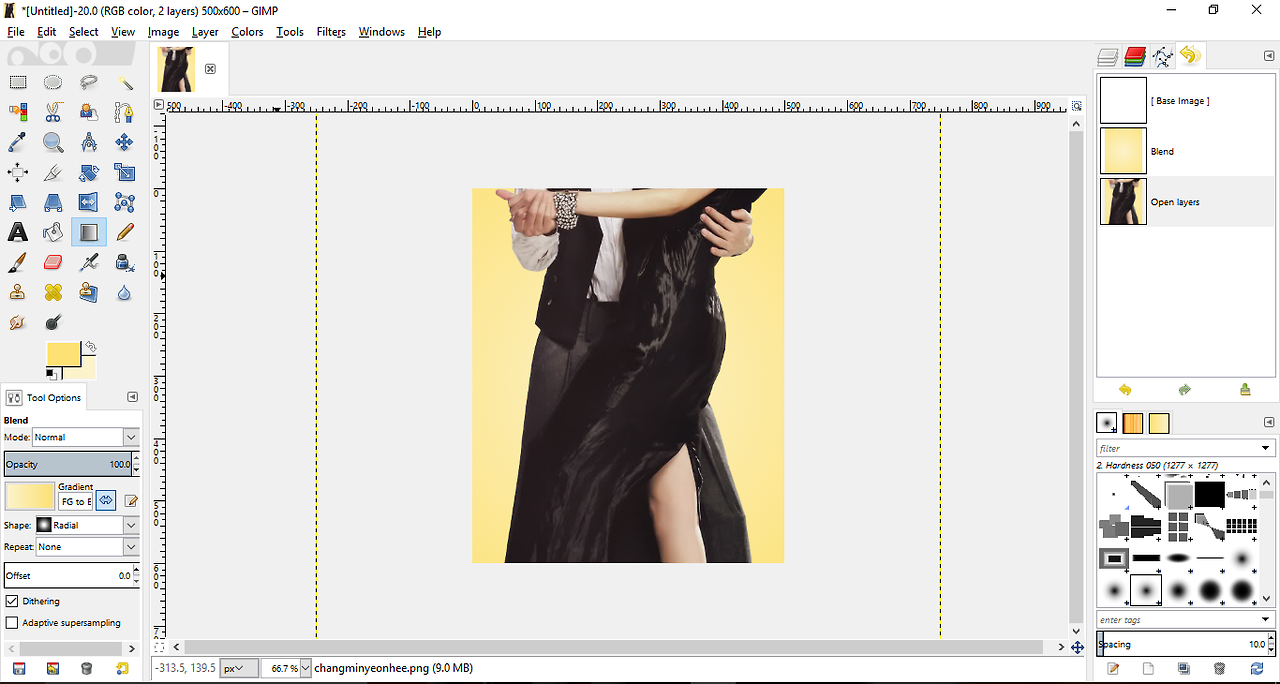
7. Now click on Blend Tool. At the tool options change the shape from linear to radial.
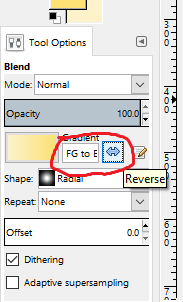
8. Change the gradient. Click on the arrow. Make the preview colour goes from lighter to darker.
9. Now click at the middle poster and drag to outside of poster.
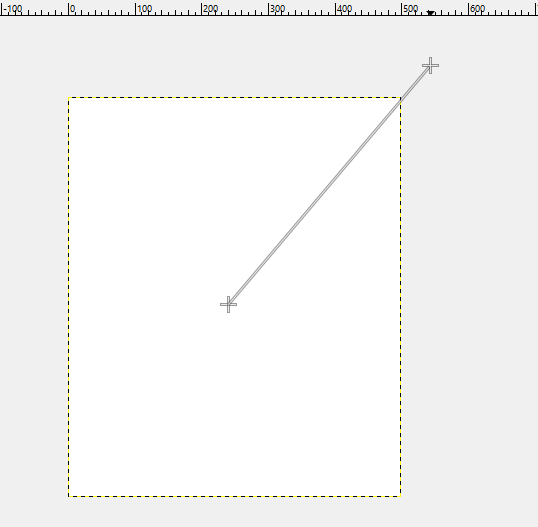
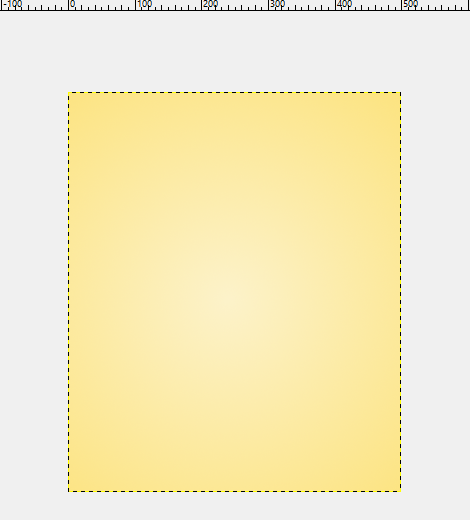
10. Your background will look like this.
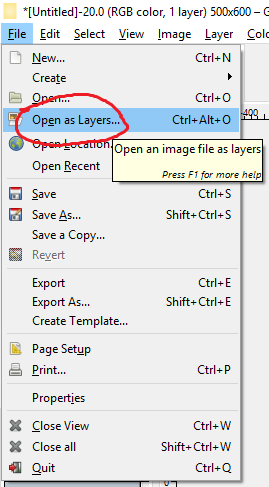
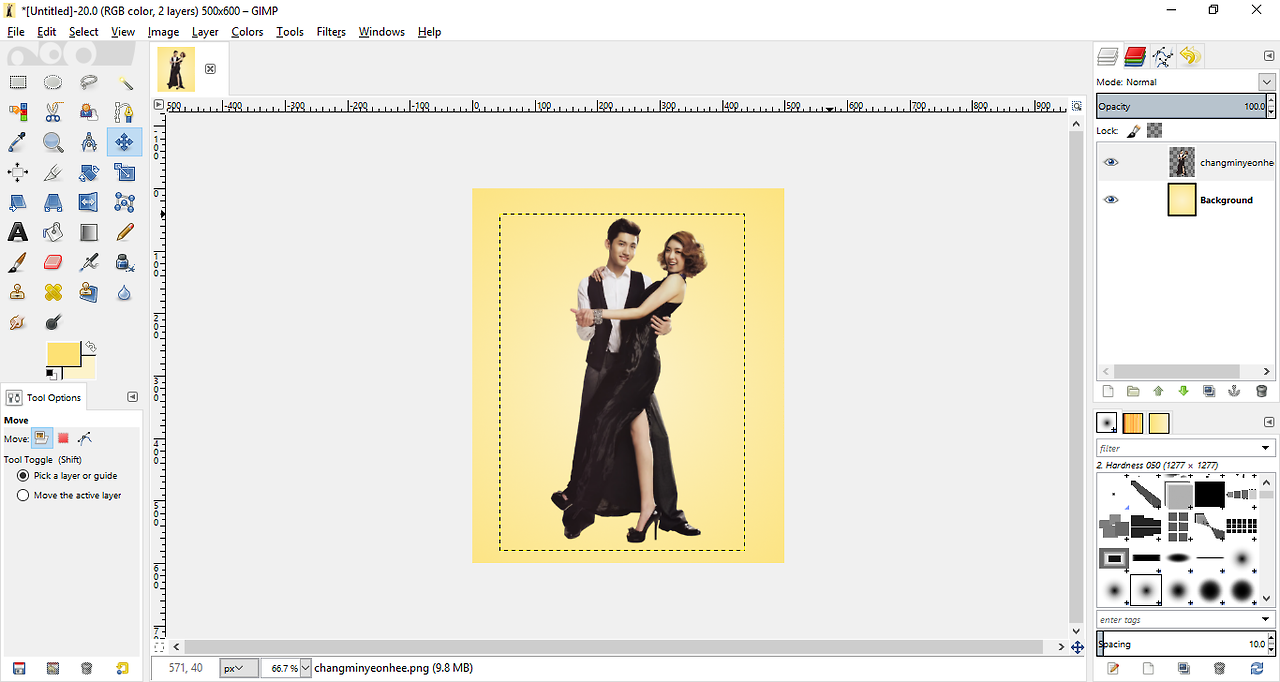
11. Next click on File then Open As Layers. Find the Changhee render that you download just now.
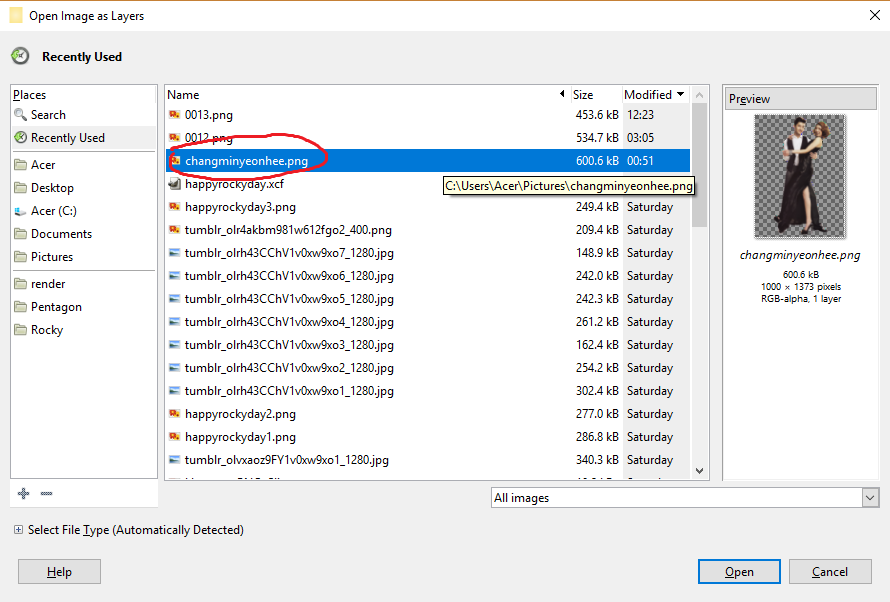
12. You will get like this.
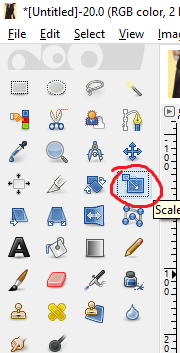
13. Since the Changhee render is big, we are going to decrease the size. Click on Scale Tool.
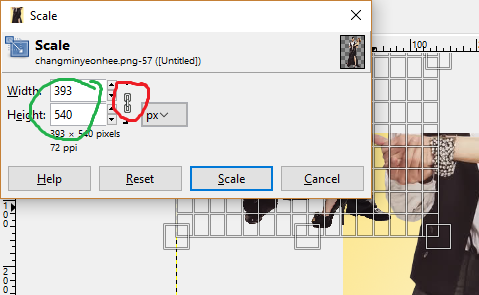
14. Now a new window will pop-up. Change the width and height same as mine. Click on Okay.
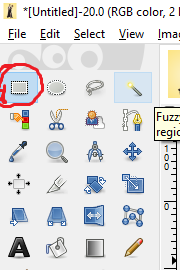
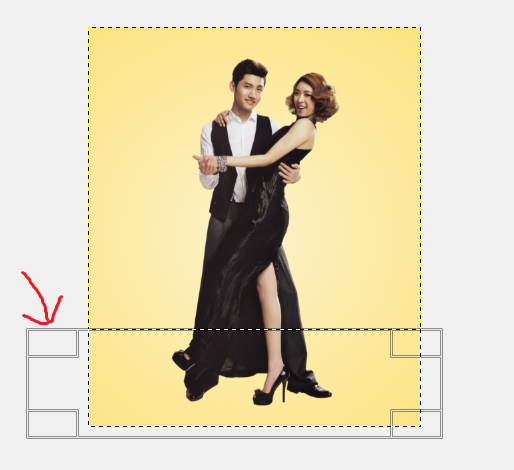
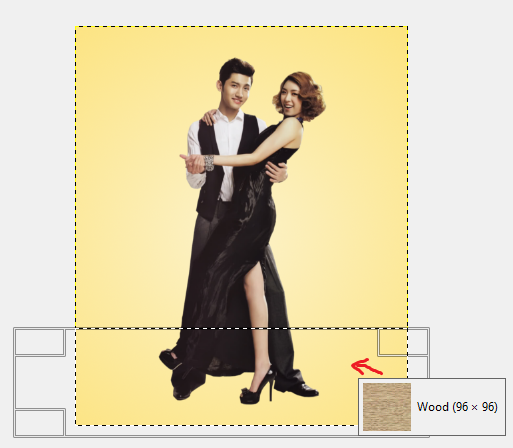
15. Then click on Rectangle Select Tool. Select some of the background in the lower part of poster. We do this to make floor in the poster.
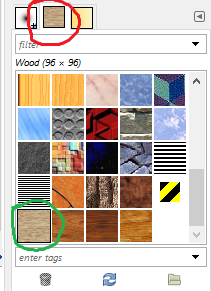
16. Click on the Patterns section and choose the Wood pattern. The pattern is already in the software when you first time install it.
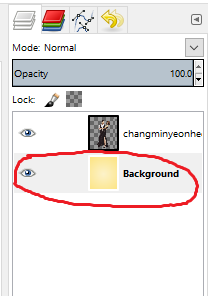
17. Before we continue. Make sure you click on Background layer first. We don't want the floor pattern added at Changhee's layer.
18. Now click on the wood pattern and dragged the pattern inside the rectangle selection that we made in step 15.
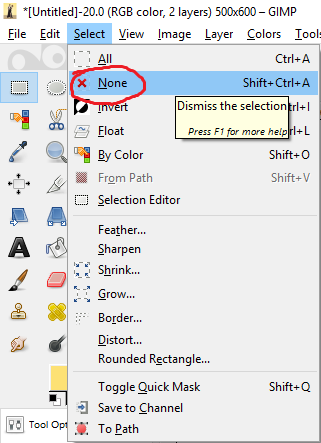
19. Then click on Select and then None.
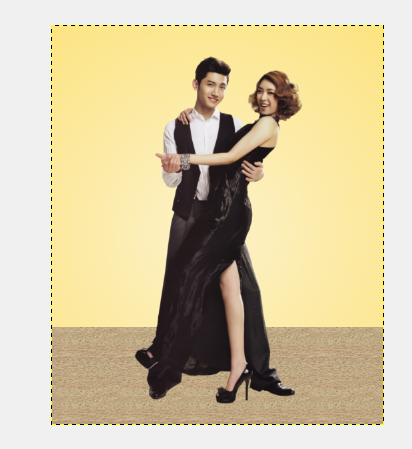
20. You will get like this.
21. Click on Paintbrush Tool and click on Brush sections. Click on Block 02. If you don't have the brush in your software you can find them in google or find any similar brush.
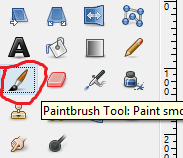
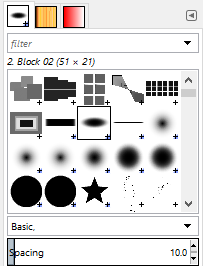
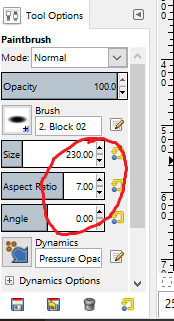
22. Adjust the size and aspect ratio to same as mine. If you use a circle brush you have to increase the aspect ratio and maybe the size is different too.
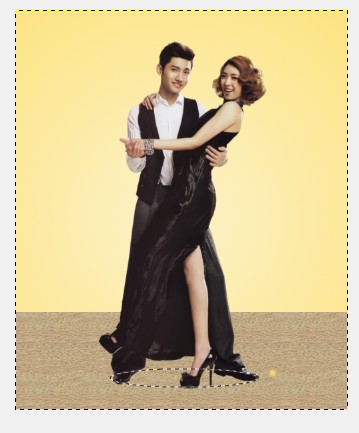
23. Find the correct position to paint the background. When you have find the position click once.
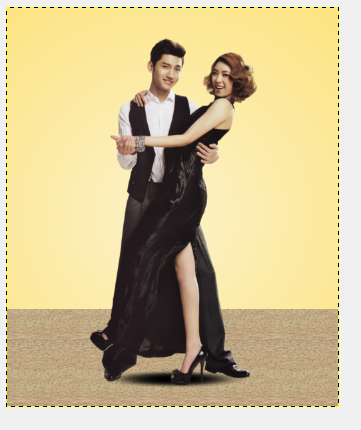
24. It will look like this. It looks like there is a shadow underneath Changhee.
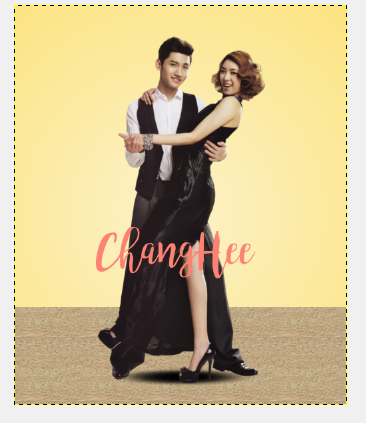
25. Lastly add the name Changhee to poster. I use bromello for the font the colour of the font is fc8374. If you don't have the font, you can use any other brush or download the brush in 1001 font or Dafont.
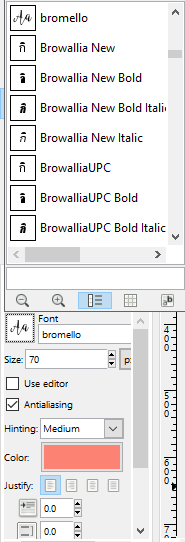
26. Add the font to anywhere that you want.
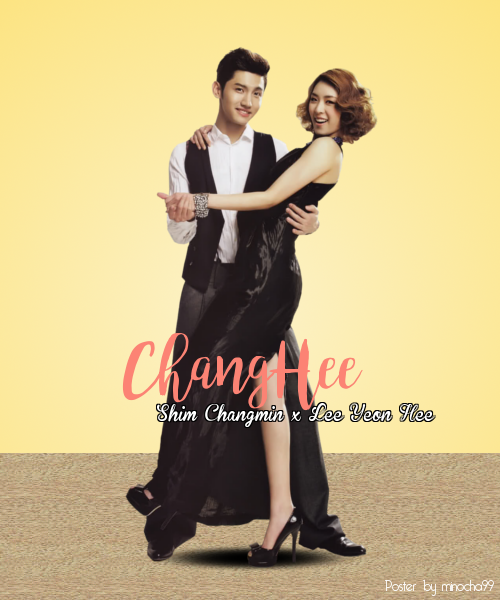
27. Add anything that you want such as your credit. When you have done save your poster in png format.
This is my final result.
Yayyyy finally I'm done. So guys comment for next tutorial!!! It can be either layout lesson or graphic tutorial. About the Pentagon render, still in progress haha xp. Each member has about 3 or 4 individual photo. can you imagine 3x10=30....that's not including group photo and member who have 4 individual photo haha ==.
Layout by minocha99 | 2017

To all subbies~~ Finally i'm back! My semester break has start since last two weeks but i was busy and just got my free time. I'm not sure how many updates i can make. But I try my best to update as many as i can. I haven't finish my render too. I just try to finish it as soon as i can.
Comments