Simplistic Blendy Poster Tutorial
110690's Graphics + Resources
This was originally gonna be the movie type poster, but I decided to do something short and basic first !!!!
Enjoy!

*It's easier if your two images match somewhat in colors.

1. Canvas. 400 x 500. BAM.

2. Paste on your image and resize it as you please. The character's face should be mostly on the upper half of the canvas.

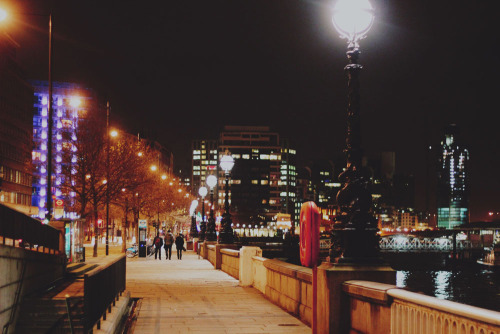
3. Paste on your other image, which should be of any sort of landscape or place.

4. Adjust your character's colors if needed, and merge the adjustments onto the character.

5. On the landscape/city picture, click the layer mask button (highlighted) and drag on a black and white gradient.

6. Click on the thumbnail of the layer and blend away the harsh edges with the eraser tool.

7. Drag down the top layer a bit to create space in between the city/landscape picture and the character. On the character's layer, choose the most common color and brush it inbetween.

8. On the top layer, hit Image>Adjustments>Hue/Saturation, and pull down the saturation a bit, then add text in the middle situated as you want.

9. Darken the image if you want by lowering the character's opacity, and blue the text to create a glowing effect. Sharpen if you want and you're done!
Hopefully you enjoyed that? I accidentally over-sharpened the final image but it doesn't bother me so ¯\_(ツ)_/¯
Now you know a quick and easy way to blend two images!! wooooooooo
I'll see you all in the next whatever I post !!!
Next tutorial will be the movie thing. Promise.
:* kisses

Comments