Vectors
hummingbirds tutorials#3 tutorial :
Vectors
Okay, I know some of you are like 'where's the REAL tutorials?' or like 'ah. this is just the basics' and all. SO I'm really sorry cause there are some people who still wanted to know how to make the basics and I'm just trying to help them out :) but I promise you after this, I'll make the REAL tutorial hahahahah :) so now, about vectors, I'm actually the kind of person who's too lazy to make vectors out of an image, sometimes I just play along with the contrast of the image to match the plain background for my poster consider how lazy I am HAHA. But I'll show you guys how :)
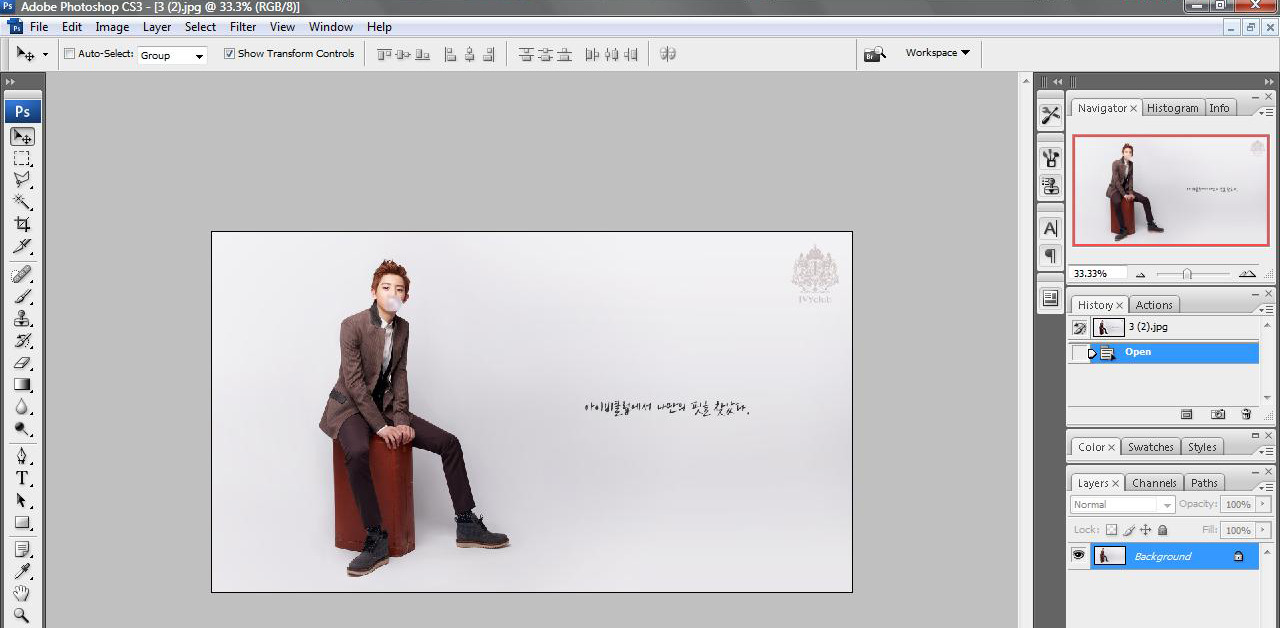
1. first of all, open the image that you wanted to use. for an example, I'm going to use this cute image of the one and only Happy Virus on earth :3
the thing is about vectors tho, avoid making vectors from images that are hard to crop. for example, images of your idols in airport. You can actually make vectors out of it but it will take some time to crop it, that is if you have a really patient skill then you can probably do it. :)
2. the next step to make the vector is to use a pen tool that was on the editing pannels on the left side (your left).
You can also use eraser tool or polygonal tool or lasso tool but in my defense, the pen tool is a much better tool to work with making vectors :)
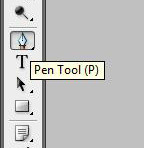
3. before you start cropping the vector, you need to zoom in on the picture so that it'll be easier for you to crop it. Just click on the navigator on the top right pannel to zoom in and out of your image.
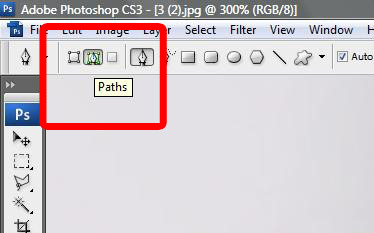
and also, this is the important thing of cropping using pen tool. Make sure that your pen tool is set to paths , NOT shape layers. because if you set it to shape layers, it'll only make a shape out of the line that you're going to create using the pen tool.
4. If you already set the zoom and the format of the pen tool, you can now make the path to crop the image. Just click on wherever you want, I'm just going to start off from his shoes. And then start making the path following how the curve of the image is.
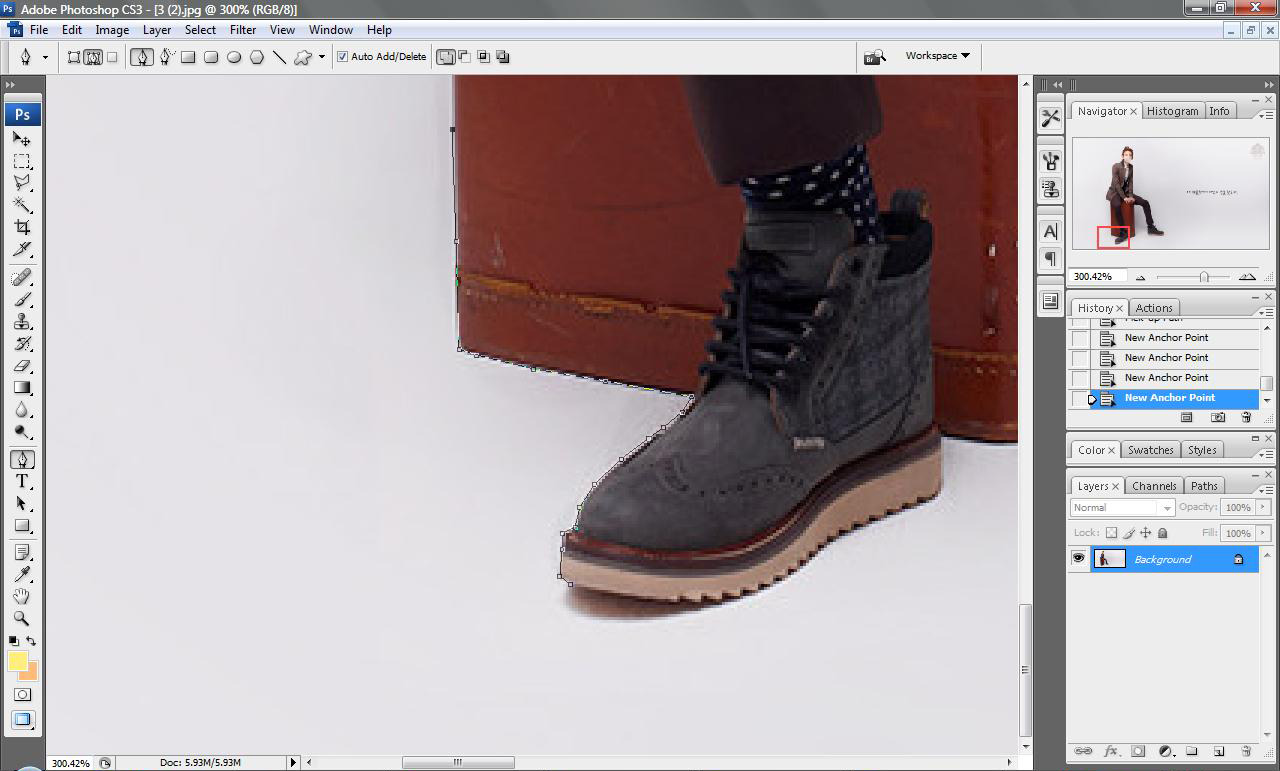
Now the tricky part of making a vector is cropping the hair. well, here's my tips for cropping the hair, DON'T go along the lines of the hair, but make the path go over the hair. like this....
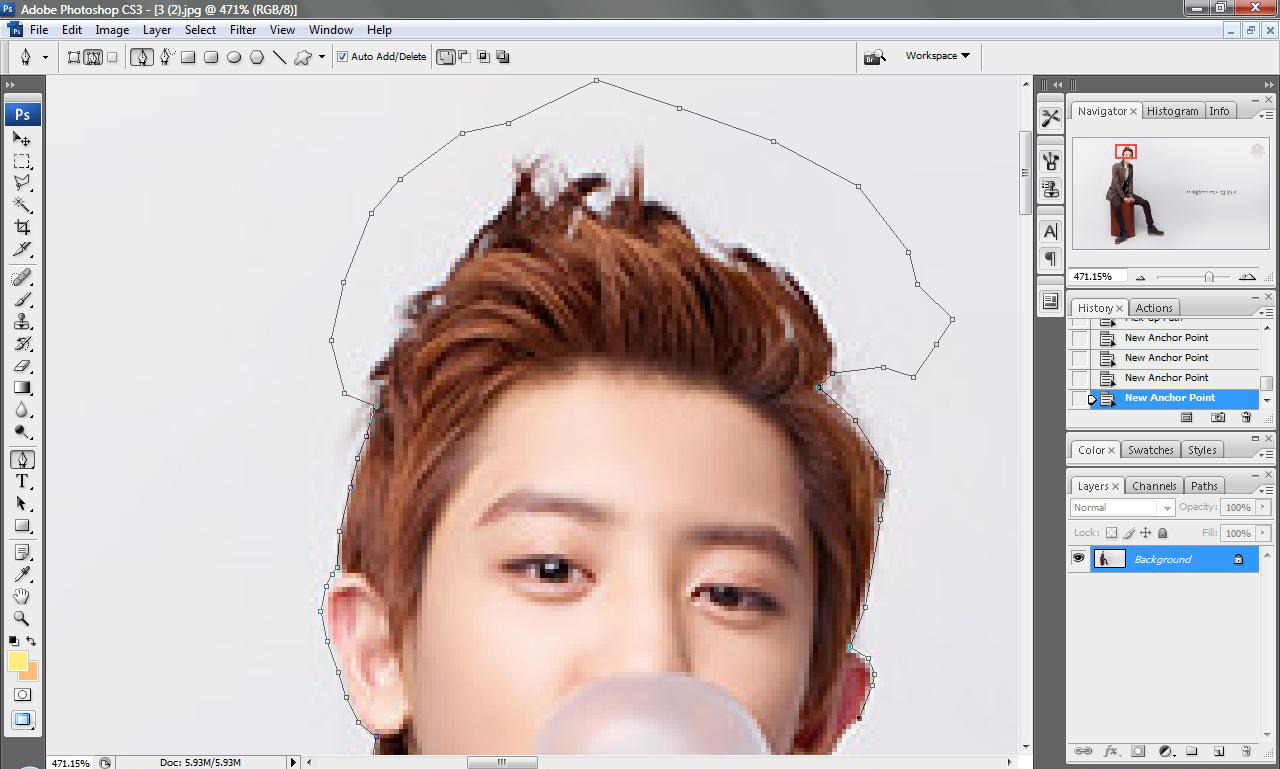
that way, you won't be confused on how crop the hair neatly. although, this isn't the end. I'm going to get back to the hair once we the vector is almost finished.
5. Okay if you already make the path of the image, click right on your mouse and click Make Selection to make a selection out of the path that you just created. Click Ok.
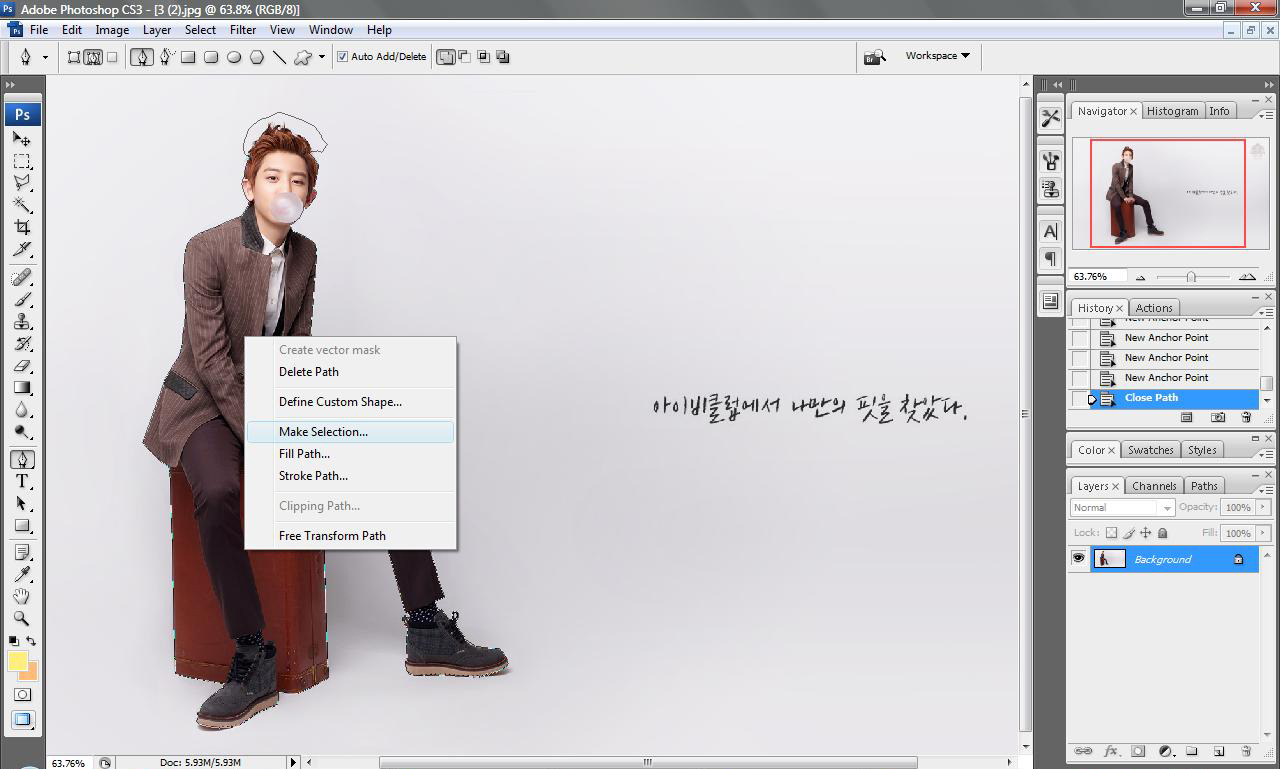
If you already done that, you will see a line from the path that looks like a moving stripes lines or basically what I called, looks like an ants walking (lol.)
6. Now you need to delete the background of the image that's getting in the way to make your vector (lol). Before you delete the parts that you wont be needing, click on the background layer twice on the layers pannel on the right and click Ok, so that your background layer will be change into layer 0 and your vector will have a transparant background.


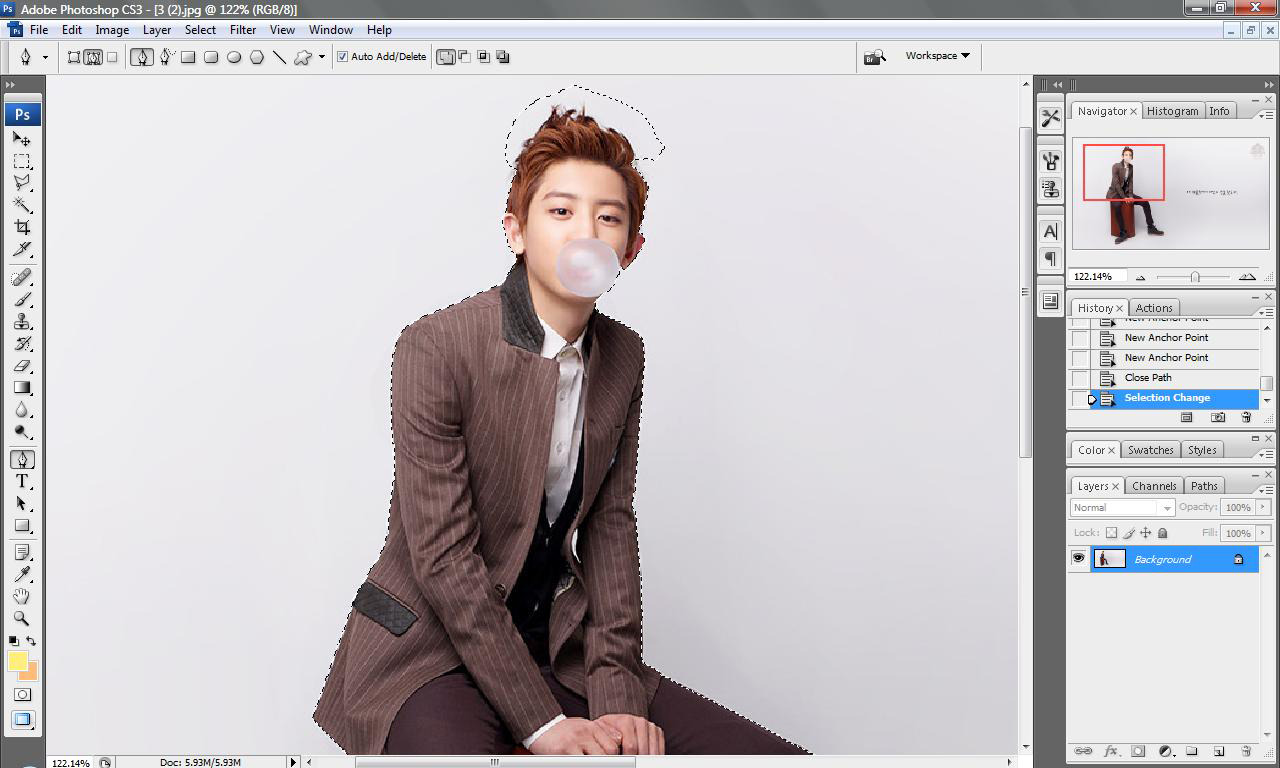
Now after you done making the layer, click on ctrl + shift + I on your keyboard so the selection that you just made is reverse to the parts of te image that your going to delete.
when you see that selection going around the parts of the image that you don't need, click delete on your keyboard. and then you will have something like this...
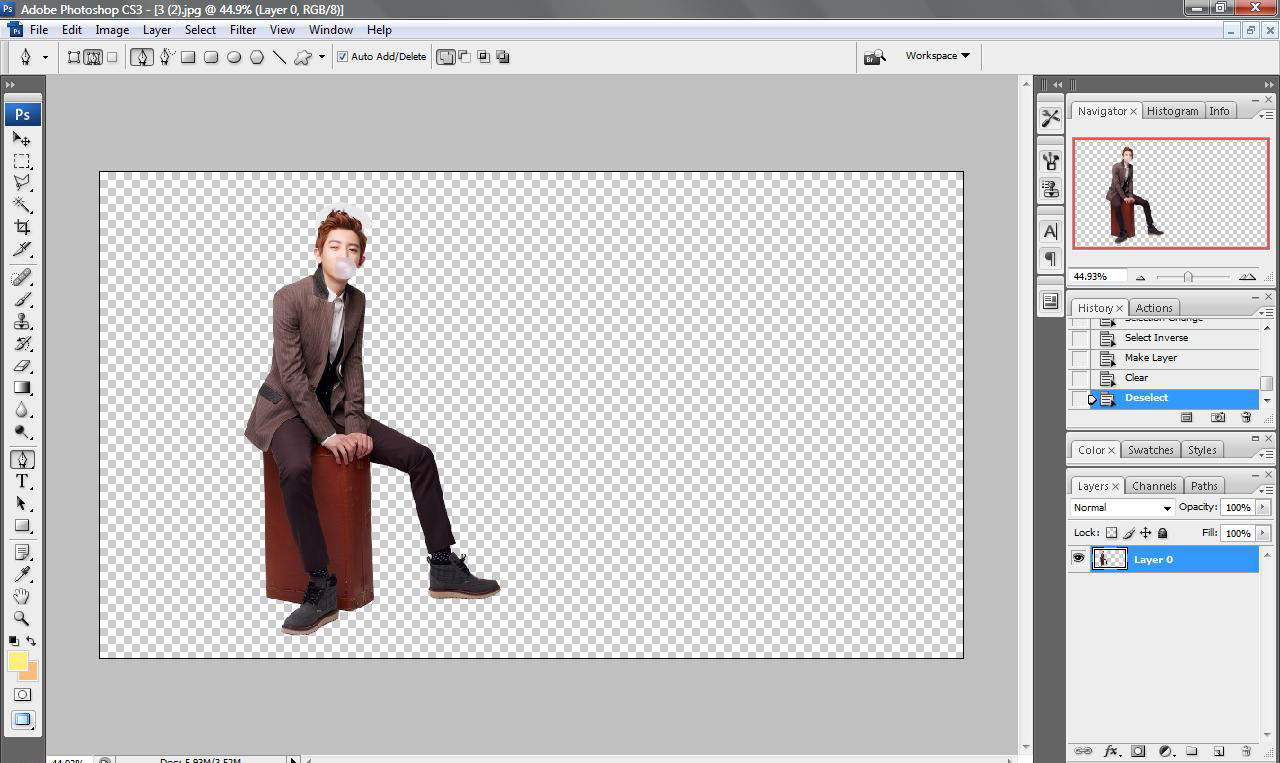
woohoo! now you almost have the vector!
7. let's get back to the tricky part, THE HAIR. So, you already cropped the hair part with cropping over the hair NOT going along the lines of the hair. and then it turned out like this....

ugh ugly right? :(
mehehee so here's what you're going to do, first off click on the eraser tool on the left pannel. and use a small brush around 5 px or 9 px with 0% hardness so that the parts that your going to erase will look neat and perfect. then erase the parts that aren't the hair.
and then you will have something like this...
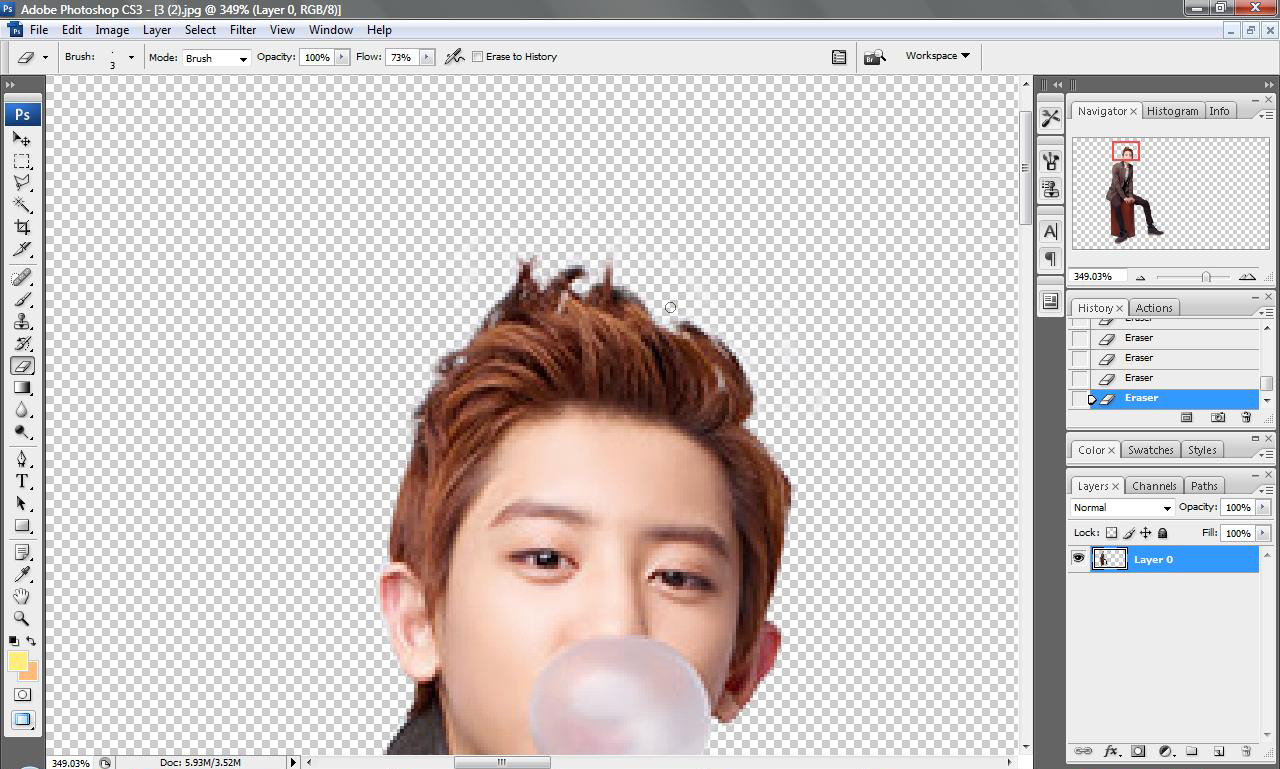
nice huh? :):):) if you're happy with the results then just let it be but if you're not, just keep erasing until you're happy with it.
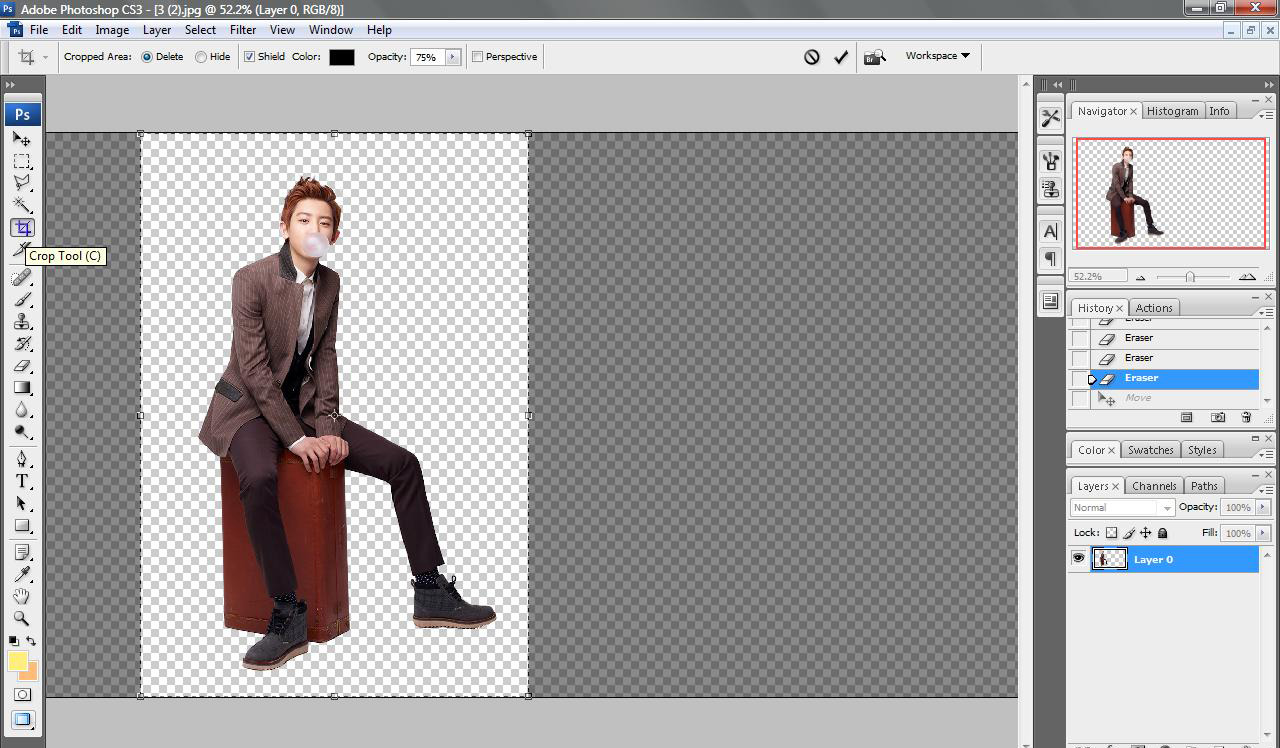
8. next, click on the crop tool on the left pannel, and crop the vector with the size that you want.
9. almost done!! all you have to do now is save that vector that you just made. Click File and then click Save As.. and save the vector in PNG format so your transparant background will remain. If you save it into JPEG format, then the transparant background will change into white, and if you're going to use that image on your posters or editing, you'll have to crop it once again. :)
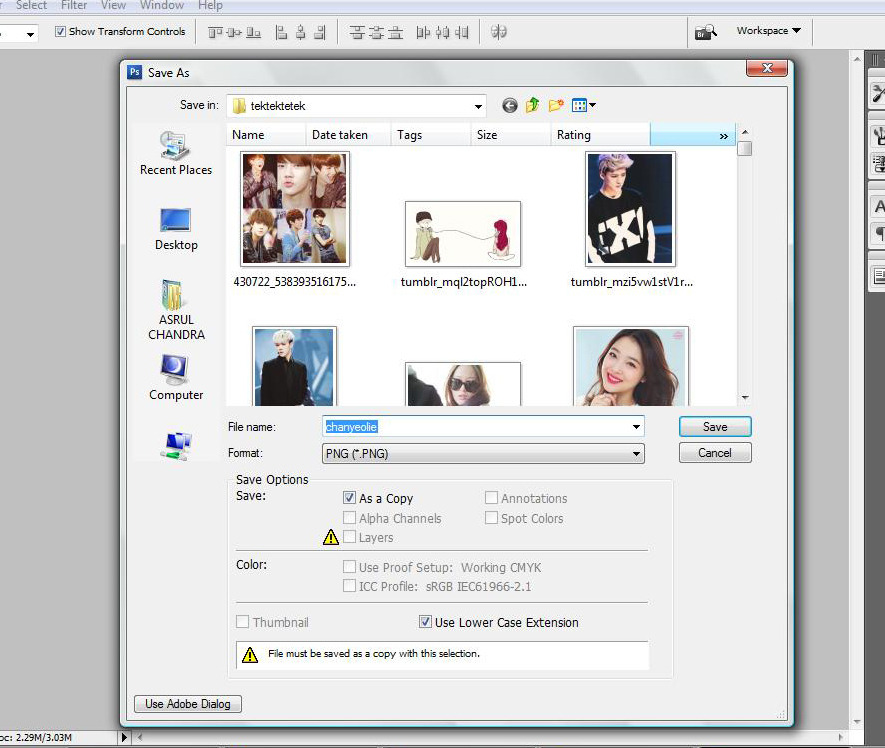
when you already click the save button after setting the format, a pop up of the PNG options will show and ask you the interlace. you can choose none or interlaced cause there's not much difference between the two :) and then click Ok.
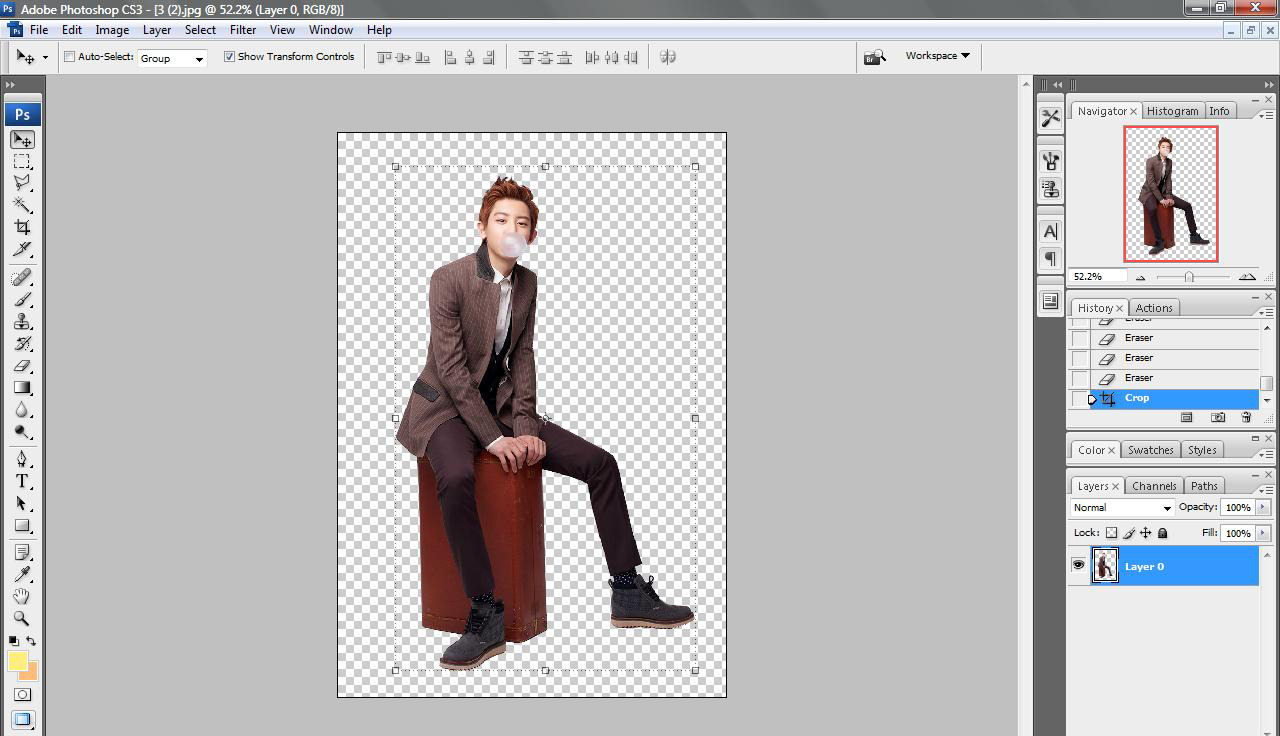
10. VOILA! you have your perfectly-neat-transparant background vector that you're going to use in your posters or graphics that you're going to make :):)

whoa that's really tricky thing to write :')... I hope it helps you guys on how to make vectors and all. :)
and now *drumrolls*...... the real tutorials begins in the next chapter :D

Subscribe & Vote

Comments