Tutorial 6
Hello everyone! Wow! You guys are getting awesome, I see. Many of you want me to do this kind of poster's tutorial!


So, yeah. Today I will teach you the simple ways to make these!
But, unfortunately, I will not make it as a gif poster. Making a gif poster and tell you how is too complicated >.<
All you need are:


Before I start the lesson, I need to teach to those who don't really know how to adjust color tune.
1. Hue and saturation (Ctrl + U) [ONLY HUE AND SATURATION! DON'T DISTURB OTHERS!]

To make the color of skin or whatever becomes redder, negative number is suggested, or just click the small error to the left.
To make it yellower (?), positive number is suggested, or arrow to the right.
Warning: Don't make the number too greater.
2. Curve (Ctrl + M)

To make the picture more darker, make sure the curve go downward. And to make it more brighter, go upward.
Steps:
1. Open canvas as usual.
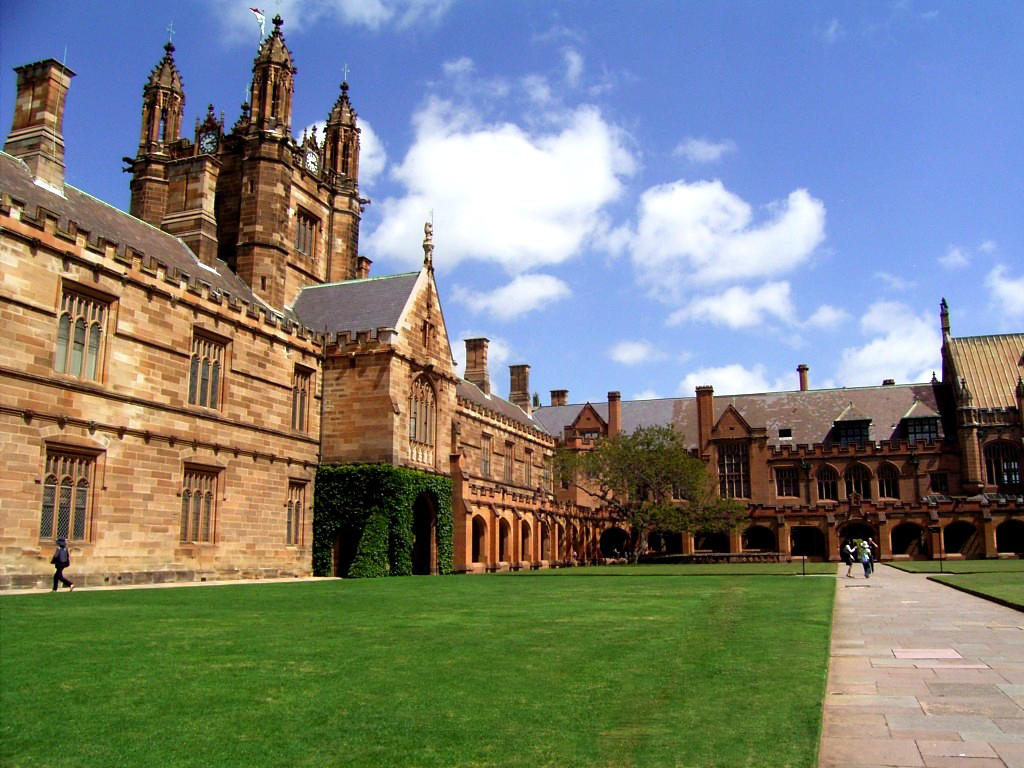
2. Drag uni pic and place just like I did.

3. Open Minho and Sulli's pic. Cut them using Quick Selection tool. After cutting, don't forget to go to Select > Modify > Smooth in order to make the cutting smooth. (actually, you can use other tools to cut)

4. Back to your canvas, drag Minho and Sulli's cut pic into your canvas. Don't forget to resize the pic.


5. Now, it's time to use adjust the curve. Click uni pic layer > Ctrl + M and do like I did.

6. Then, click Minho and Sulli's pic layer. It's time for Hue & Saturation. Ctrl + U and do like I did. I make them yellow a bit.

7. Then, Ctrl + M to adjust the curve. Don't exactly follow me because in the below pic, it's the first adjustment. But after that, I adjust it again without showing to you. You must adjust it according to your like.

8. Adjust the contrast to 3 and write the title.

And done!

9. But, I got two more extra! To make it looks more attractive, putting border is cool too. Add new layer and select all (Ctrl + A)

[note: do install any pattern, the cute one. Google for it and install. If you don't really know, it's enough with you just Google Image it and search for cute pattern]
10. Put the cute pattern and select like I did. Then, click the left click and choose Layer via Cut.


11. Delete the new layer form and you'll get a border of your pattern. Done!

12. Or, you maybe choose to use brush. Open a new layer, choose any brush but no round brush. It'll not work this time. Then, choose white color.
13. Brush both side of posters, left and right, just little bit. Too much will make it looks weird.

Done!

It's easy, right? If you practise this alot, you can make it in just 15 minutes, trust me!
The KEY point of today's lesson is cutting the picture with nice and smooth.
To grab this poster, like before, please visit Poster to Grab.
Don't copy my tutorial and post at somewhere else.
Don't forget to ask me here as well!
Practise time!


Back to SUMMERKIM
Comments