[TUTORIAL] Misery --Simple Dark Poster
Repost from DUO Resource Center Batch 1
A lotta steps ahead. So hopefully y'all can follow this. This
tutorial will be very independent, so you can do whatever you'd
like, alright? If you didn't get a step, just ask me :)
YOU WILL NEED
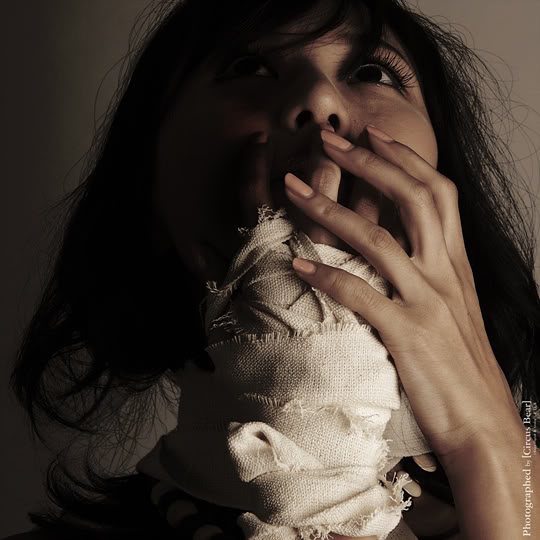
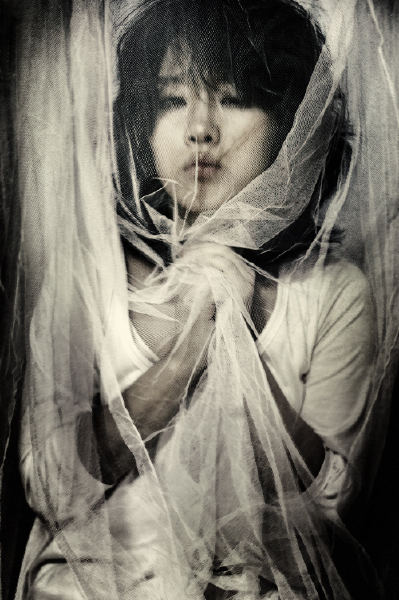
1. Stock Photos: 1, 2
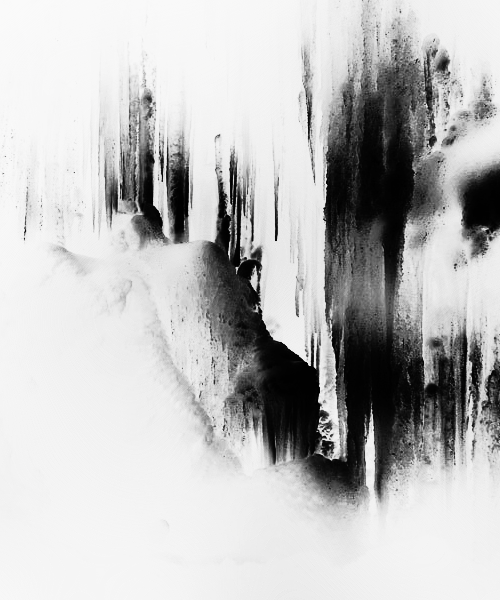
2. Textures: 1, 2, 3, 4, 5, 6
————————————
1. Open a black canvas and the 2 stock photos. Arrage as you'd like and
blend them together using a large soft brush 60% opacity (eraser or
layer mask, whateves). Then create a B&W layer.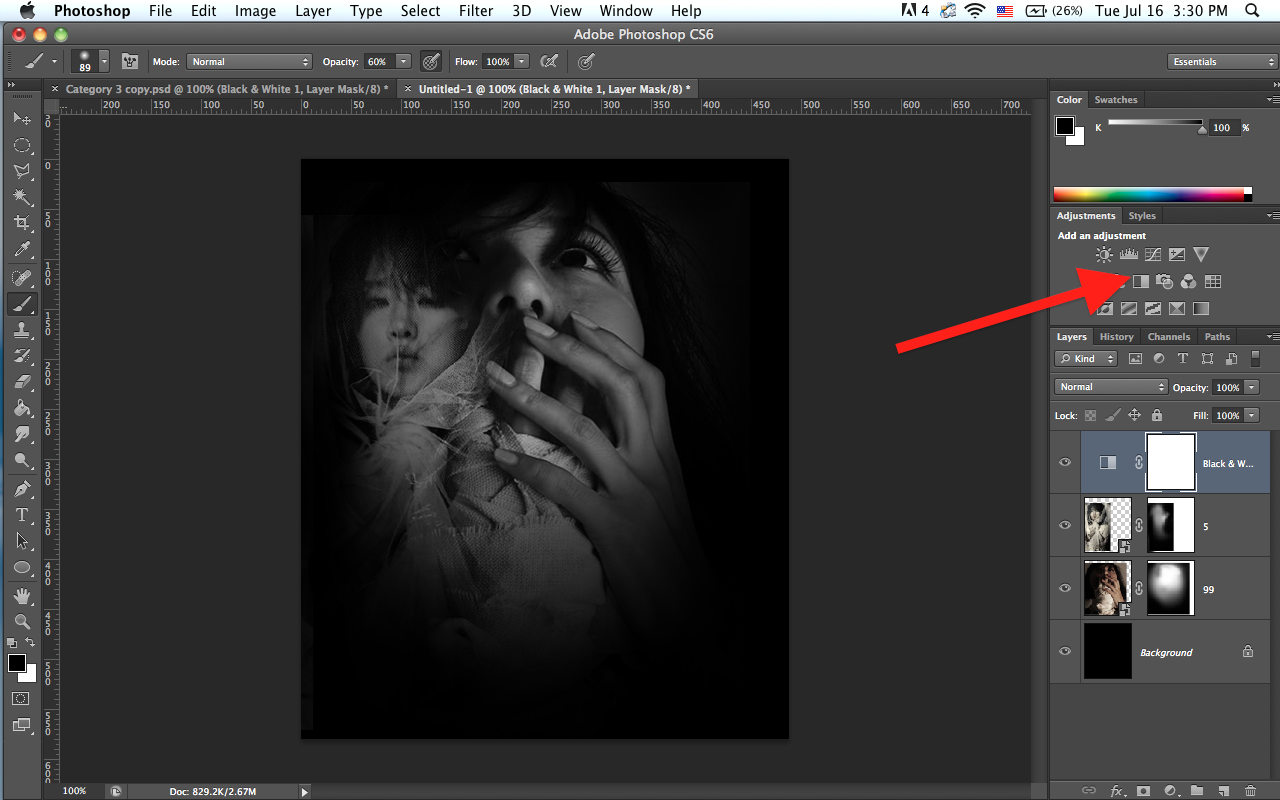
2. Select stock photo #2 and create a curve layer (Layers > New Adjustment
Layer > Curves; or follow the picture below) and apply the curve layer
only to stock photo #2 by clicking on the leftmost icon in the bottom menu
of the curve properties bar. Set the curve to a slight "S" like so.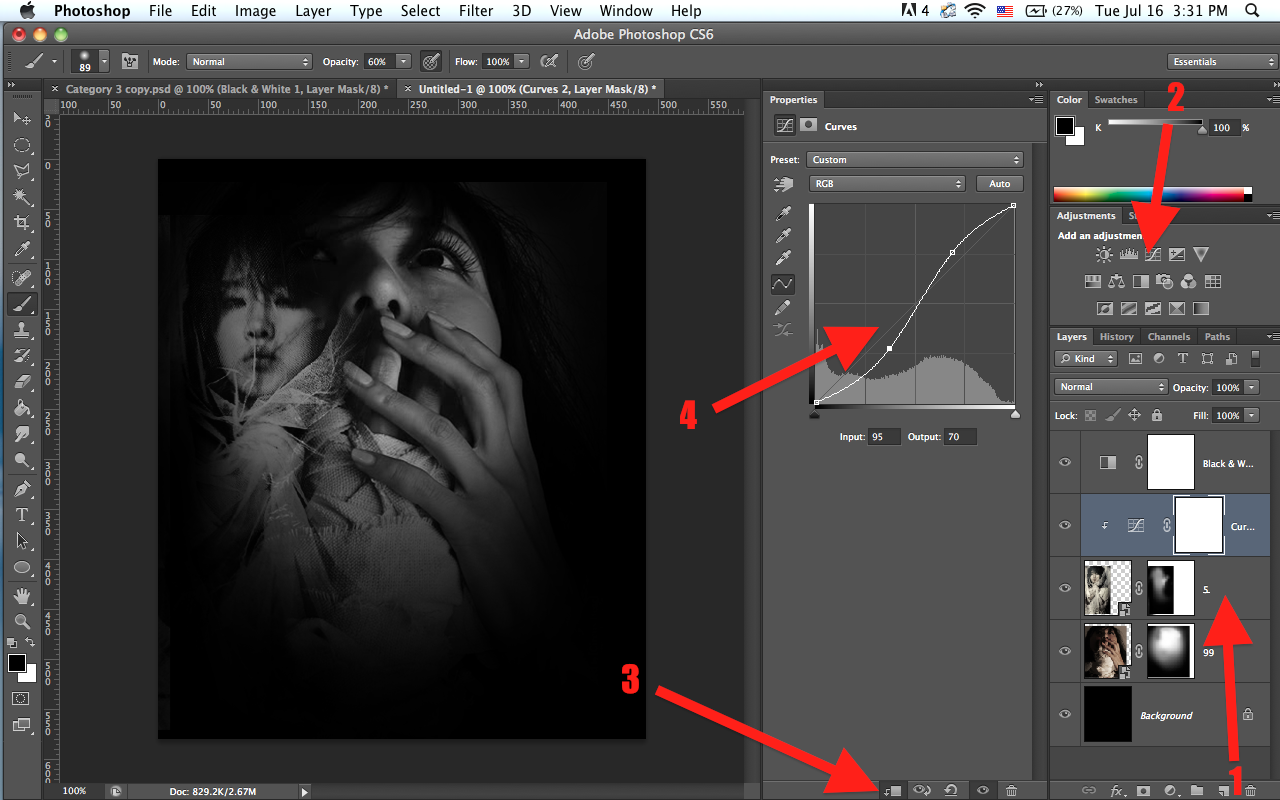
3. Open texture #1 and set the mode to Darken. Arrange & blend in harsh
edges. Open texture #2 and set it to Multiply. Arrange & blend in harsh
edges.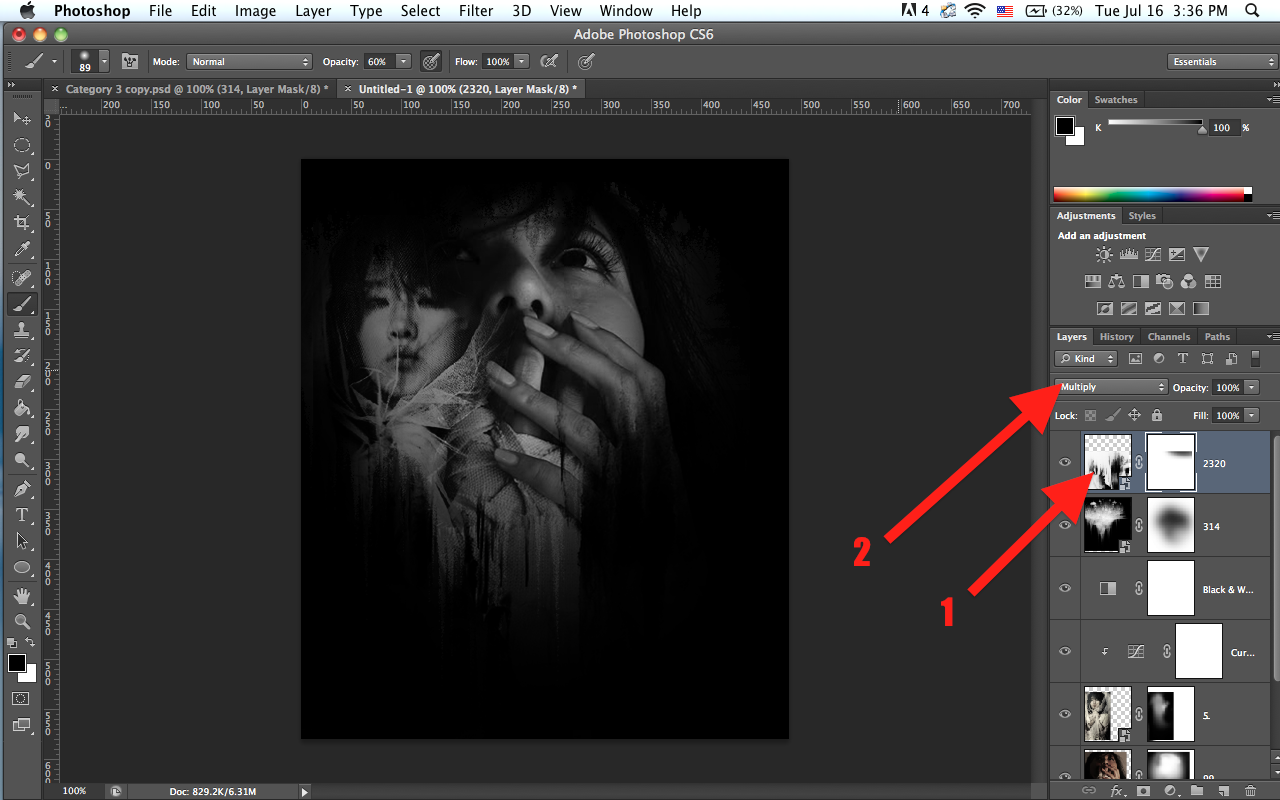
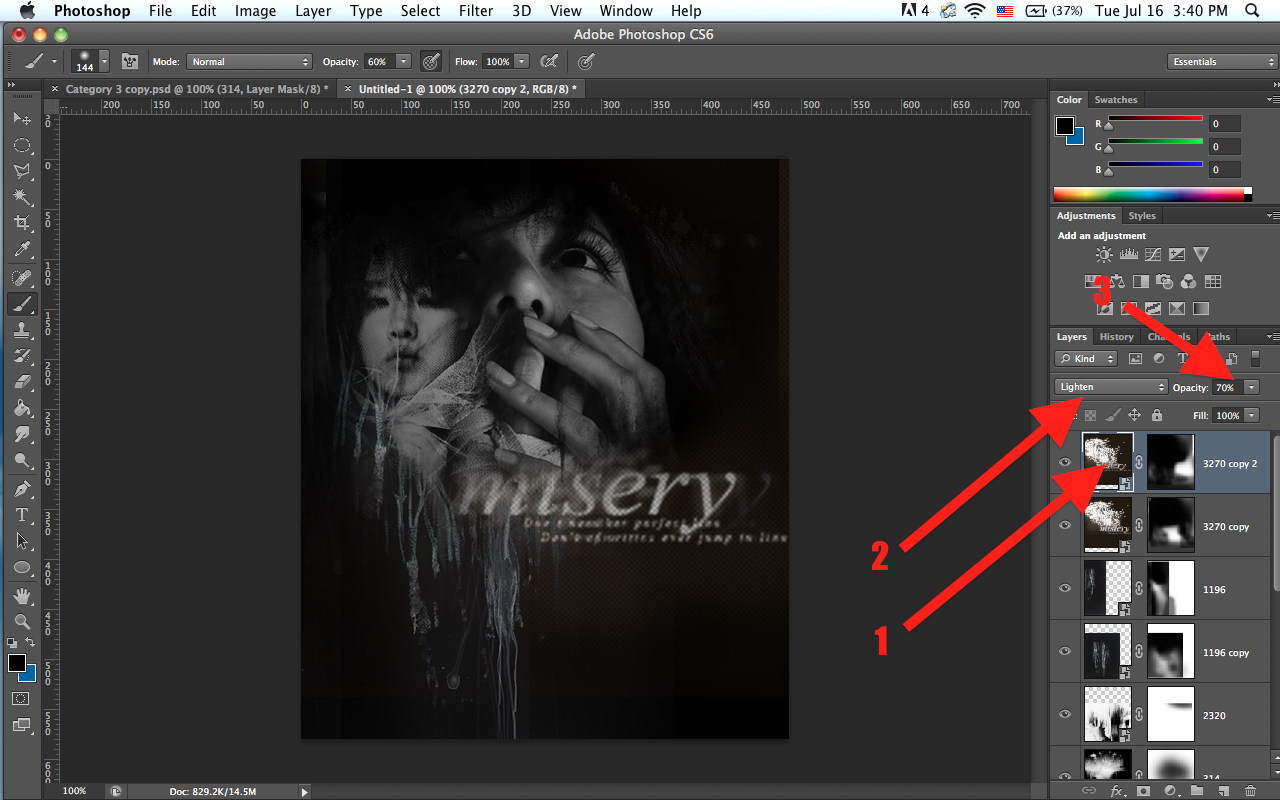
4. Open texture #3 and set it to Lighten. Arrange and blend. I duplicated
the layer and put them next to each other and blend the texture like so.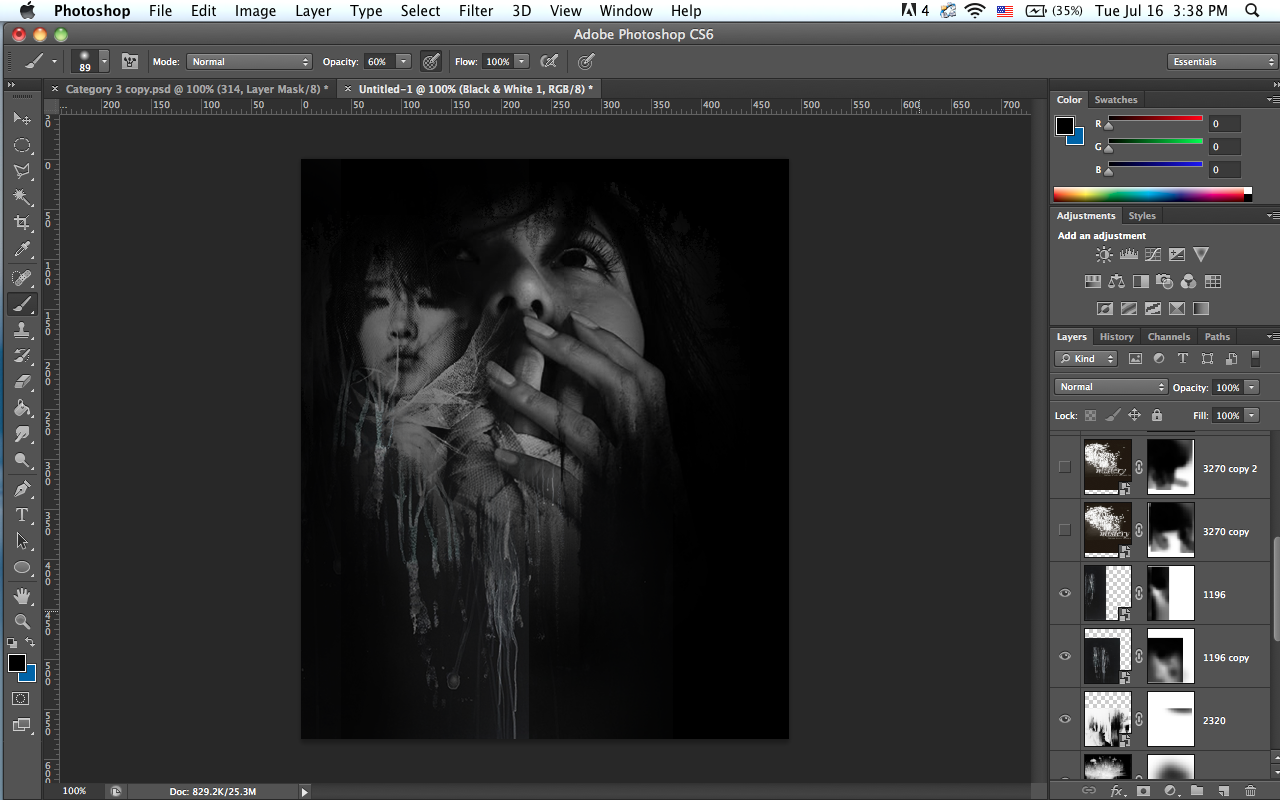
5. Open texture #4 and arrange it to your liking. Duplicate the layer. Set the
original layer to Lighten 80%, and the duplicated layer to Lighten 70%.
Now erase the "tery" from the first layer and "mis" from the second layer.
Put the 2 layers together like it's one word.
6. Open the 5th texture and set it to Hardlight. Blend it in.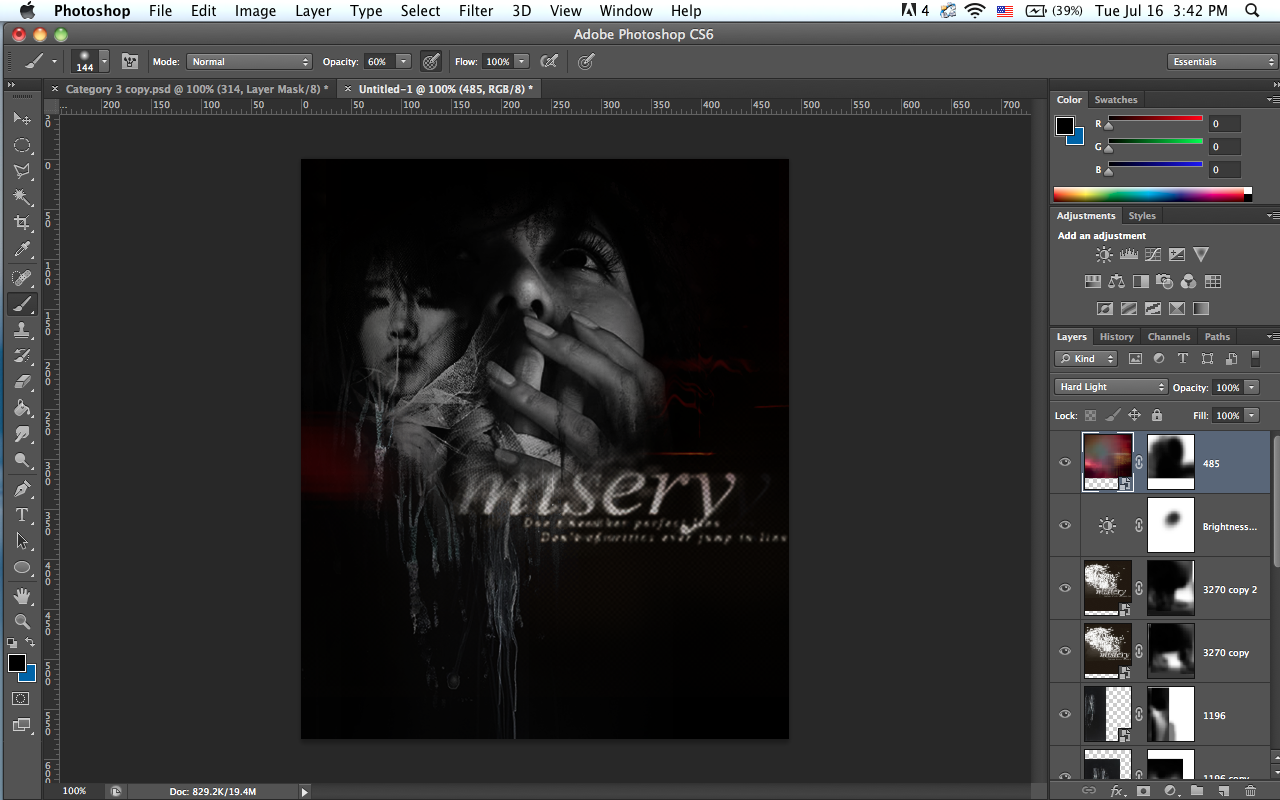
7. Open the last texture and set it to Lighten 65%. I added some more
squiggles at the right btw.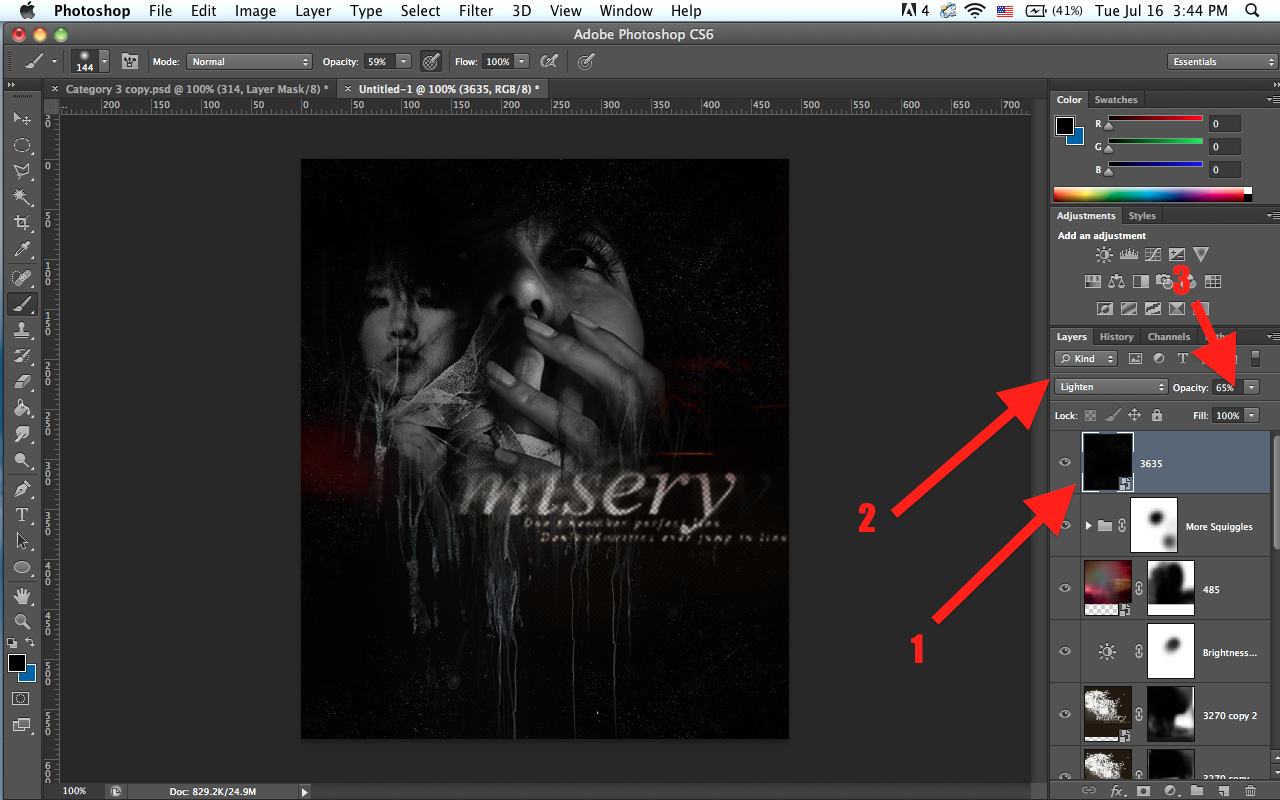
8. Now add the following adjustments to your graphic. Change the settings
like mine.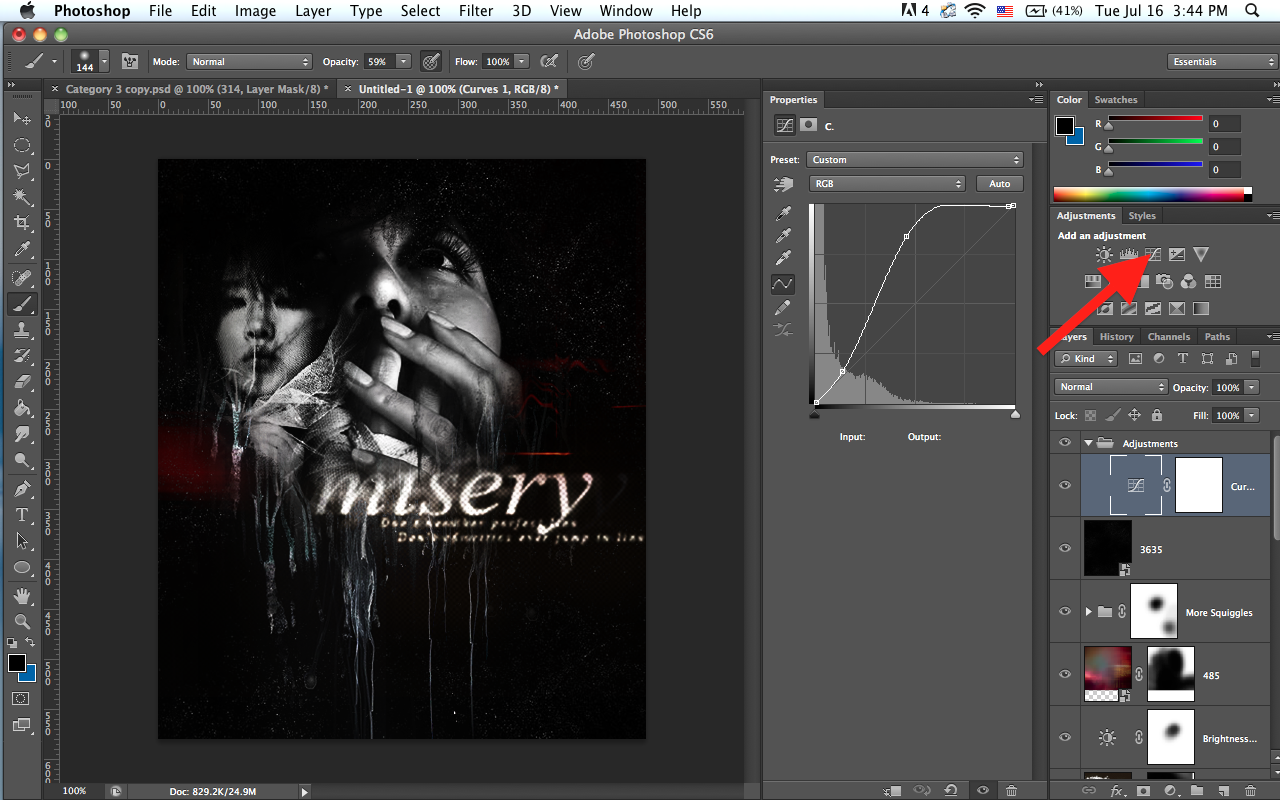


9. Lastly, go to the B&W layer earlier, pull it up so it's now below the red
texture. Now you're done :)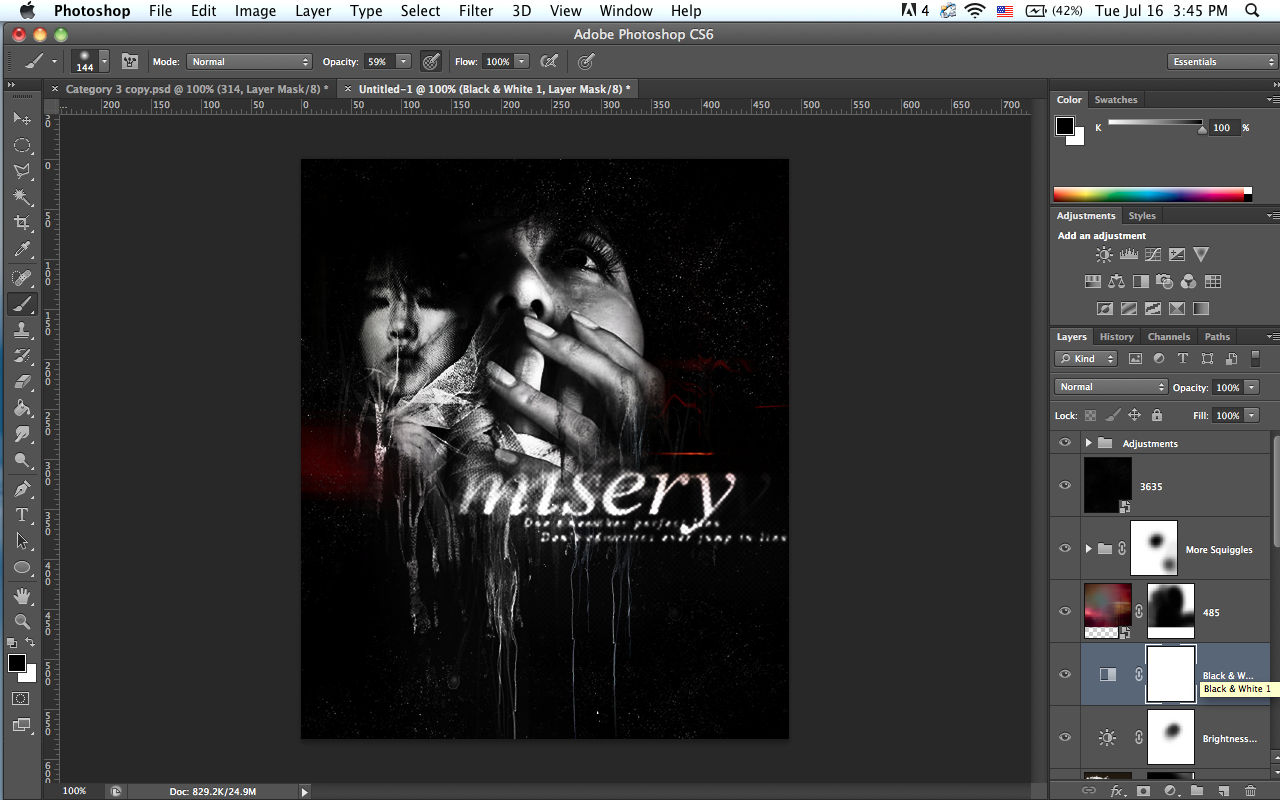
I know I did this tutorial half-assed. I didn't go into a lot of details
and stuff. There's too much to do but too little space.
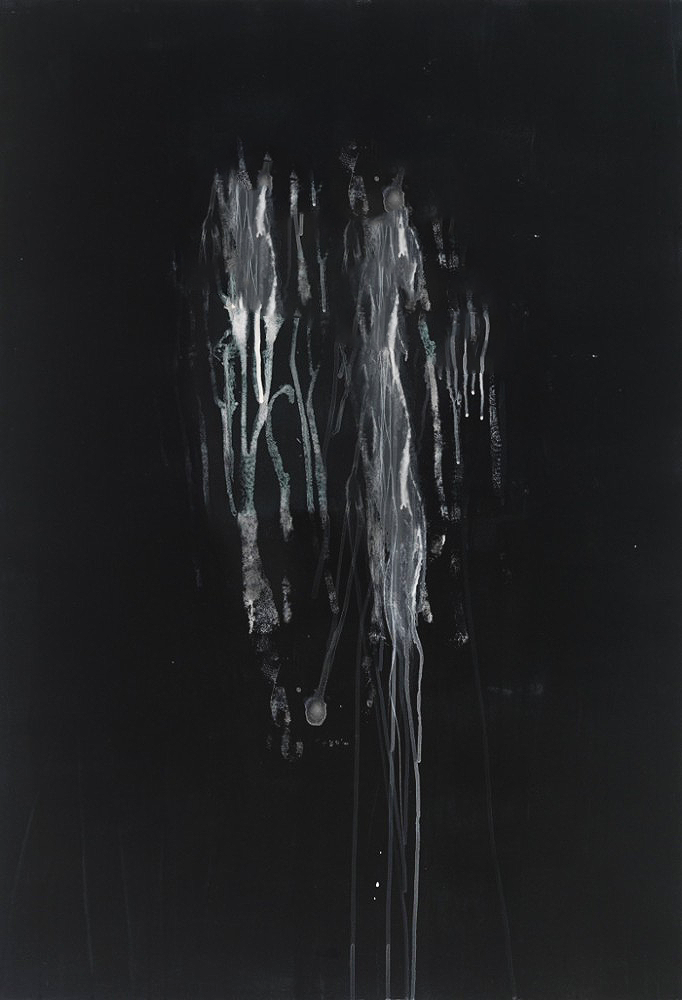
Final Result:
————————————
IF YOU HAVE QUESTIONS, JUST ASK ME.
Feedbacks, questions, comments, etc. are always
welcomed!
--PALAMA
Comments