Riveting, a mini tutorial
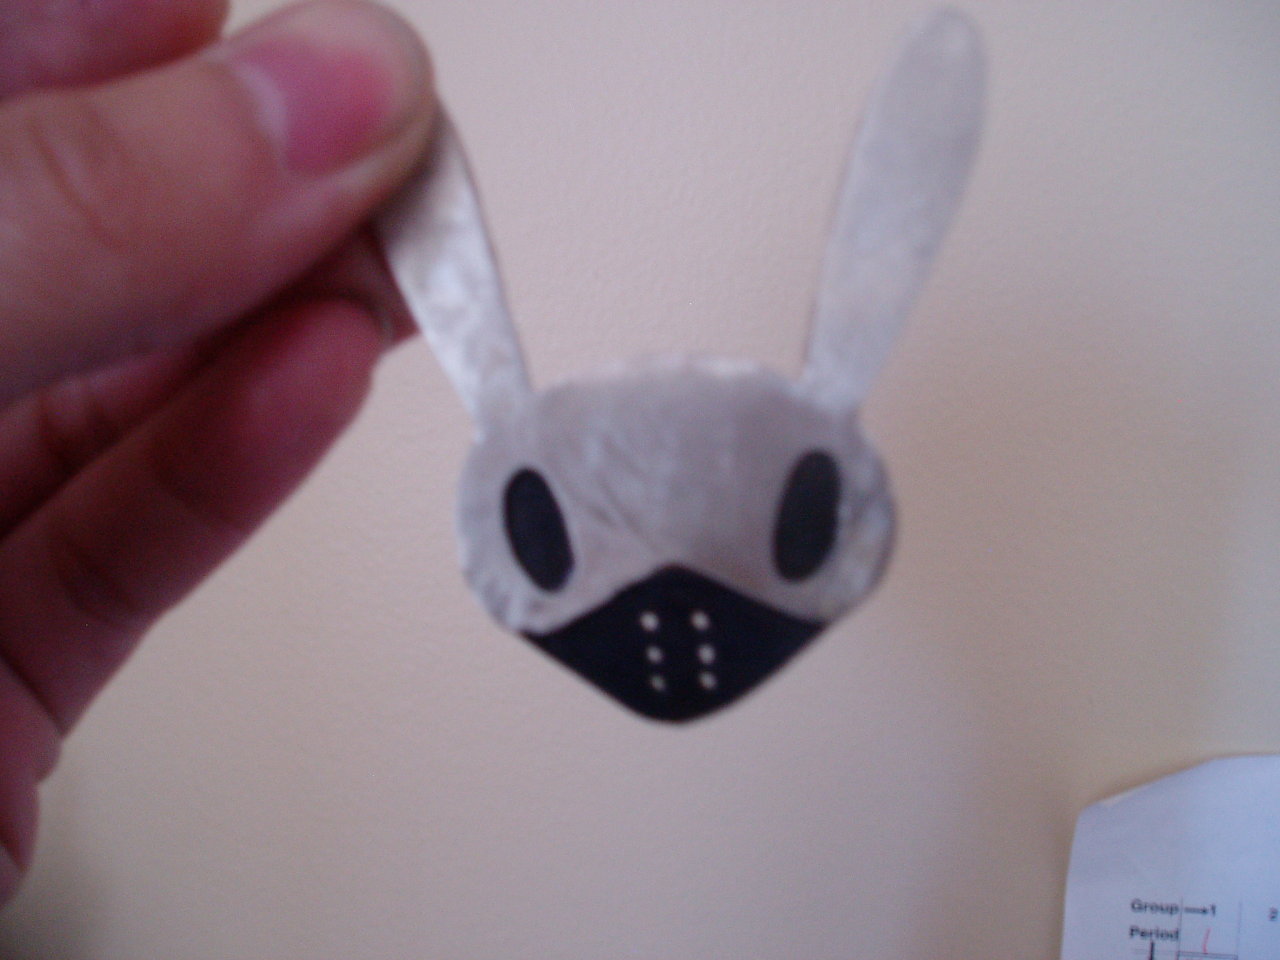
So, since soldering was a fail, I riveted my remake of the Matoki Bunny #2
Tools:
1. Flex Shaft Machine, AKA, the machine of wonders

Seriously, this machine does like EVERYTHING.
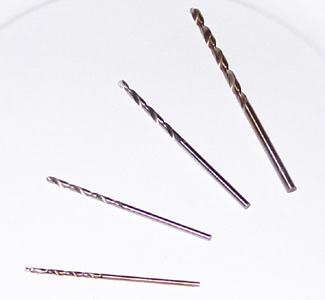
2. Drills! Tiny ones to be exact
3. Wooden block to drill on (no picture needed, lol. You guys ALL know what wood looks like, at least I hope you do)
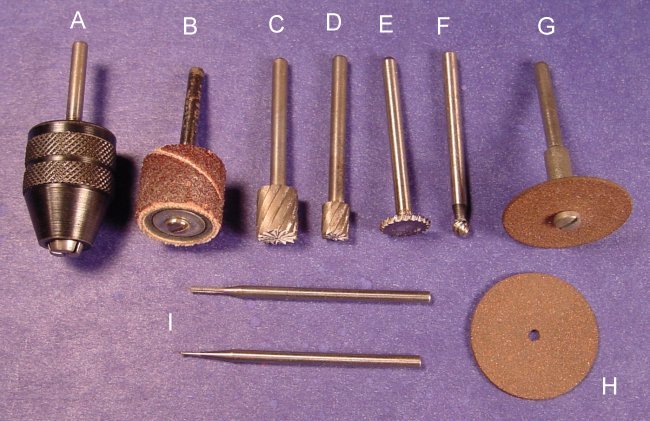
4. Sanding tools, esp G (I have no idea what it's called xD oops)
5. Wire! (Again, no picture needed)
6. Riveting hammer (at least that's what I think it's called)

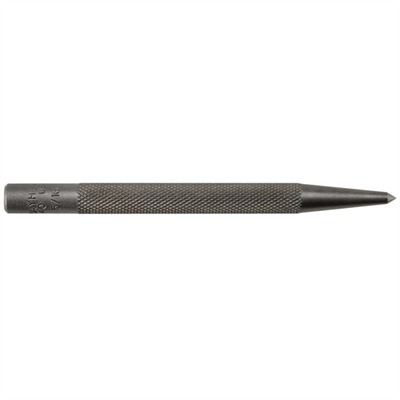
7. Center punch
8. Rubber Mallet

And I think that's it....
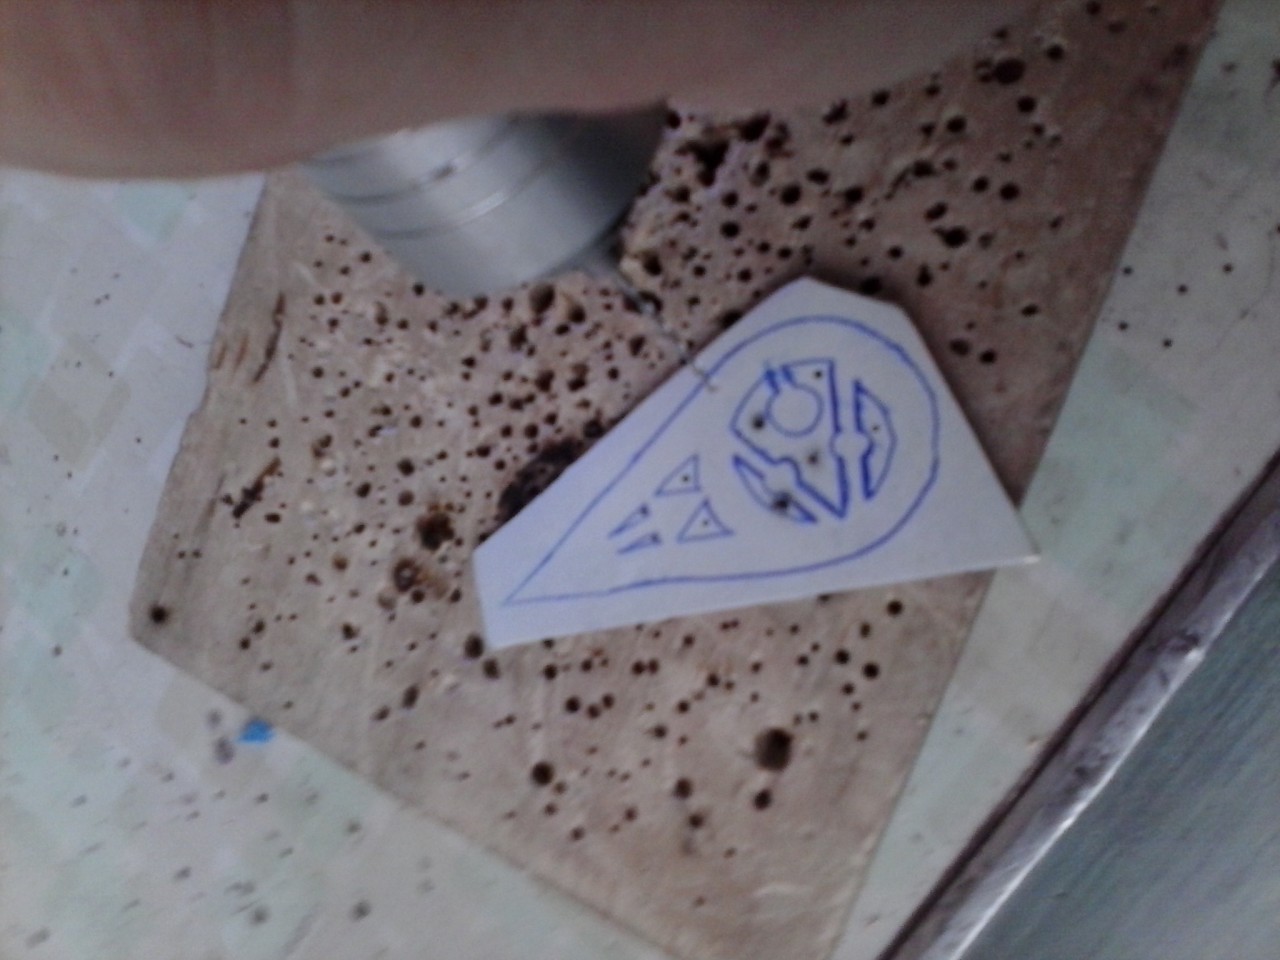
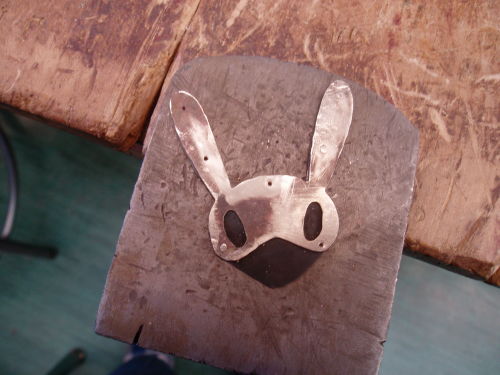
So, what you want to do is to drill a couple of holes into both pieces of metal that you're going to rivet together. But first, take the top piece and make the indents where you're going to rivet the metal together with the center punch and mallet. (since I didn't take pictures of this one, I'll use an old picture)

See? Holes! Except for... in riveting, you want the holes ON the piece you're cutting on.... not in the places where you sawed xD
(BTW, there's wood, if you didn't know what wood looked like ;) hehehe)
NEXT~
Place the two pieces of metal on top of each other, which the one with the hole indentations on top. Put a tiny drill bit into the flex shaft machine and make sure it's tight. Then, drill a hole in one of the hole indentations for BOTH pieces of metal at the same time. Remember: HOLD THE PIECES TIGHT or one of them will slip and that can get messy. (Again, I didn't take pictures... so let's see if I've got any to show you.... since I like seriously never document much, you'll have to put up with Suho for now)
See? Flex shalf machine with drill bit, wood board; and a drilled Suho xD of course, I'm missing the piece underneath Suho in this picture, but that's forget about that xD
Now that you have one hole drilled into both pieces, it's time to rivet it all together! Why now? Well... you kind of want the piece to stay together, so if you have one rivet in, it makes drilling and piecing everything together a lot better (:
RIVETING!
Okay, so oh shiz... I forgot: YOU PEOPLE WILL NEED WIRE CUTTERS AND A BASTARD CUT MILL FILE! xD
Anyways... so what you want to do is take the wire and file one end smooth, so you see a perfect cirle.
After you do that, put the wire through the holes that you made in the metals and set the metal on a metal block area. Using the wire cutters, cut the wire just so that it "fills" the hole, but has a few millimeters of wire poking out. Now file the newly cut end smooth.
Take the riveting hammer and GENTLY tap the wire that's in the hole. The wire will start to "flatten" and "pool" over the hole. Do that to both sides.
See the bumps? Well, they're going to disappear, but this is what it should look like. The surface of the metal should be a little bumpy where you filled the hole. When you're done with that rivet, you want to make a rivet of the opposite side of the piece so that the metal won't move anymore. I just did the one that's by the bunny's left eye socket. Repeat this until all the holes re filled.
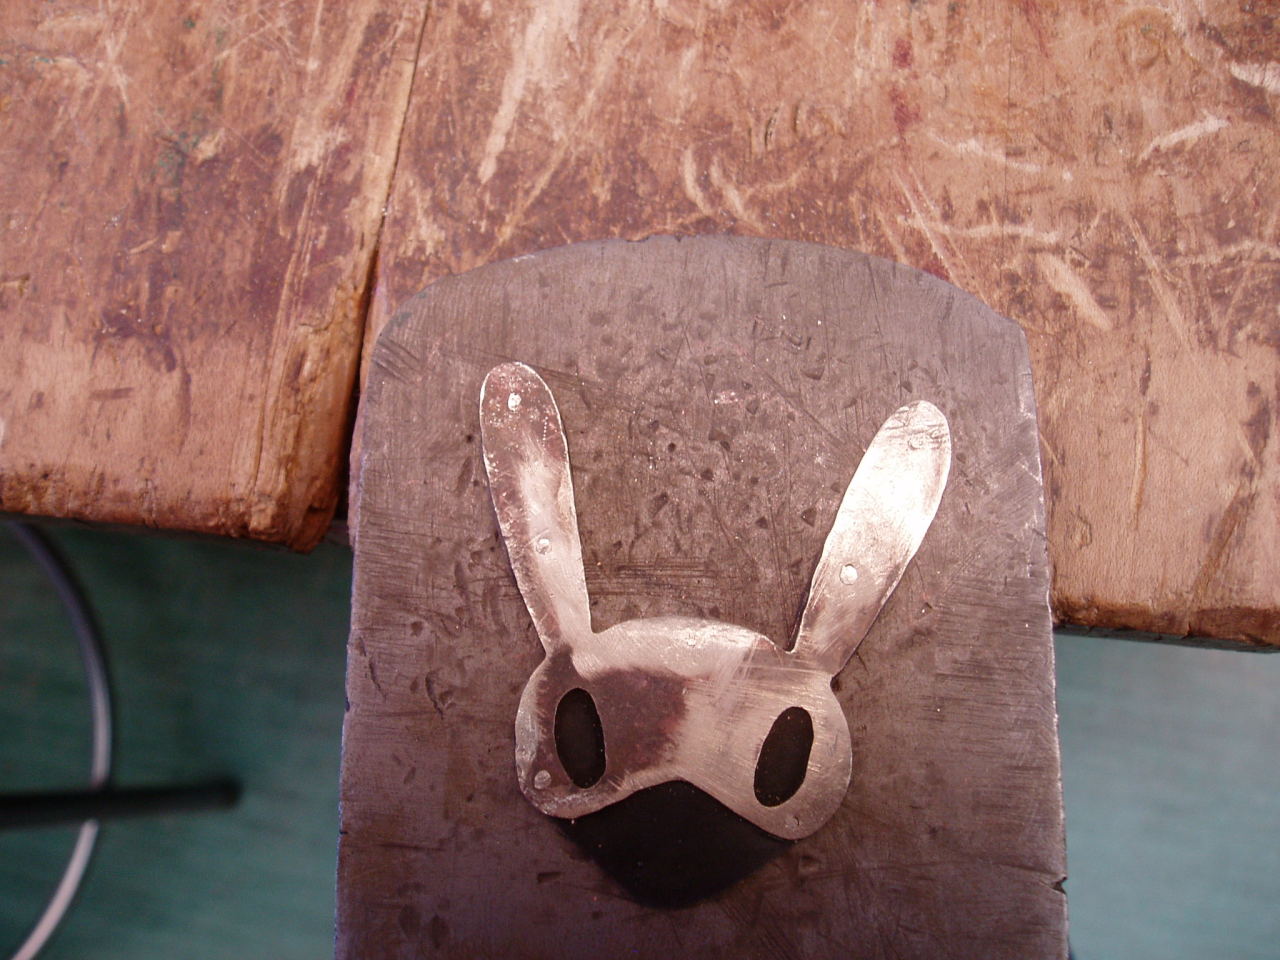
See? all filled! Now, it's time to make the rivets disappear.
Go back to the flex shaft machine and take out the drill bit. Replace it with the sanding circle thingy:
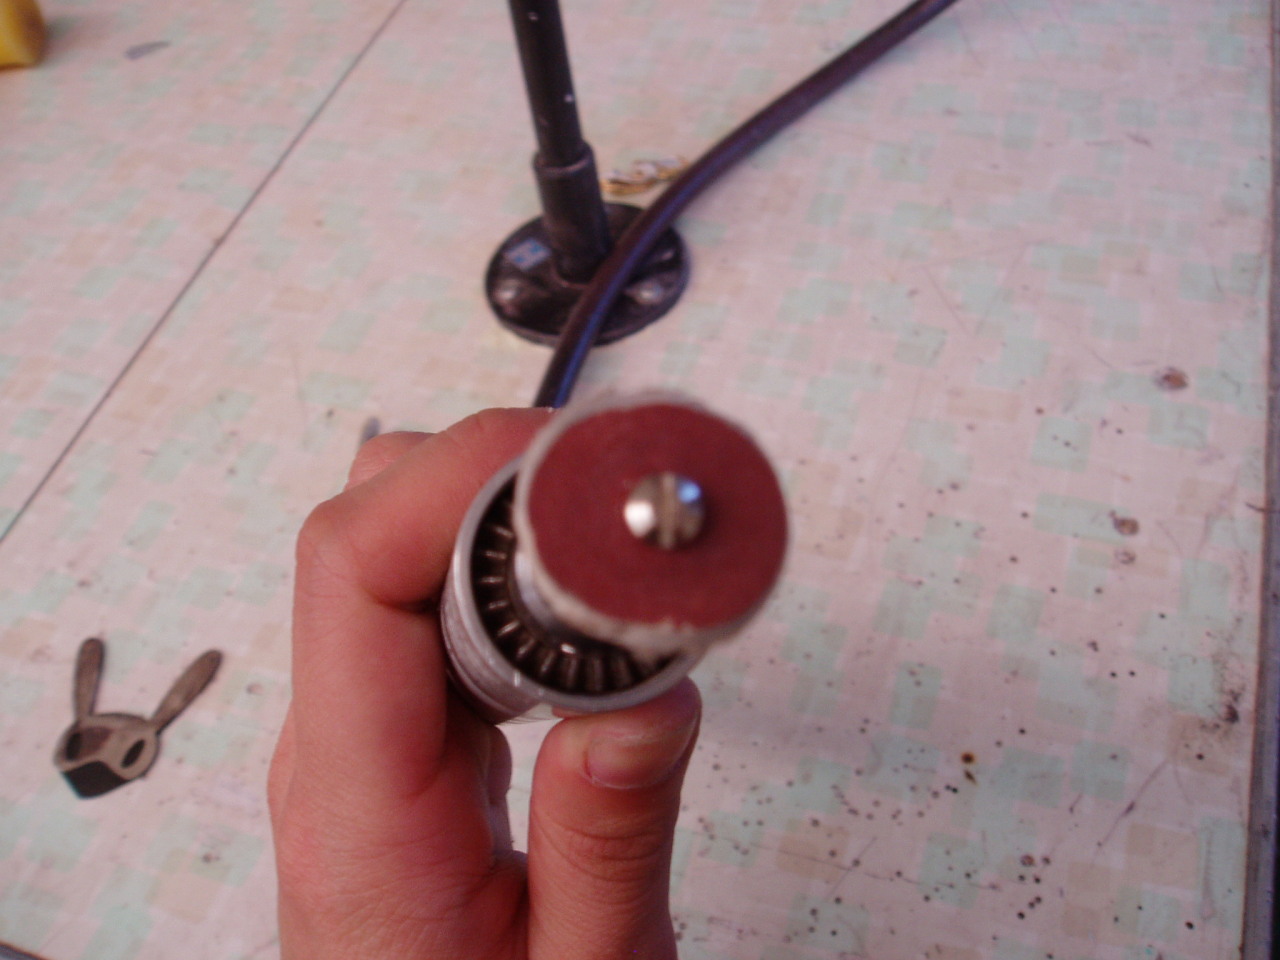
I seriously have no idea what it's called... but it's awesome. Just gently sand over the surface of the bumps and they should disappear over time
See? All gone~ xD
Now, just make everything smooth by rubbing emery paper over it an you're done :D
Oh wait... JK, you need to make the nose holes xD Go back and make them xD
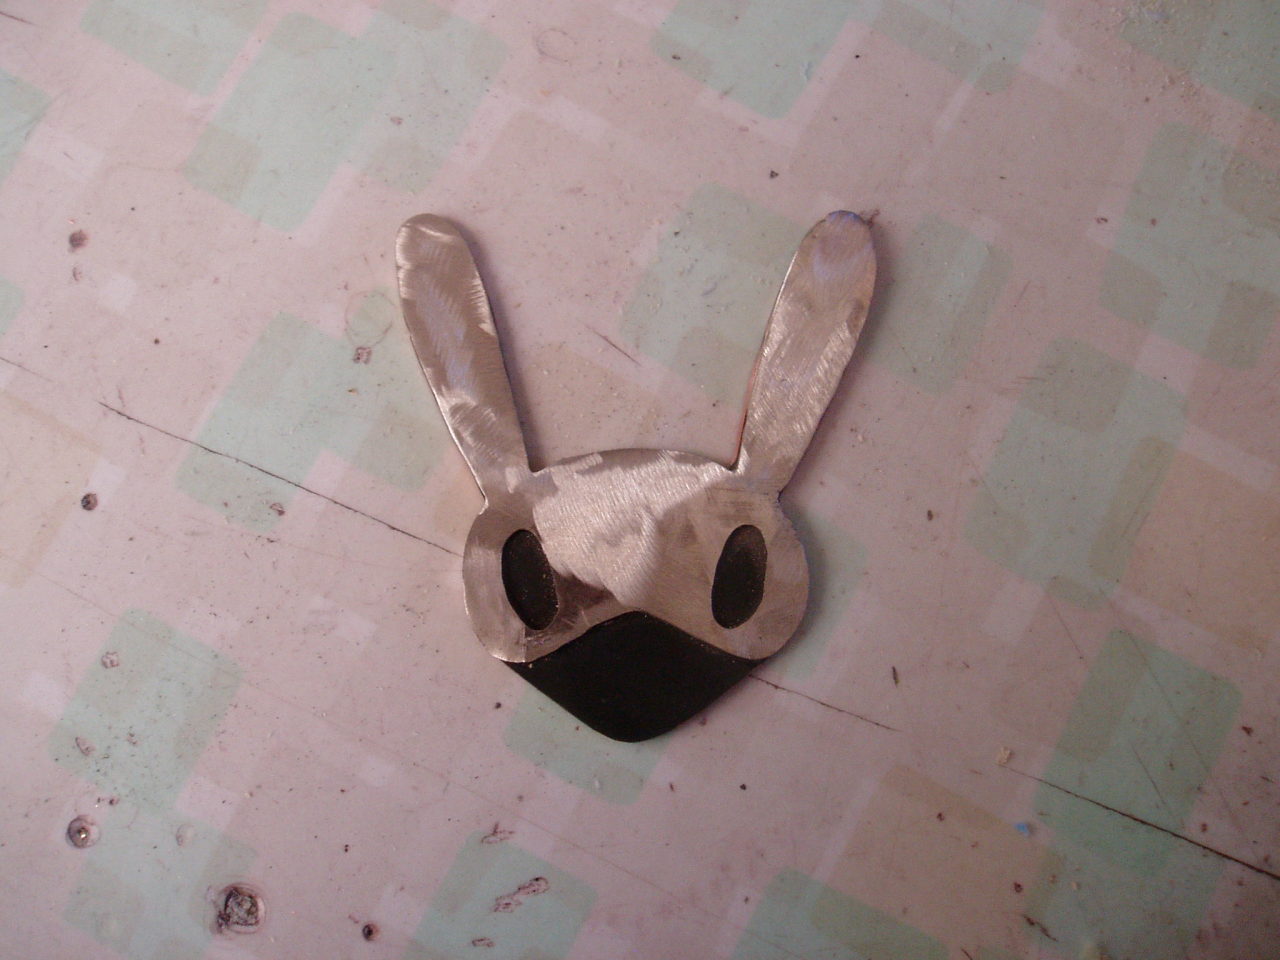
Remember to dip the mask part into the liver of sulfur solution to make it black~
DONE~ <3
Remember my best friend's present? Well, after 10+ hours... I'm done <3
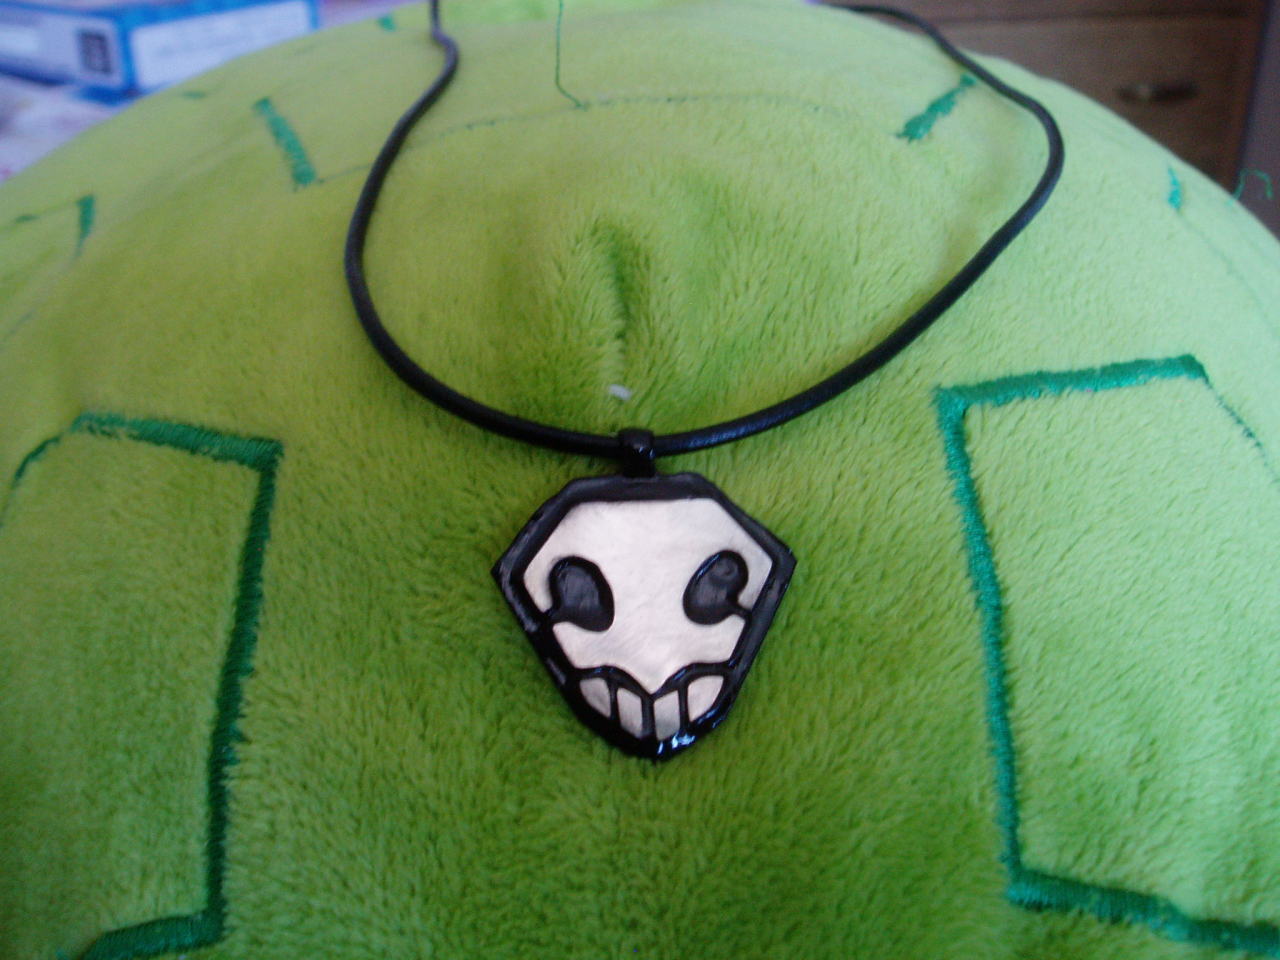
I'm so happy I can die, lol. It's so pretty ;A; I kind of don't want to part with it, lol.
Well, I hoped you guys learned something.
I'm in for a very busy day tomorrow. All your questions will be answered and yeah (:
Katy needs a nap.... xD
I'll reply to your comments when I wake up.
Bye bye!
Love, Katy
Comments