Suho Symbol, a tutorial, PART ONE
What you'll need
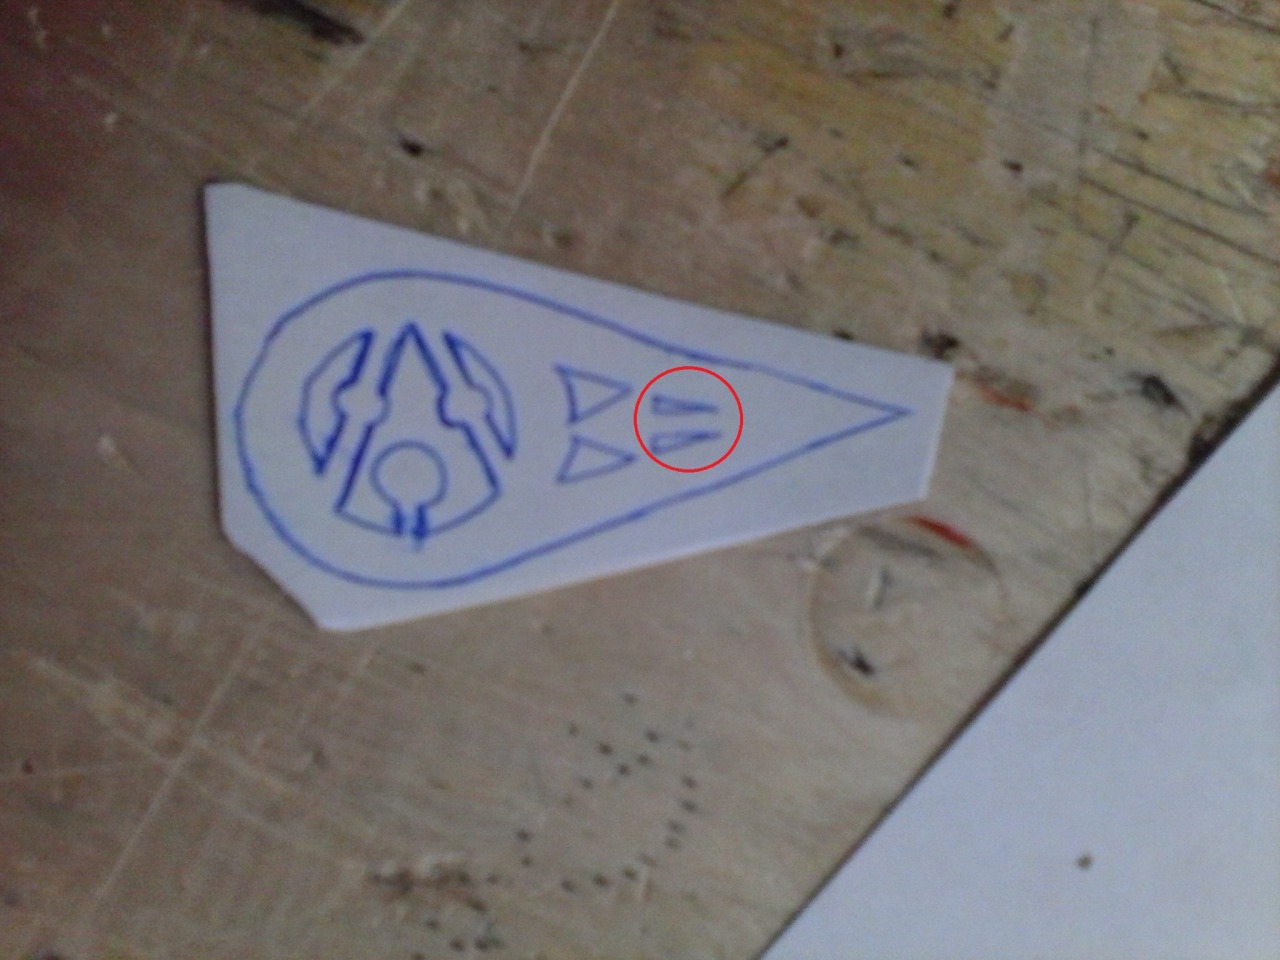
1 Suho symbol picture- it really doesn't matter how big... just make sure it's the size you want xD
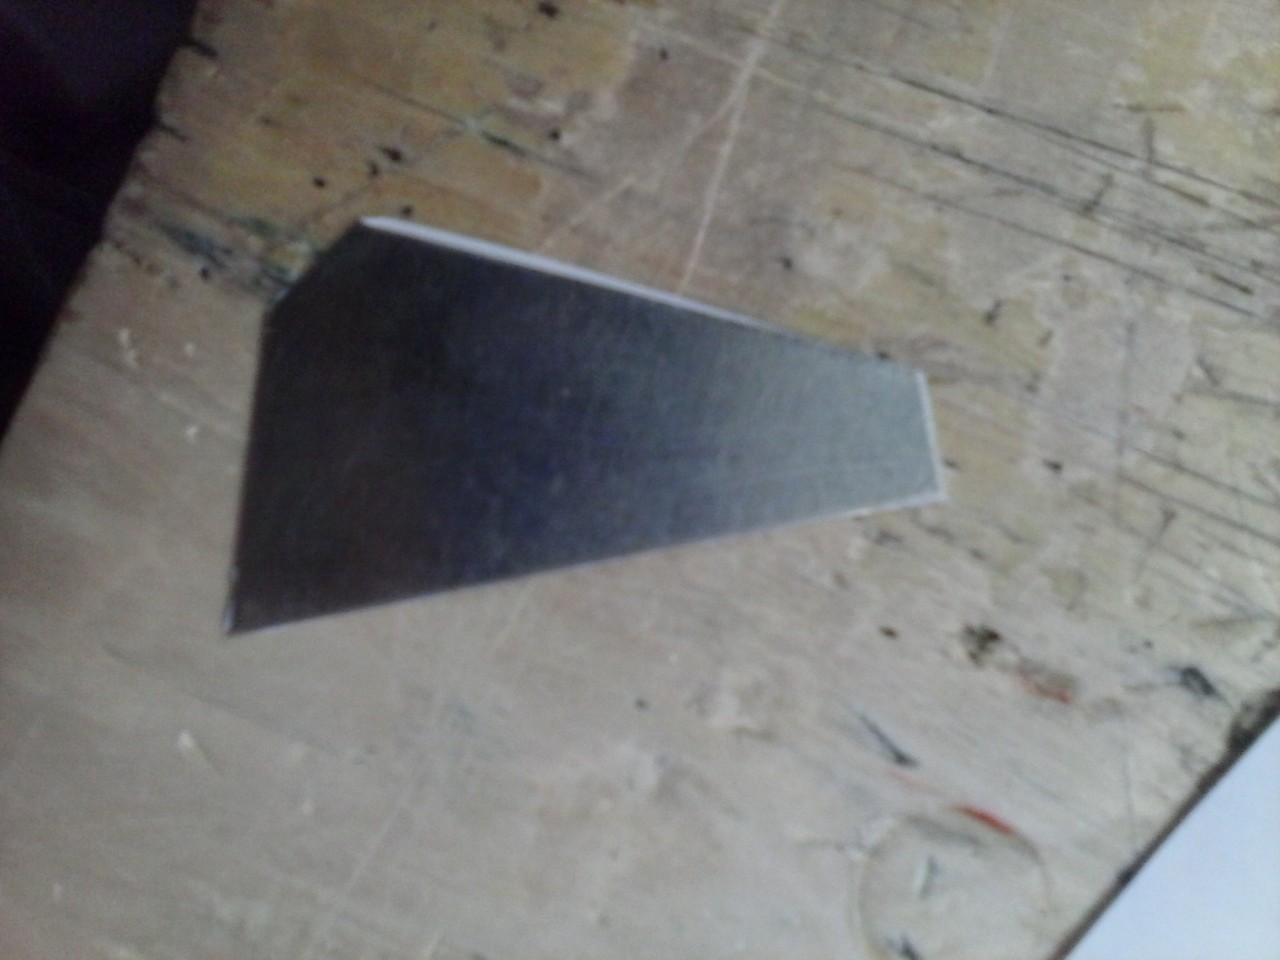
1.25 inch by 2.25 inch 14 gauge plate metal- at least that's the size I used
Sticker paper to trace the symbol onto
Jewelry's Saw and lots and lots of saw blades....'cause if you're like the rest of my classmates, you'll break 25 doing this xD I'm not joking xD
Flex shalf machine,
drill bits (the tiniest you can find),
tumbler (not the website),
that light screen thingy that makes it so that you can trace stuff easier (xD I have no idea what it's called),
circle stencils (you want the one with like a bajilion different sizes of circles xD LOL),
mill file ( bastard cut [yes you can giggle]),
emery paper,
sissors,
rubber mallet,
center punch.... and I think that's it... for now xD
Oh.. and 2 pens, different color would be best.
I almost forgot: You'll need a lot of dedication and paitence xD Or you can just watch me do it xD
Step ONE:
GET YOUR SUPPLIES~ xD
This is how big my symbol was:
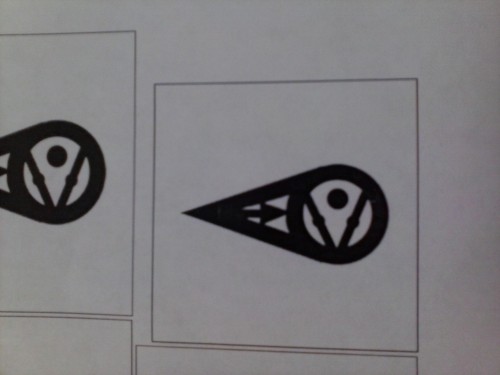
I just put my metal to the screen.. and it's life size O_O xD
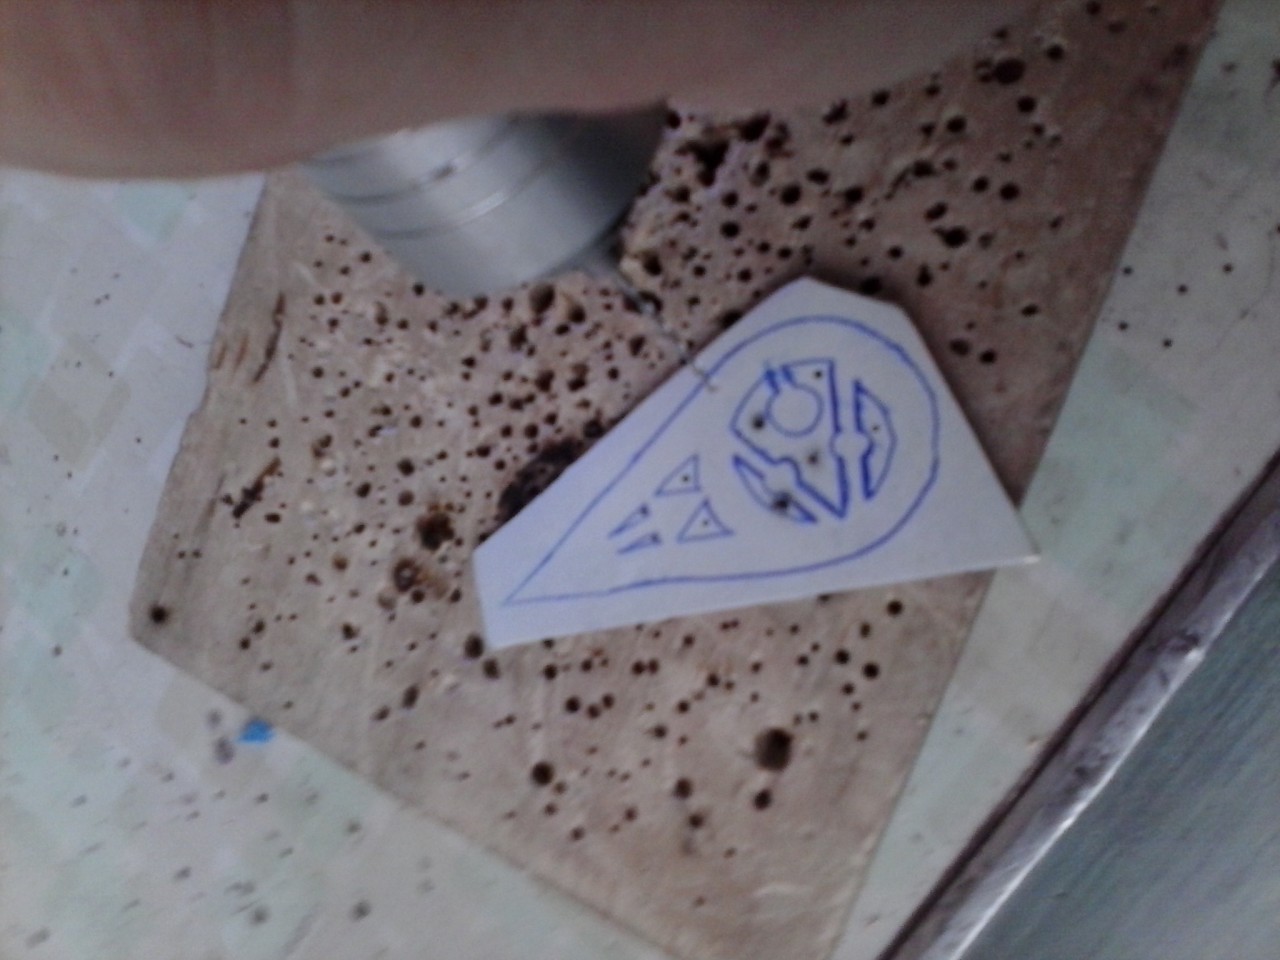
I'll show you my piece of metal :D
Step TWO:
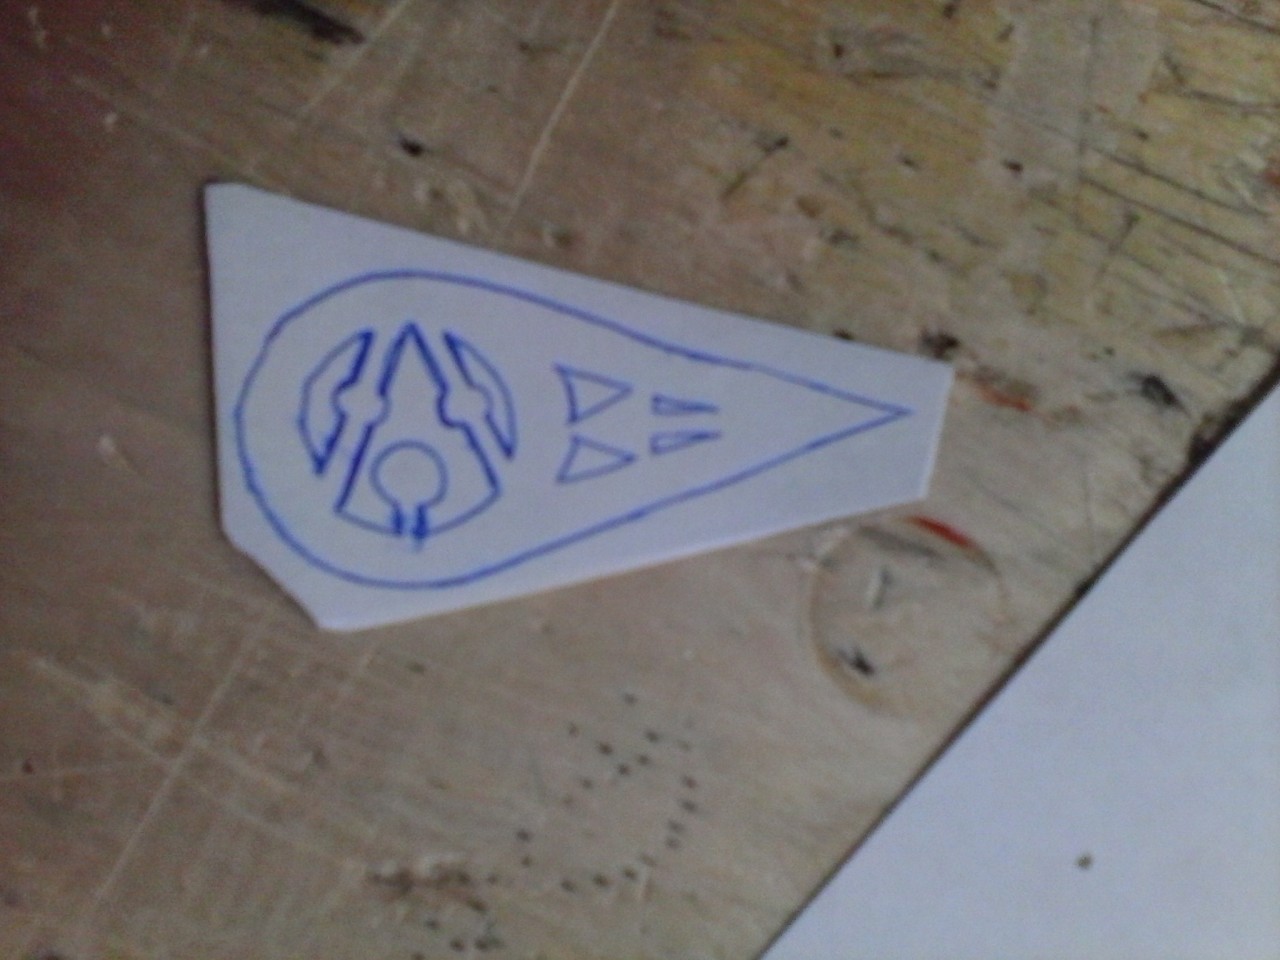
Trace the symbol onto a piece of sticker paper in pen and stick the stick onto the metal. Use sissors to cut off excess sticker stuff xD
Step THREE:
Use the center punch and mallet to create impressions in the metal. You need to do this EVERYWHERE you want to cut and you want to make the impression in the middle or the widest part, if there's a tiny part (like the top 2 tiny triangles) I suggest hitting the mallet hard where you have a lot of room, like here:
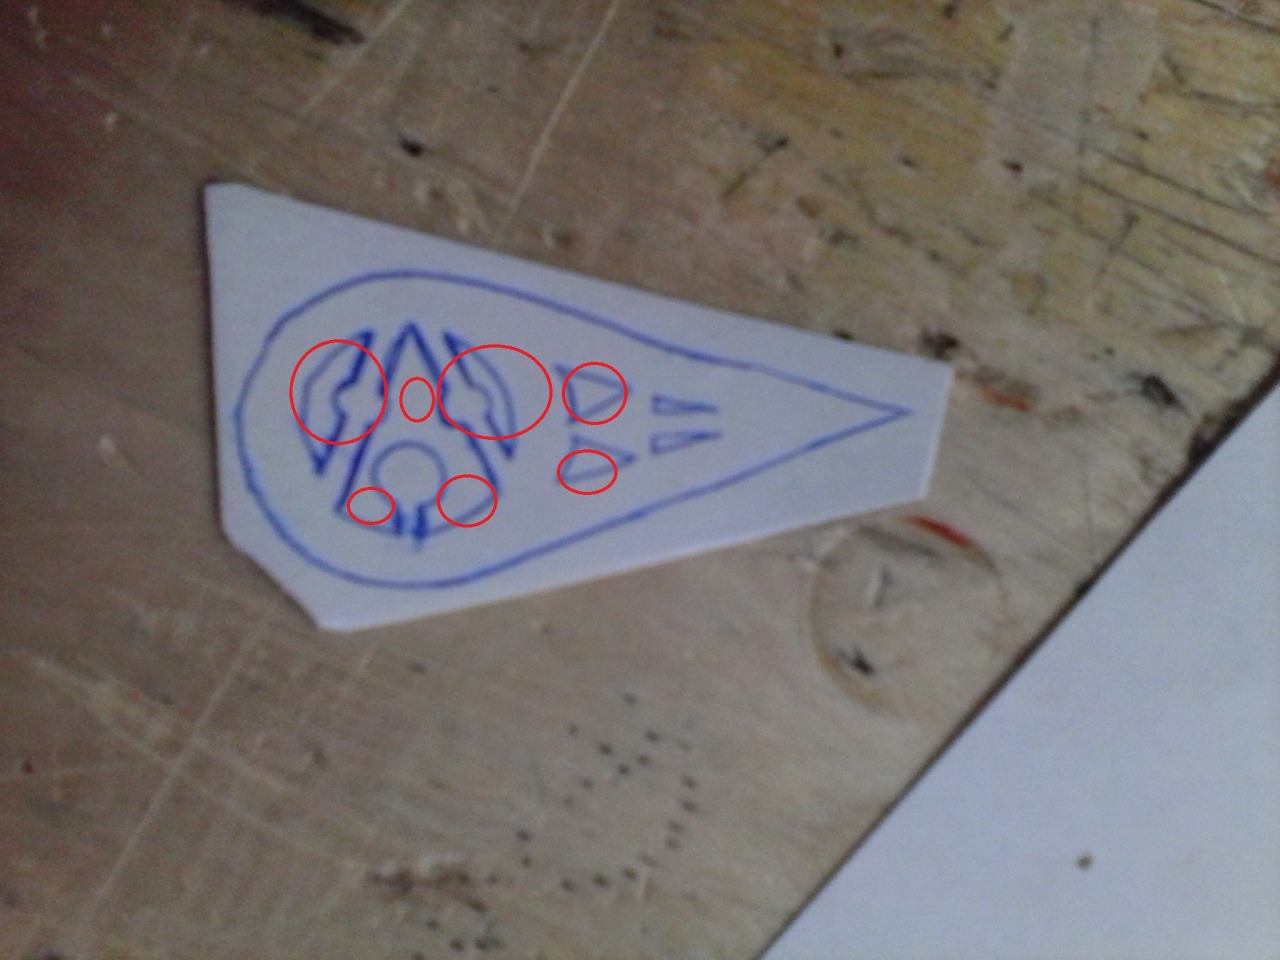
You want to hit it 3 places i the center piece thing to make piercing easier
And you want to hit the mallet lighter here:
'Cause you don't want to imprint where you're not cutting
This is what the metal will look like after going on that date with the mallet and center punch:

See? Holes... holes everywhere xD LOL
OH! And after making these impressions, your metal will be a little bent. Just flip it over and use the mallet to hit it straight :D
Step FOUR:
Insert the drill bit into the flex shalf machine. Turn on machine and start to drill where you've made those little holes
I suggest drilling for a while, then taking the center punch and mallet and give the hole another hit xD It speed things up like no other. But this part takes like FOREVER O_O I was drilling for like.....15 minutes! >.<
Step FIVE:
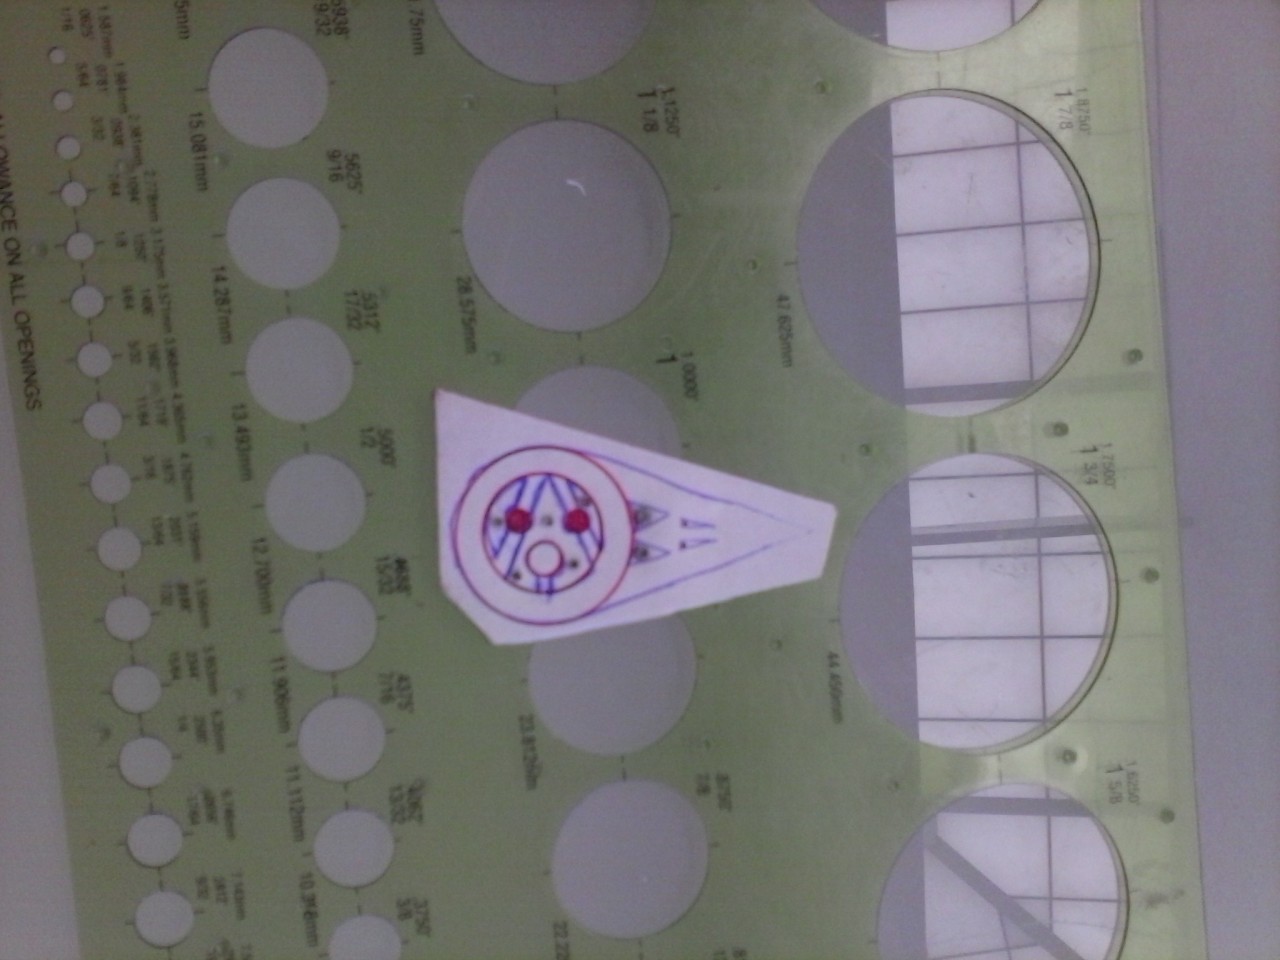
Make your design look better, so when you start piercing, the end result doesn't look like crap >.<
Use your rules/ stencils to make your drawing the best that it can be :D I used a red pen to do this, so I know exactly where to cut and stuff xD
That's all I did today! :P I think I'll finish it tomorrow.. We'll see what I end up doing with it. I might make it into a brouch... but who knows xD
[Edit] um... guys? I have to be MIA for the next few days... >.< There are some things going on in my life and let's just say, things got really bad, really fast. I'll finish my 2 contest stories this week and I'll try to find time to update my other stories. Please wait for me :\
Comments