BLOG POST TUTORIAL 101: Adding or So-Called, Outlines on a Picture
BLOGPOST TUTORIAL 101:
ADDING OR SO-CALLED "OUTLINES"
A tutorial by: TheStrawberryCupcake
_____________________________________________________________________________________
iNTRODUCTION:
Okay, so how do you add these so-called outlines? well, if you use photoshop, they are
called, "" mostly, are color white when applying to text or pictures, these
are a big leap if you're going to make rom-com posters. So ever wonder how they do this?
with simple steps I'll teach you, and don't worry, this will apply to in any version of photoshop.
(I will use cs2, yes, lame, I know. could anyone link me a site where to download cs6? HAHAHA.)
_____________________________________________________________________________________
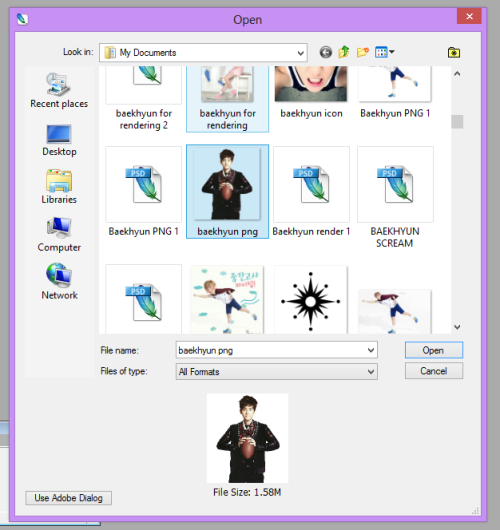
STEP 1: Open up a Picture.

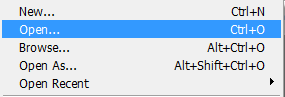
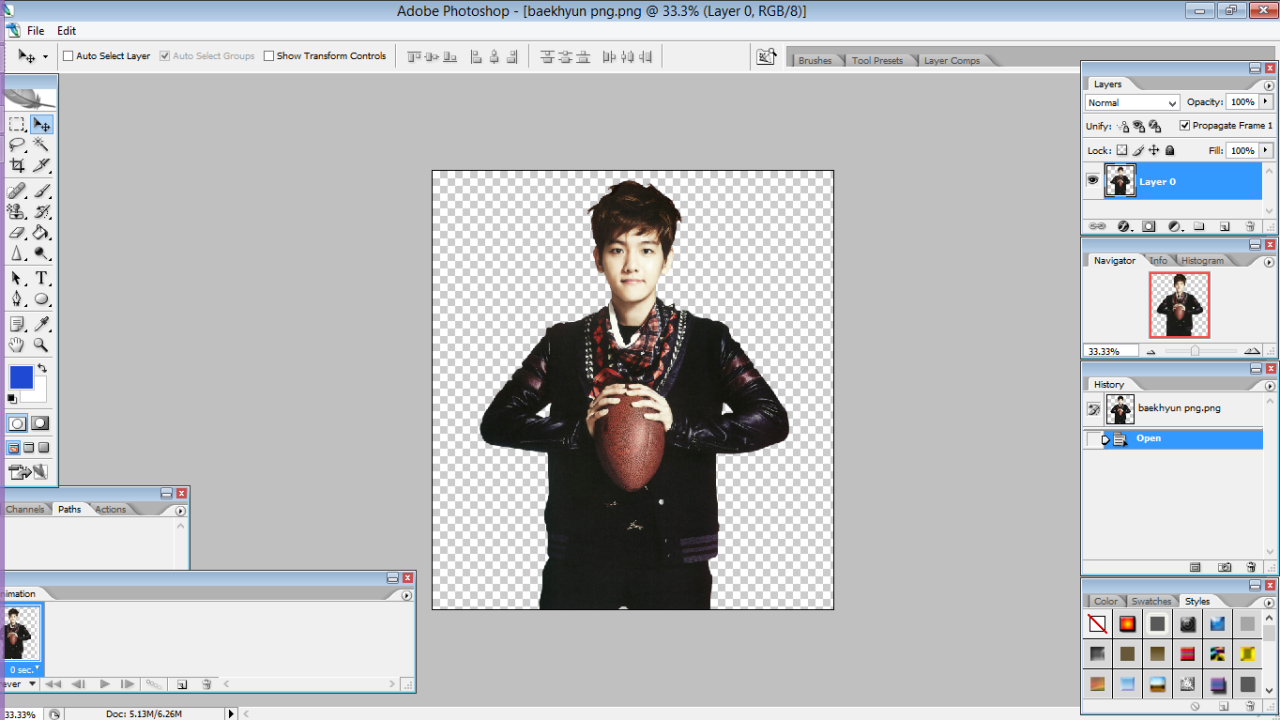
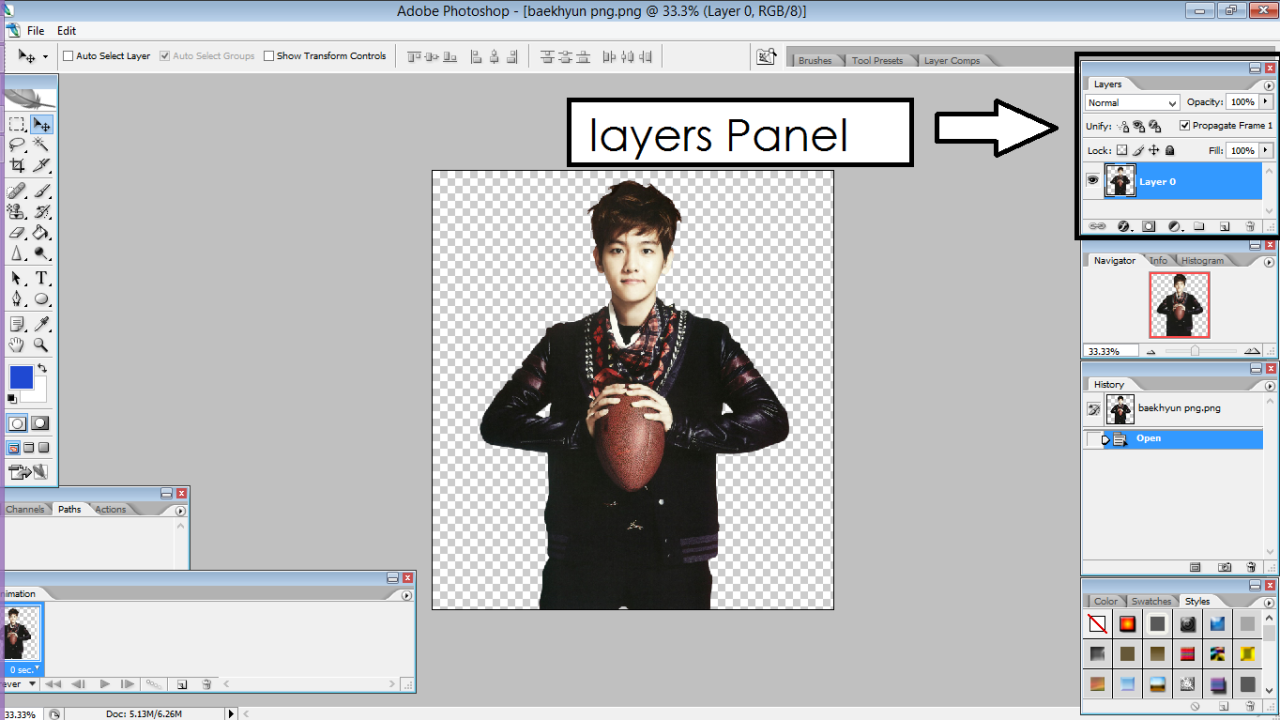
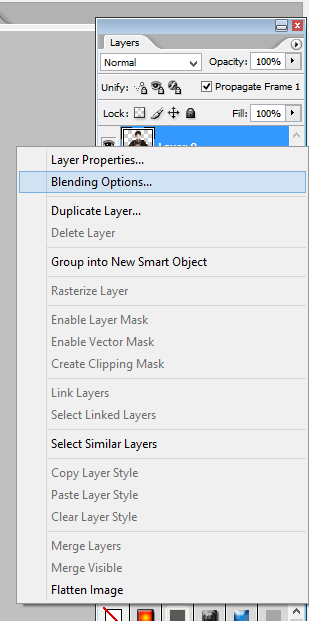
STEP 2: Right click the layer of the picture in the layers panel and choose "BLENDING OPTIONS"
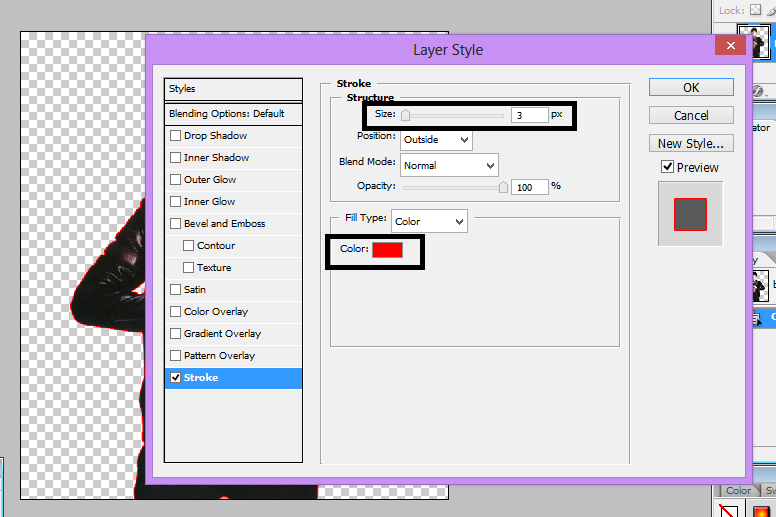
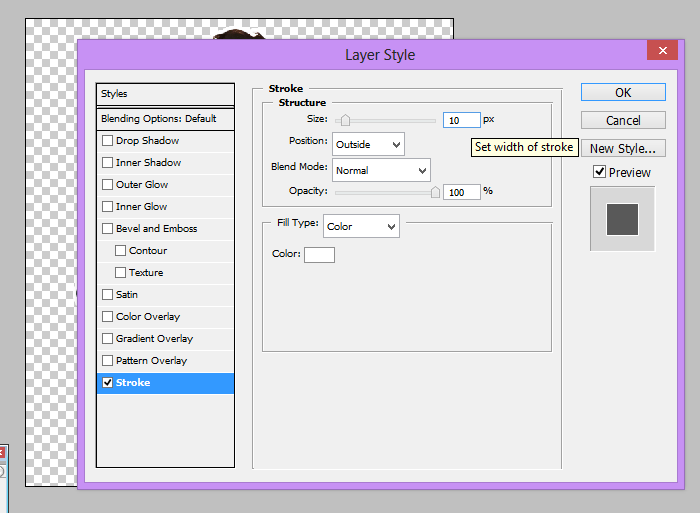
STEP 3: Click ""
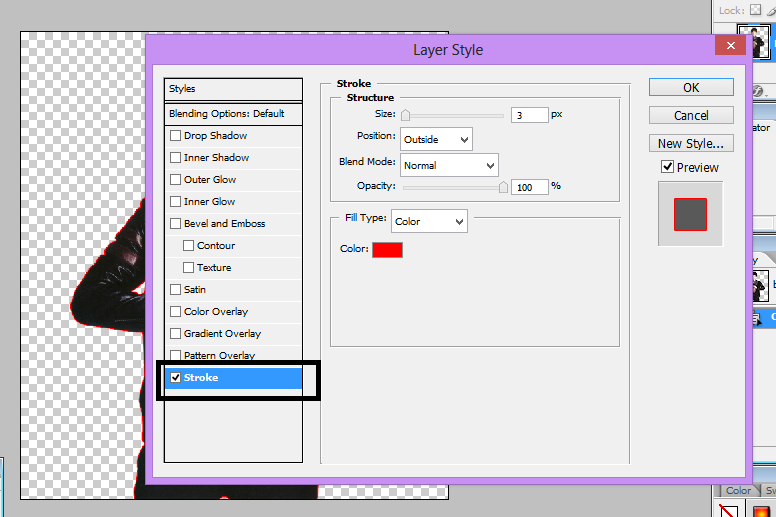
STEP 4: You have the outline now, but you want to change the color or width of it,
so adjust the width and color, then click "OK"

STEP 5: Save it as 'PNG' not 'JPEG' or so that the background will be transparent
and not white.
TROUBLE SHOOT:
001. My PNG looks weird and has these little bumps and dots when I applied
. TT___TT
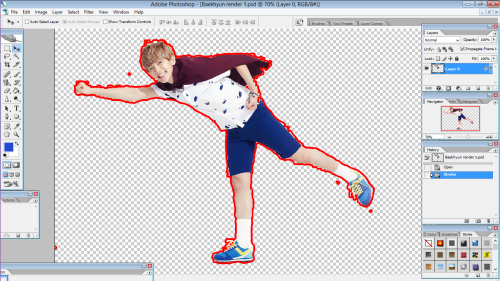
SOLUTION: Well, I that is an example of a not so clean render. I have two solutions
for you to follow. Number one: Just pick another render/png, pick the ones that are
cleanly cut. Go to deviantart, most of the png's there are clean.
Number two: Erase the excess pixels yourself. Click on the magic wand, below the
move tool. Then click the eraser tool. then erase. It would be quite hard to do so
I suggest you do the first solution.
002. uhm. Where's the layer panel you were talking about? it's not on my
photoshop window.
SOLUTION: Hover your mouse the Window tab, right beside the View tab, (it's on the
upper side of the window.) then make sure that the layers has a check on it.
► SHORTCUT: Press F7.
_____________________________________________________________________________________
AUTHOR'S NOTE
Yow, So I hope you learned how to add those outline. eue Leave a comment below, whether
I helped or not, or questions that I did'nt answer. ^^ I did this for my resource department shop which
I'll be posting next month I think. haha. I'll be posting more, maybe I'll post two tutorials today.
I really needed to take a break from all the news, and graphics is the only thing to keep my mind away
for the moment. This was my every first tutorial so pardon me if I didn't instruct you clearly. ouo
_____________________________________________________________________________________
Comments