Keeper's First Graphic Tutorial xD
After my failed attempt yesterday, I gave it another shot today simply because FRIDAY is Keeper's day! xDDD
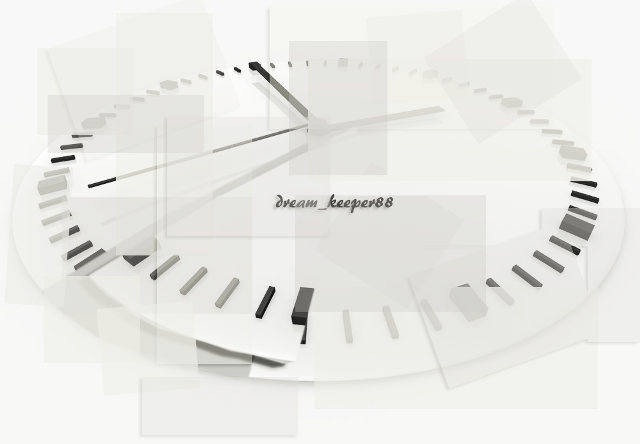
Without further adieu, I present you the improved version of Keeper's Panography-ish-like effect:
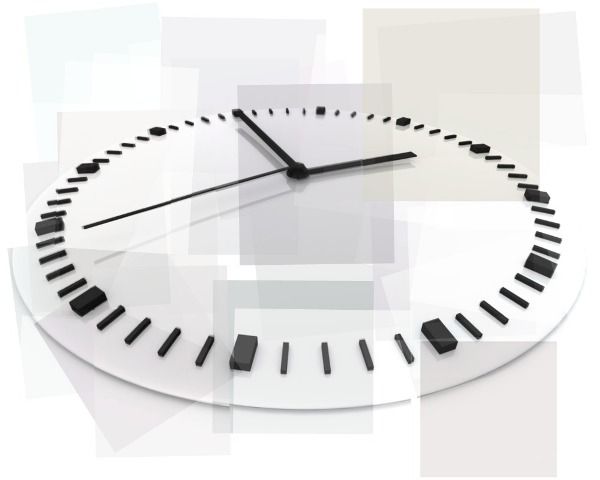
This is how the effect is supposed to look like in picnik:
How to create Keeper's Panography-ish-like effect:
1. Go to PS > File > open the image you want to use, in this case, the clock > unlock background (click the padlock on layers palette)
2. (optional) Choose polygonal lasso tool and cut a portion of your image e.g triangle.
2.1 Right click on the selection > Layer via Cut. (Now you have two layers)
2.2. Click on the layer with the 'cut' portion (triangular piece). Using the move tool, displace it from its original position.
2.3 Go to Layer style > Drop Shadow > Distance set to 18px (you can change this to your own liking)
3. Add new layer > set to Multiply > use rectangular marquee tool to draw your opaque squares/rectangles > click bucket tool and fill it with your desired color > adjust opacity settings in 'Blending options' found under 'Layer style' or just click the tiny f button in the layer's palette.
Note: Use many layers. Life is easier that way for Keeper who makes a lot of mistakes xDDDD If the image becomes dull, just adjust brightness and contrast.
4. Have fun! =) Play around using different settings and effects =)
I am no expert and this stuff is considered 'basic-know-how' for most but the steps written above are my own and it shows how I made it in Photoshop CS.


Comments