POSTER TUTORIAL; Cute, Romantic, Soft Poster.
GIMP Innovations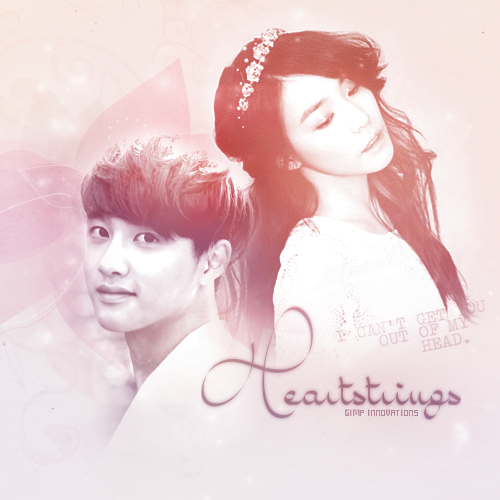
What you will need:
D.O Picture . Tiffany Picture . Texture 1 . Texture 2 . Light Texture . Texture 3 .
Video Tutorial
Written Tutorial w/ Photos
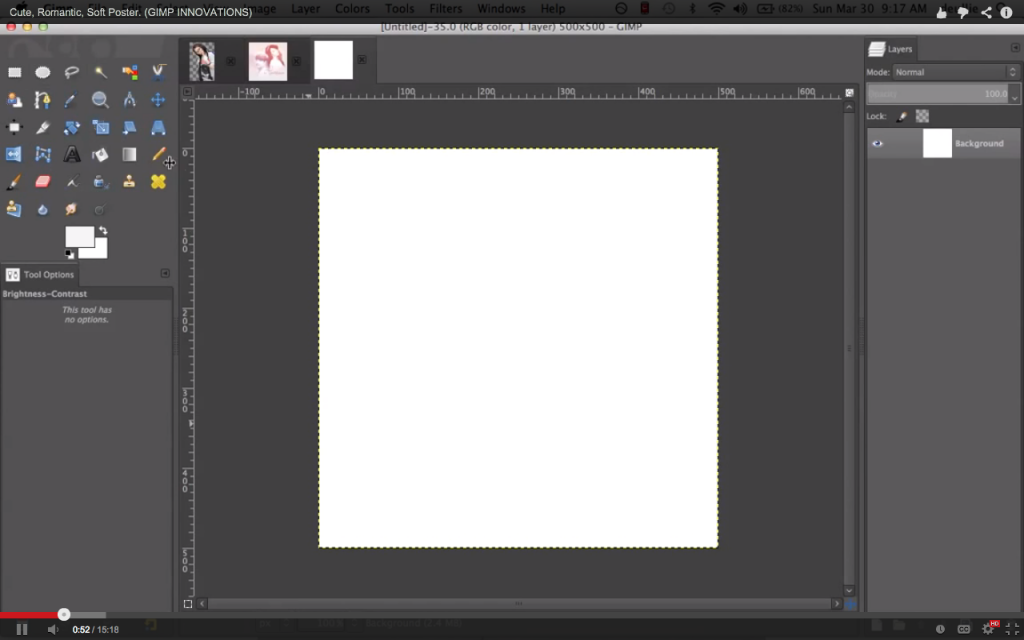
1. File > New > 500X500.
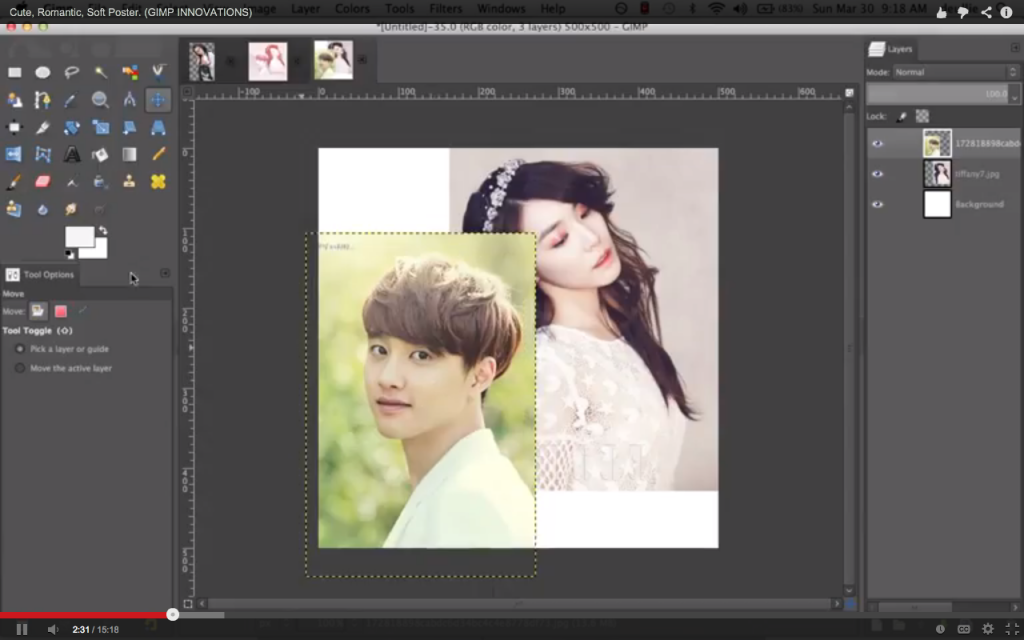
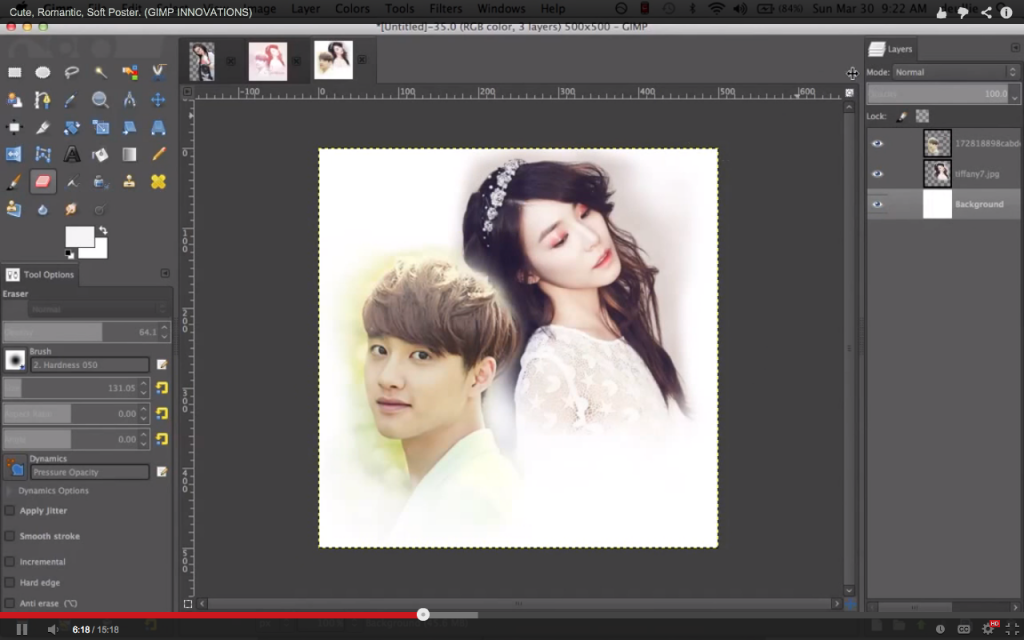
2. File > Open as Layers > Open both D.O and Tiffany pictures. Place accordingly. (Make sure to scale your pictures! Also, Tiffany's pictures was flipped and scaled.)
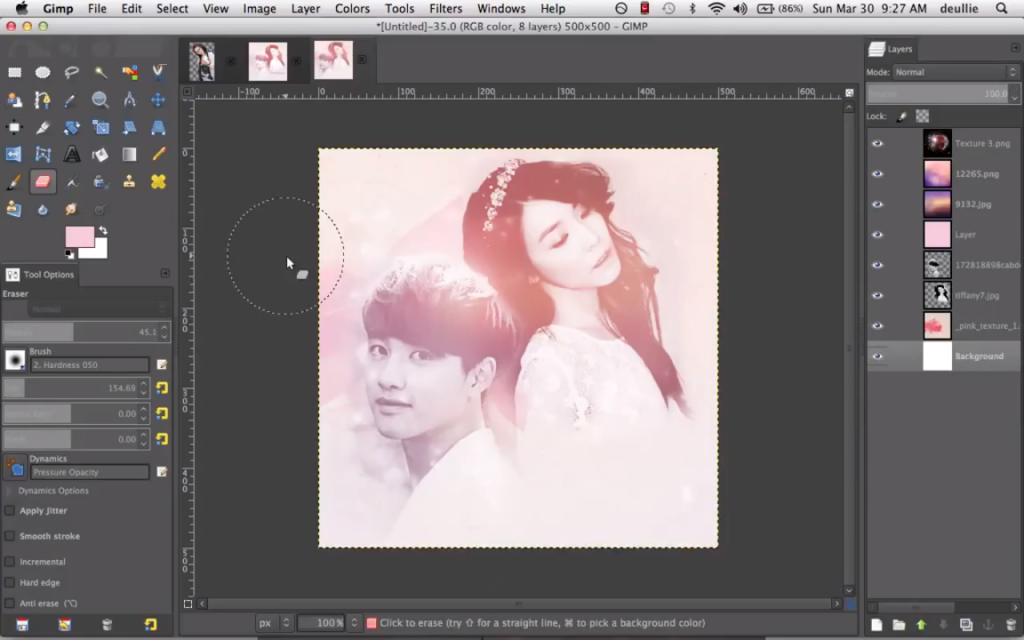
3. Take your eraser tool. (Use your fuzzy brush!) and with 100% Opacity erase all edges of the picture carefully.
Then, change opacity to 50% - 60%, make your brush size fairly large, and erase carefull for a nice blending effect.
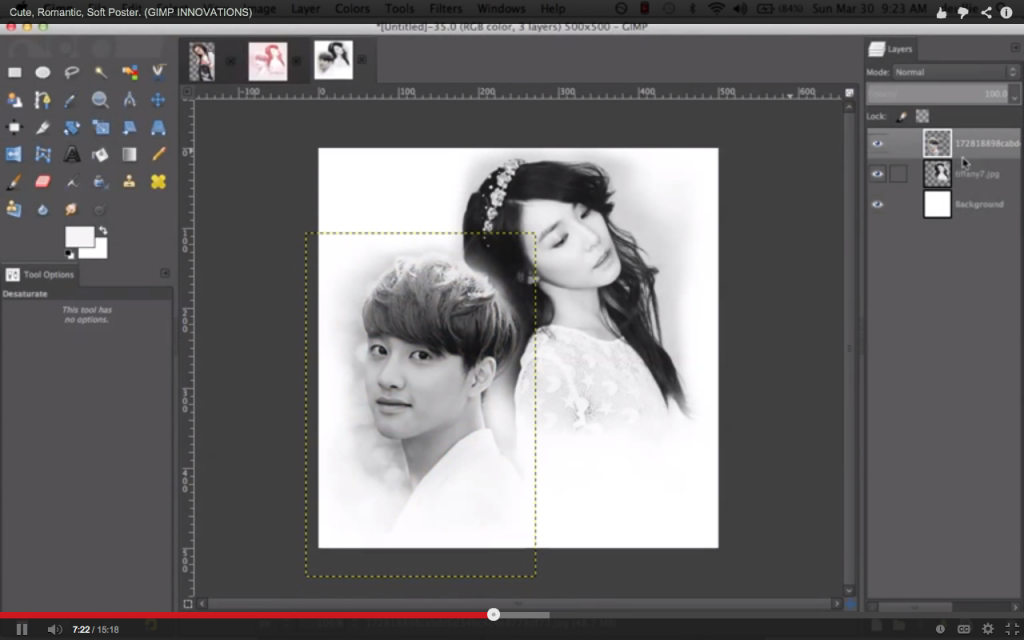
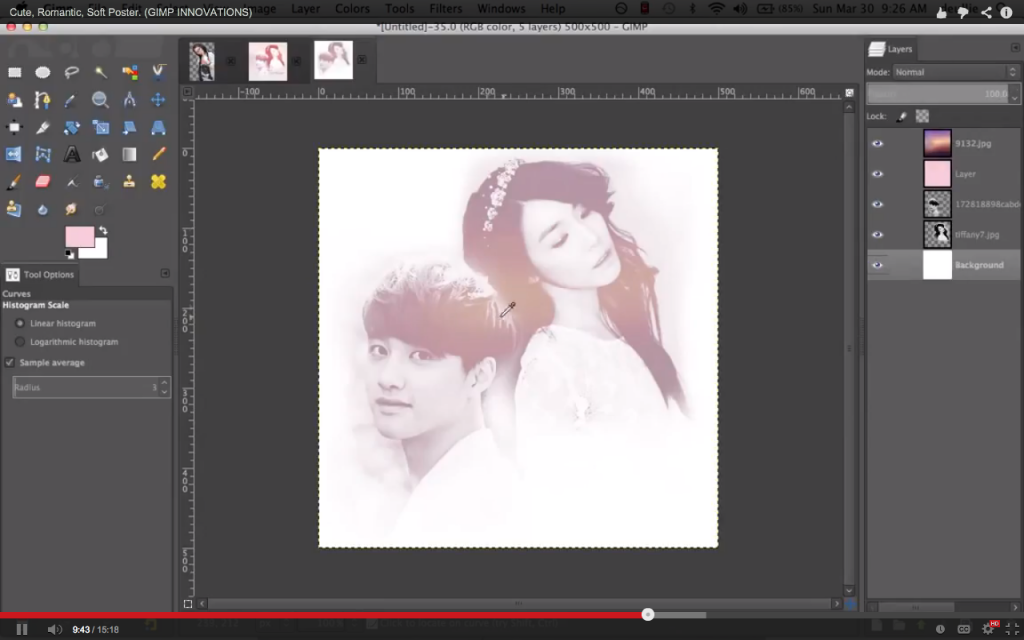
4. Edit your pictures. Colors > Brightness-Contrast. Colors > Curves. Colors > Desaturate.
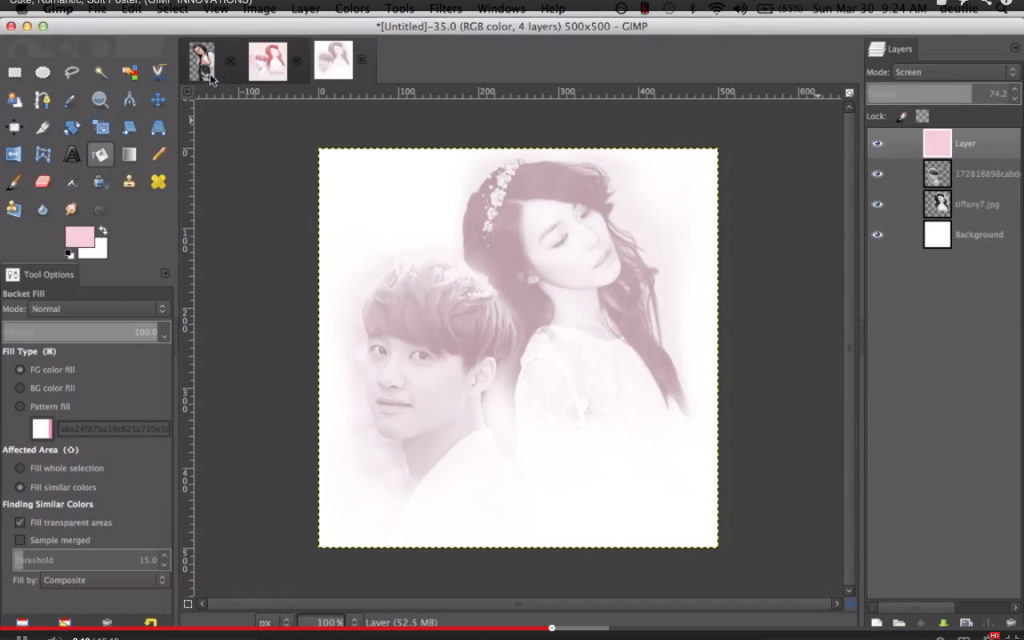
5. Open a new layer. Go to your bucket tool, pick a pink color (MY HTML NOTATION: f4ccd9) Fill the layer with the color, set layer mode to screen, lower opacity to around 73% or however you would like. ***Note, pictures will look more faded after setting screen. Keep adjusting pictures' curves as you continue to add more layers to your poster.***
6. File > Open as new layer > Select texture 1. Place it ON TOP of D.O. and Tiffany layers. Set layer mode to Lighten Only and set opacity to around 19% or however harsh you want the orange light to be.
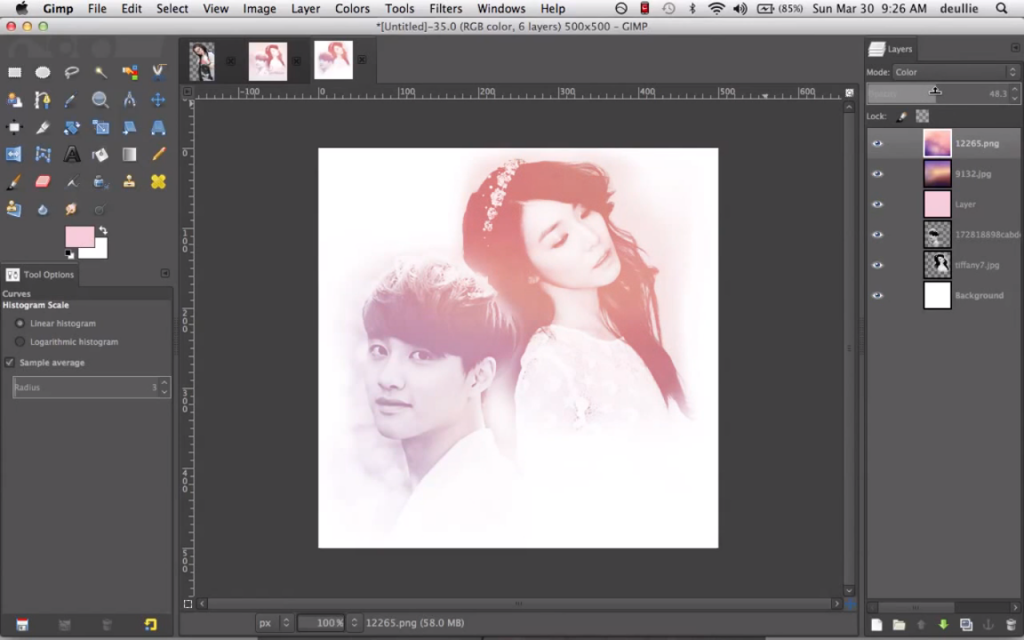
7. File > Open as new layer > Select texture 2. Place it ON TOP of texture 1. Set layer mode to Color and set opacity to around 30% - 40%.
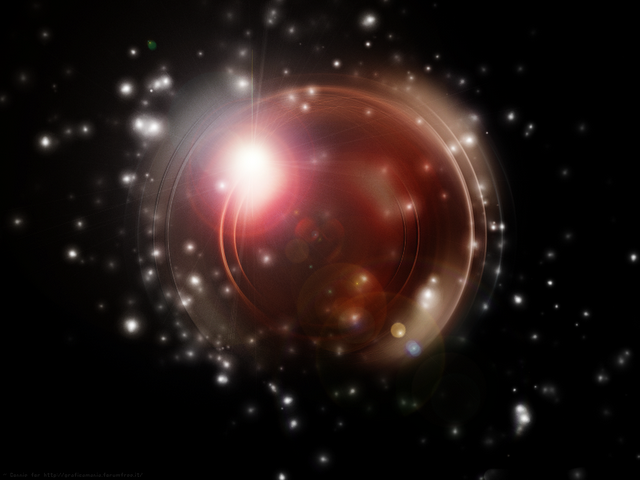
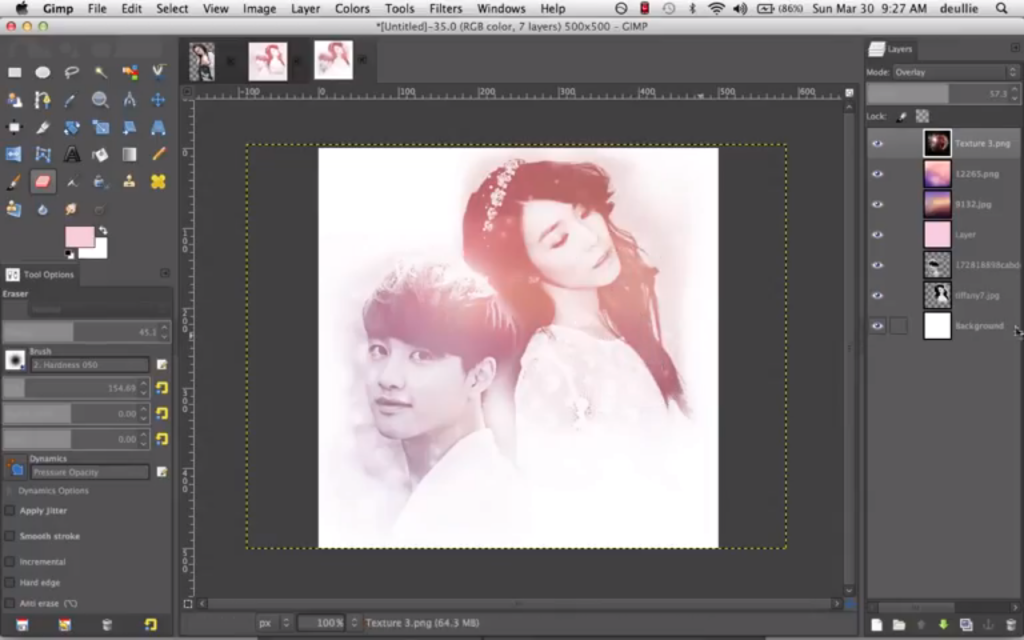
8. File > Open as new layer > Select light texture. Place it ON TOP of texture 2. Set layer mode to Overlay and set opacity to around 50%.
Get your eraser tool and with your fuzzy brush, lower the opacity and erase the line marks that should appear on D.O's face and Tiffany's hair.
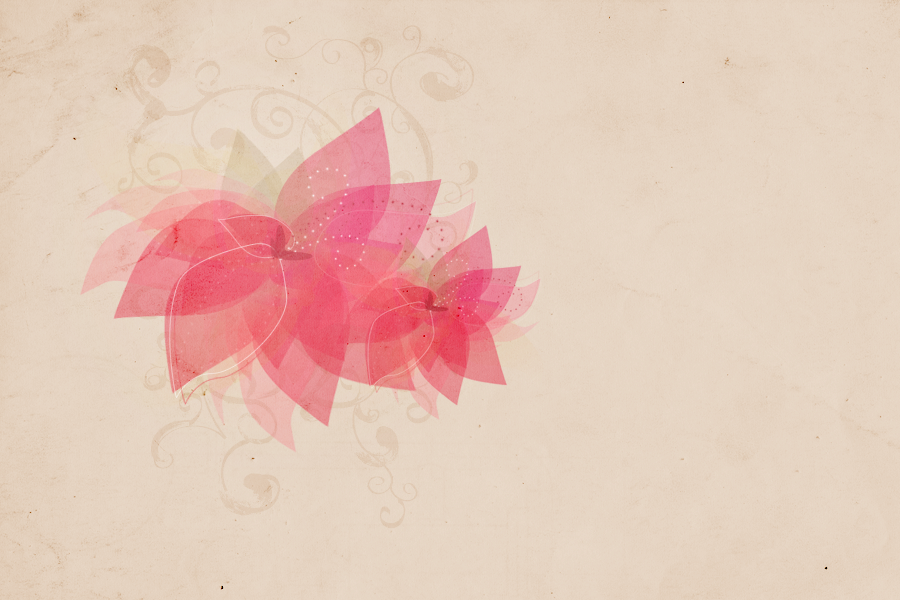
9. File > Open as new layer > Select texture 3. Place it UNDER Tiffany and D.O picture layers. Set layer mode to Darken only and set opacity to around 50%.
***OPTIONAL; IF you feel the background is too bland and too light, fill it with a lighter gray color. :)***
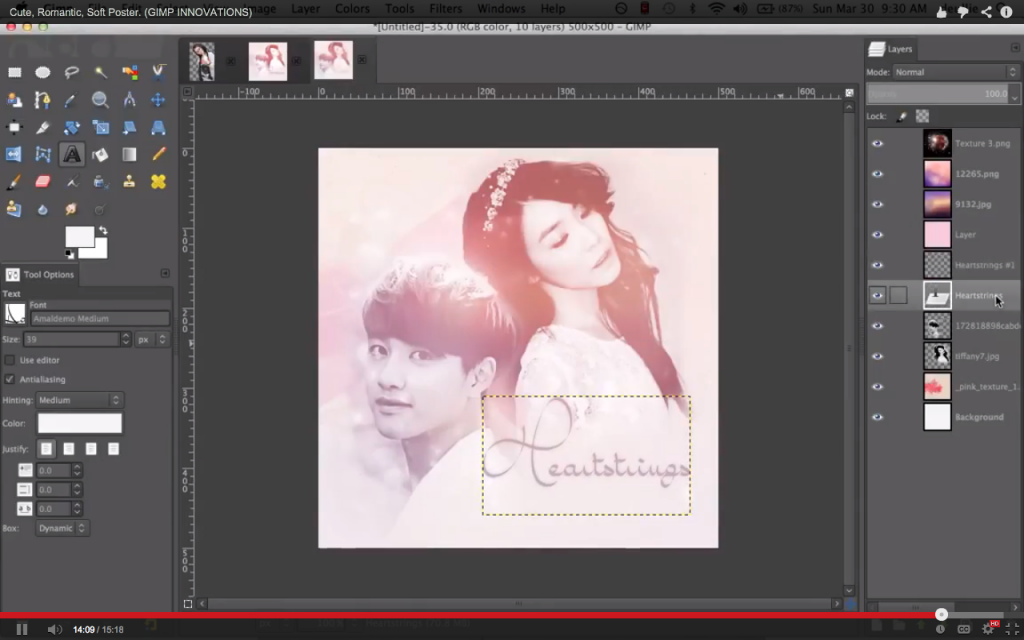
10. Add a new text, Font: Amaldemo Medium. Size: 39. Color: Black OR Gray. Place text UNDER ALL TEXTURES.
Now, duplicate this text, go to filter > blur > gaussian blur. 5.0 for both boxes should be fine. :)
Now your text should have a glow effect!
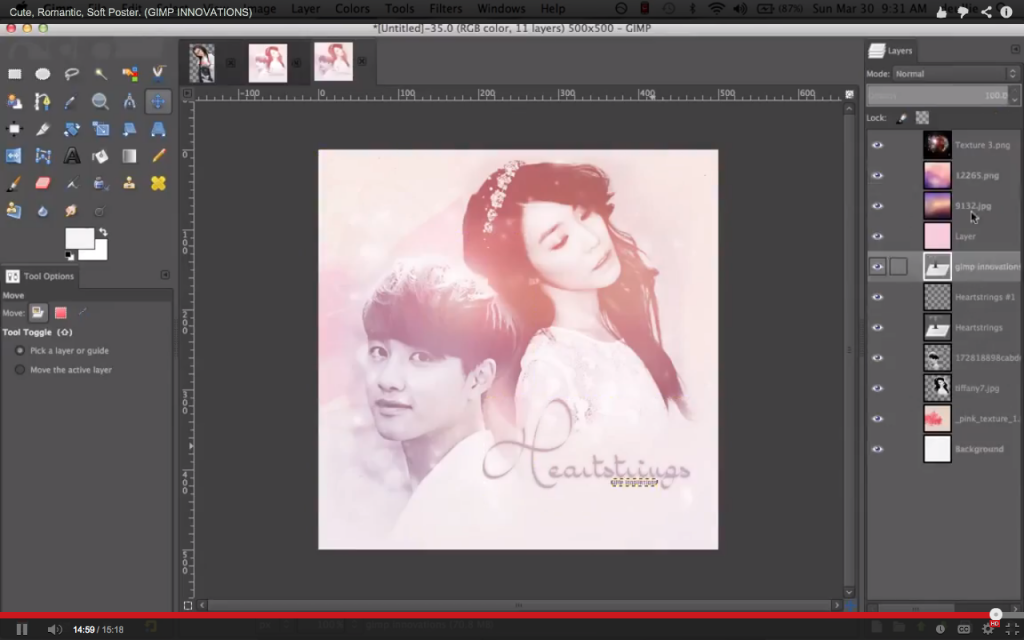
11. Now place your water mark! Font: Wendy. Size: 11. Color: Black. Place text UNDER ALL TEXTURES.
Okay... That took forever OTL.
Well, I hope you all enjoy this tutorial! Both video and written w/ photos.
More tutorials to come! ^__^
Please comment, subscribe, and upvote! And then please show me your guys' masterpiece when ya'll are done! :D
Until next time ~
- deulcakes.
Comments