Recreating a Photo as a Drawing
Here I am again, back with another blog. :D
Anyways, if you've seen my blog yesterday about getting lineart from @ColourSynesthesia's shop (which, do check the shop out right here), you can probably guess what this one's about-- coloring the lineart! I don't think there's really much to explain, so here we go with a comparison picture to show you what I'm sort of doing.
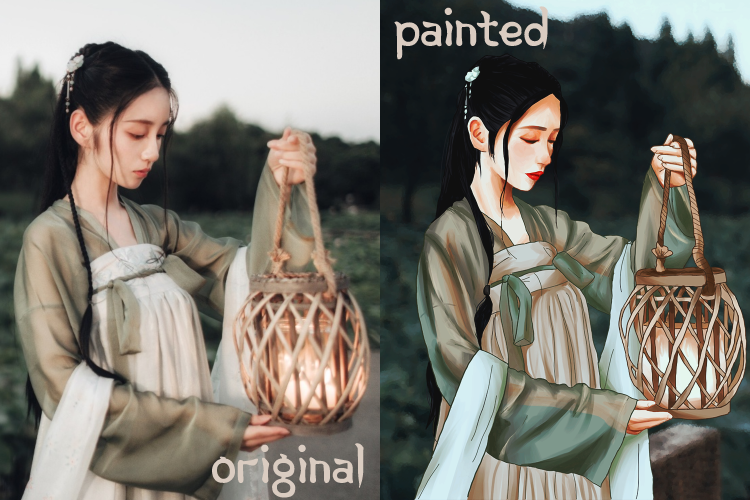
The image I used as the original/reference is one of my favorite pictures, so I sort of had to try to recreate it. Though then again, I didn't really know where to start (since I dread doing line-art of any shape or form), but just then, I dsicovered that Willow Graphics was offering to transform images into lineart-- so here I am. I call it the 'painted' style because even though it's still super far away from actual digital painting (that I am terrible at ;;), the shading style is using watercolor brushes and therefore looks like the digital painting style w/ a lineart.
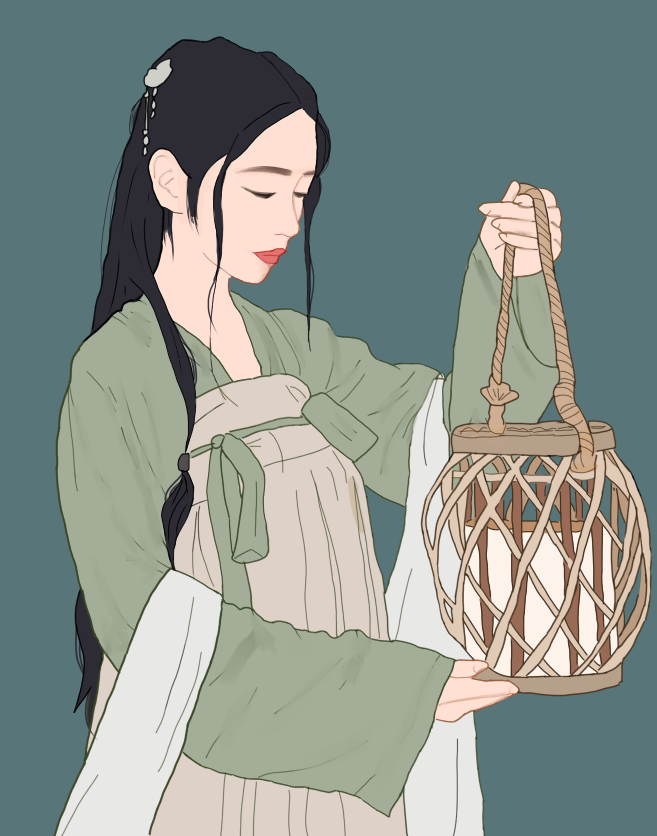
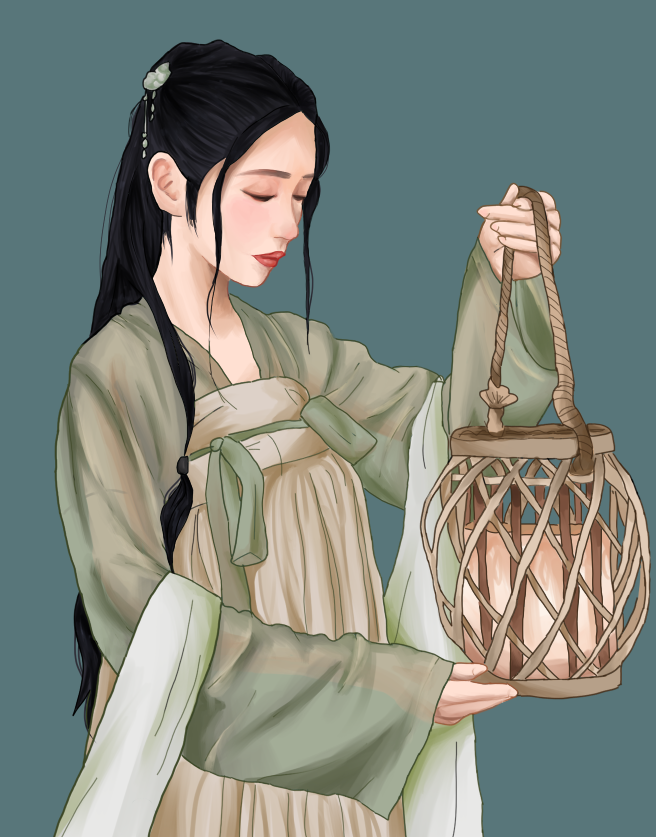
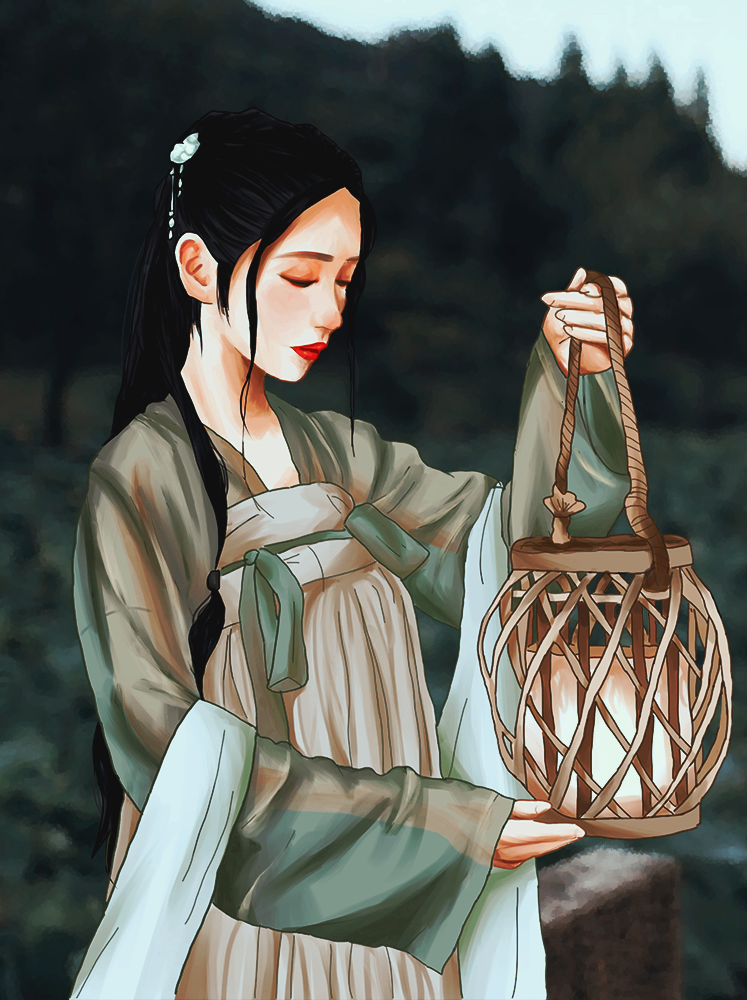
Here's a little three-step-process of how I color things, staring from base color, then to shading, and then to using correction/adjustment layers in PS to make the colors more... vibrant?
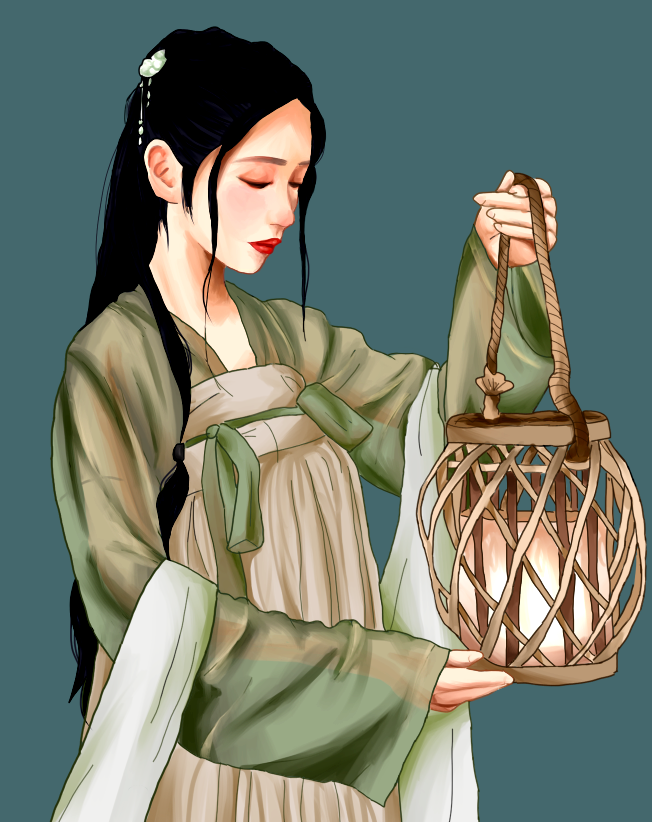
The finished version was just me adding more correction layers and throwing on a background haha. Click the image below to zoom in!
Credits again go to @ColourSynesthesia for the lineart & the photographer/model/etc. for the original photo!
Hope that it was a somewhat educational (??) and entertaining blog post, lol. Just wanted to share what I've been doing instead of working on writing stories or graphics requests or running shops or studying or all of the 18240918490810 things on my to-do-list RIP
Comments